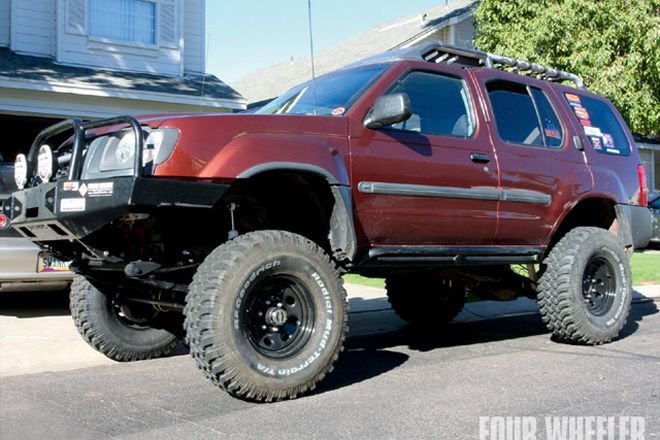
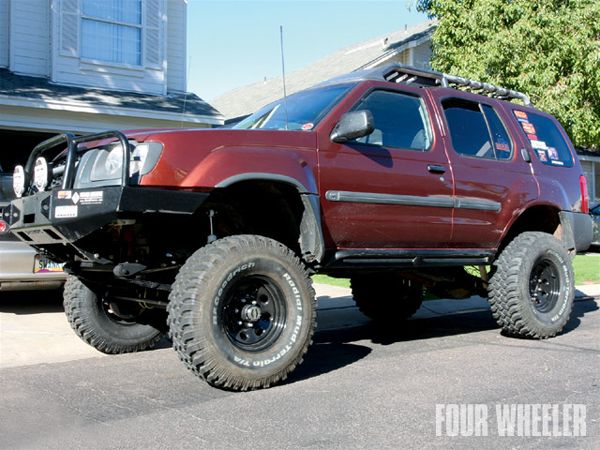
The Nissan Xterra was introduced back in 2000 and has proven itself to be a fun and capable SUV. With a wheelbase a few inches north of 100, it's short enough to fit in some tight spaces, yet long enough for good stability and some rear cargo space.
Dee Schauer owns an '02 V-6-powered model and has been desert wheeling it for a good number of years. She uses it for day trips rockcrawling and trail running, as well as for longer camping trips in remote areas. It'd been upgraded over the years with a 3.92:1 transfer case and lockers, but she and husband Andy decided to take her rig up a notch in capability, and a solid-axle swap (SAS) was in the cards.
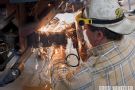
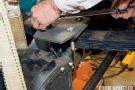
What was to happen was a homebrew axle and suspension swap, and we'll take you down that road here. The couple planned and gathered the parts over the course of a few months. What they found was that there are some good used parts floating around on the market, and patience can yield some good deals to help keep the mod costs a little more in check. Some parts were purchased from local wheelers, and the balance of the swap components consist of a combination of OEM and aftermarket pieces.
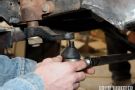
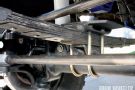
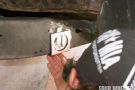
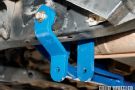
 The IFS has a lot of parts that make up its suspension. They all came off the Xterra and were pushed off to the side. Selling off some of these pieces to other owners of stock rigs can put a few dollars back into the project fund.
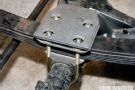
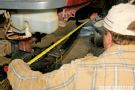
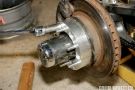
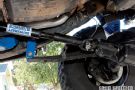
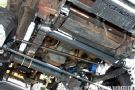
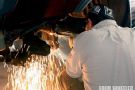
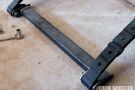
The Dana 44 axle with driver-side pumpkin was purchased as a used assembly, and already held chromoly axleshafts, high-steer arms, and some other upgraded parts. It measured 60.5 inches from flange to flange, a good match to the stock rear axle, which is about 62 inches wide. Follow along as we show how Andy and a group of dedicated helpers did the Xterra transformation.
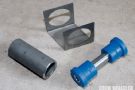
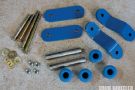
Basic Shopping List
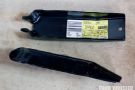
Complete front axle (hub to hub)
Steering arm(s)
Tie rod and drag link
Front leaf-spring packs
Spring shackles and frame tubes
Spring front crossmember
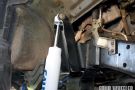
Shock mounts
Shocks
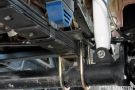
Brake lines
Bumpstops
U-bolts, axle plates, and perches
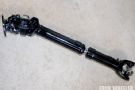
Driveshaft
Misc. steel plate scraps
Conclusion
Once everything was checked and the final welding done, all the hardware was fully tightened, gear fluid was added, and the brakes were bled. A road test showed the vehicle was a bit nose-high to start, but handled well on the road once the toe-in was tweaked, and the front springs should settle just a bit more over time. After the swap, the final wheelbase ended up being close to stock at 104 inches, and the Xterra was shod with 33-inch BFG Mud-Terrains. Off-highway, the new setup proved to be flexy, but stable, and a considerable jump in trail prowess over the previous IFS.


 PhotosView Slideshow