The stamping of metal has long been an easy method of creating an intricate design in what otherwise would be a labor-intensive job. The process itself isn't that complicated—think of pressing a piece of wet clay into the palm of your hand with your fist and you get the idea. Small dies have stamped out dimes since 1796, and large die-stamping machines allowed Henry Ford to create a complete, one-piece steel roof for his cars in 1936 rather than use fabric inserts.
Surprisingly, not a lot of pressure is needed to bend metal (remember what it did to your bumper when you backed low speed into the pole in the parking lot?). A simple hydraulic press creates more than enough pounds-per-square-inch to make some parts, including many that can used by hot rodders.
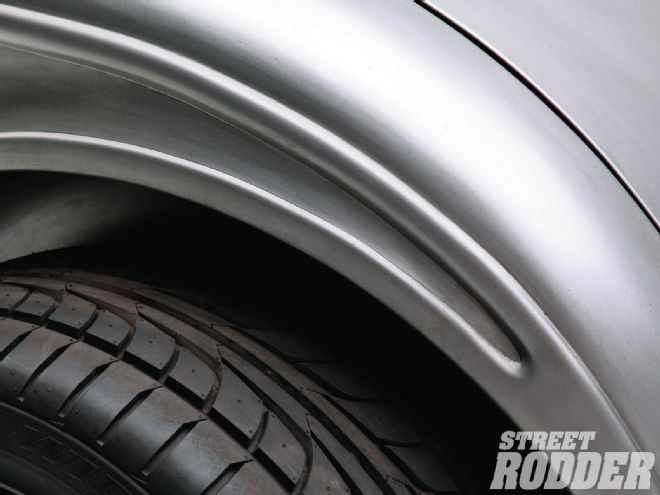
When metalman Bobby Walden needed to create a section of a quarter-panel where two body reveals met, he could have fabricated the piece using a hammer and dolly, or even rolled the reveals into the piece and then hand-chiseled the part to finish it off. But by using a simple die assembly, he was able to create a custom piece that looks like it was stamped by the factory.
For the past few months Walden Speed Shop has been scratch-building a steel '32/33-inspired coupe for Fred Warren, and they have employed this stamping method of creating parts for that body and many others. They've used the system to make the small dimple under the door handle on a '34 Ford doorskin, and even custom recessed pockets in a dash for gauges. Plates of aluminum, a bandsaw (or jig saw), a hand file, and a 10-ton hydraulic press (i.e. the kind found in a home garage used to press bearings onto axles) are all that is needed to do the work. Follow along as Bobby Walden shows how he does it.
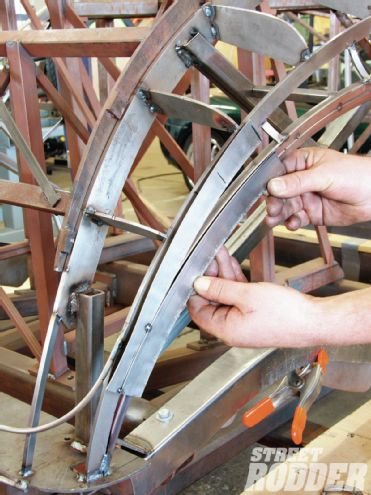
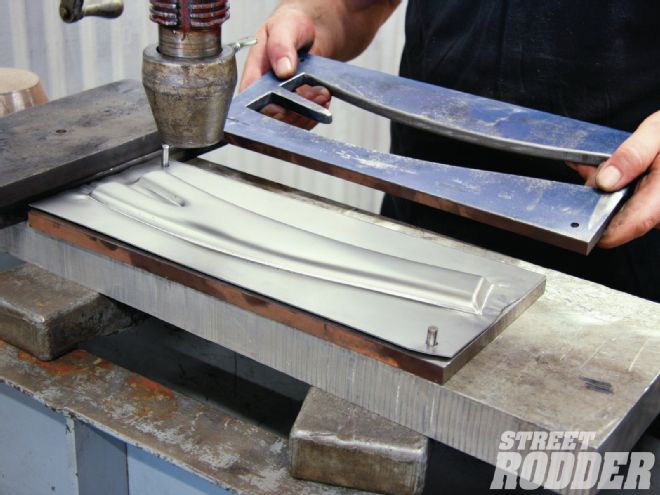
1. Walden starts by making a template out of sheetmetal, and it mimics where the reveal will be located on the quarter-panel. Its curve was formed with a shrinker, but it can also be cut directly after being traced to a piece of sheetmetal.
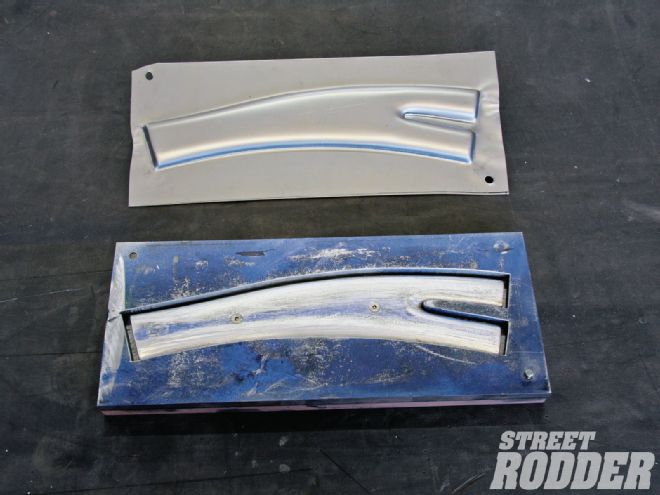
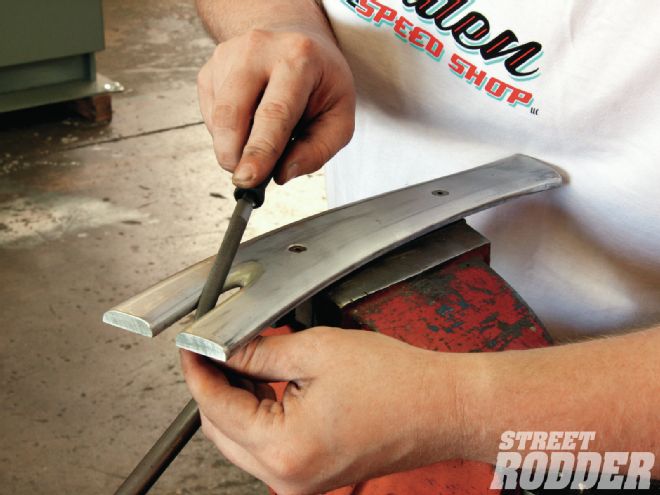
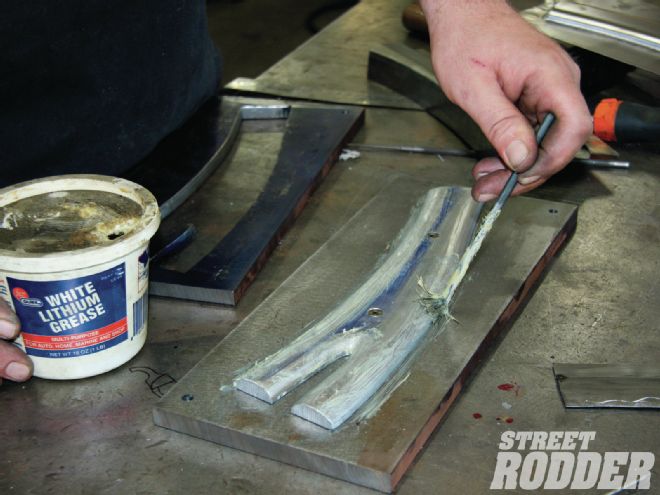
2. The template's shape is then traced onto a piece of 3/8-inch aluminum plate and cut out on a bandsaw. A hand file and some hand-sanding created the correct shape for the die. A second die, the female portion, is also made so the male die can fit inside of it with a clearance of about 1/16 inch.
3. A 3/4-inch piece of steel plate is used as a base for the male section of the die, which is attached via countersunk screws. Guide pins located in the corners are also used to keep all the pieces of the die assembly in place.
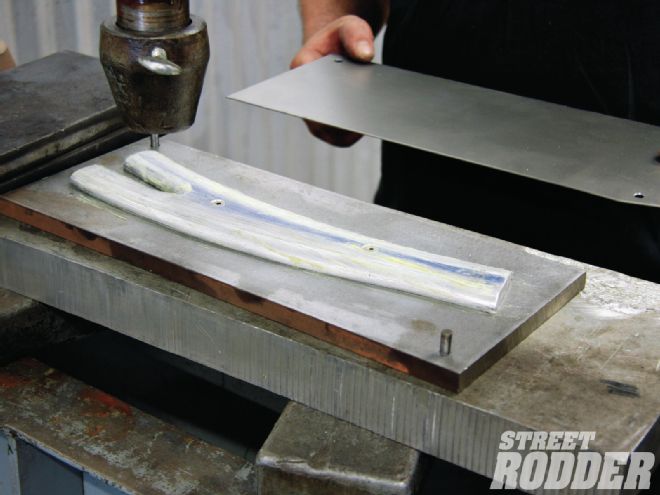
4-5. The die is set into the Walden's 50-ton press (though only 10 tons is needed to do the work) and the 19-gauge sheetmetal (also with guide holes) is fit in place.
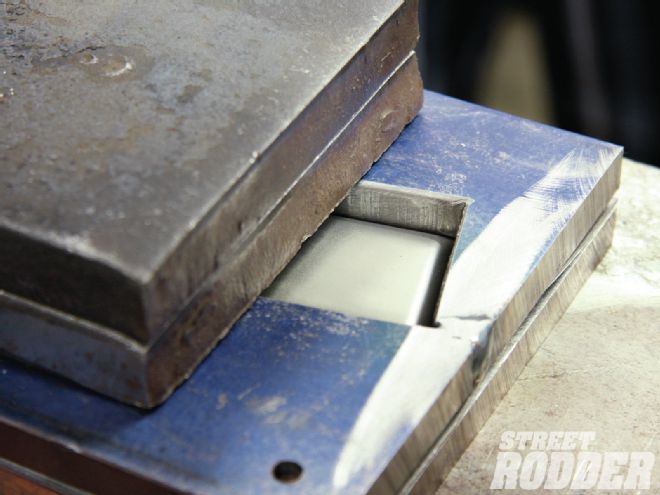
6. The female die plate is then put in place, aligned on the guide pins.

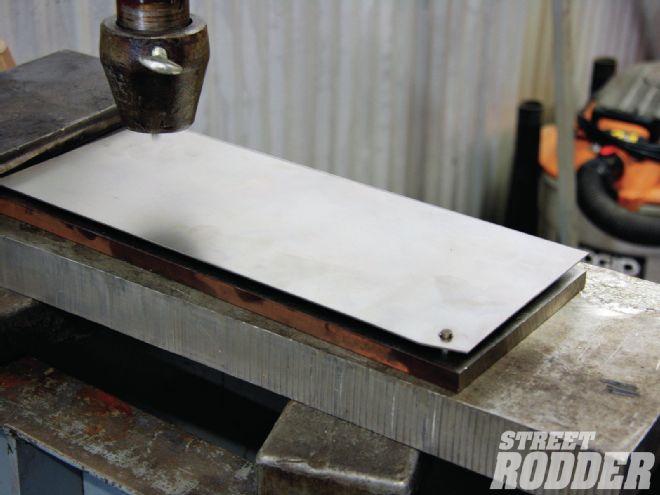
7. Two more steel plates are added to even out the pressure that will come from the hydraulic ram.
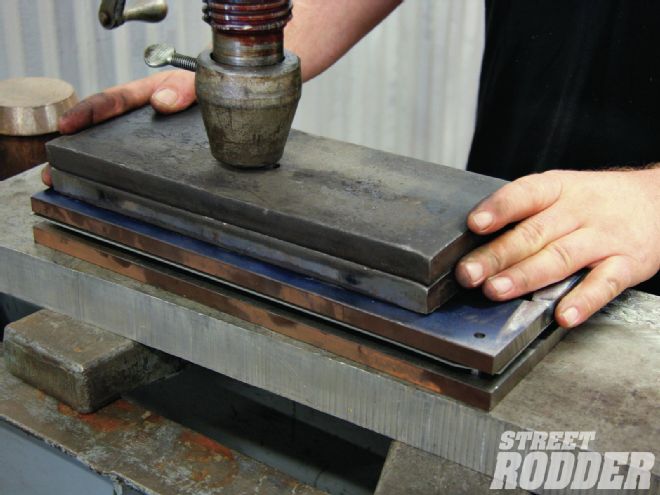
8. Once the ram compresses the assembly, you can see where the steel sheet has been drawn down and over the die.
9-10. The assembly is taken apart and the stamped piece can be removed from the die.

11. Double-checked for fitment on the jig, Walden will now trim the piece and add it to the part that will become the car's quarter-panel.
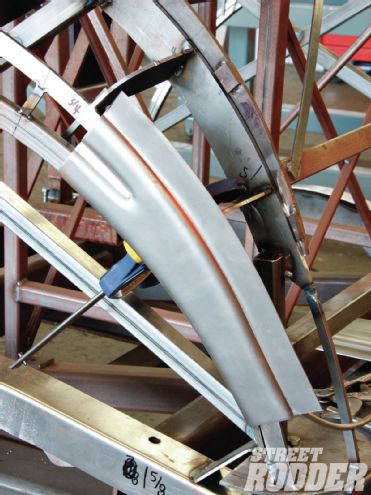
12. The final piece goes unnoticed once the rest of the car's metalwork is completed.