Last issue we showed you a budgeted way on how to rebuild the front end of a square-body Chevy truck. The budget turned from replacing the front control arm bushings and other parts to completely replacing the front end. We had no idea that the front control arms were that damaged until we stated taking them apart.
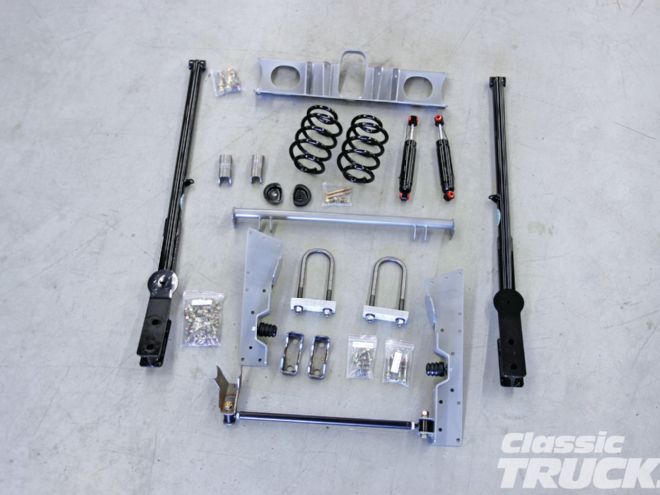
One might think that since we are trying to stay on a budget of $15,000-20,000 that we are going to cheap out on the rear suspension. My answer to that and my personal opinion is that 99 percent of you readers already know how to flip leaf springs and or put lowering blocks on. So what could we install that would make the truck ride like a dream and still remain relatively cost effective? The answer was a Classic Performance Products trailing arm conversion that took the stock leaf springs and converted them into the earlier '63-72 Chevy trailing arms.
The difficulty of this CPP kit is not really that hard because most of the parts bolt on, but plasma cutting, drilling, and welding are required. This kit is not going to be a simple pull it apart and slam it together in 20 or 30 minutes, but rather something that you take your time with and measure twice. And trust me when I say it rides great because if you've ever been in a truck with trailing arms versus leaf springs your kidneys know the difference and so will your wife. How do trailing arms handle once installed? A simple answer to that is NASCAR uses them today as rear suspension on the cars and they handle very good. So now that I've gone over some of the questions about trailing arms let's get into the install!
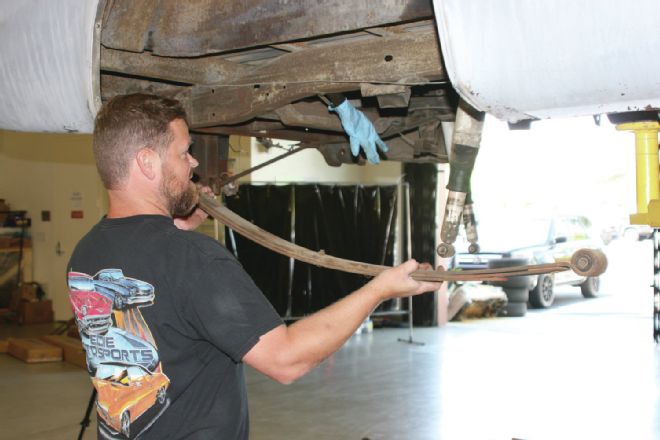 1. We first supported the truck on a rack and making sure it was safe to work under. Next we removed the rear axle and leaf springs, but I won't bore you guys with those details.
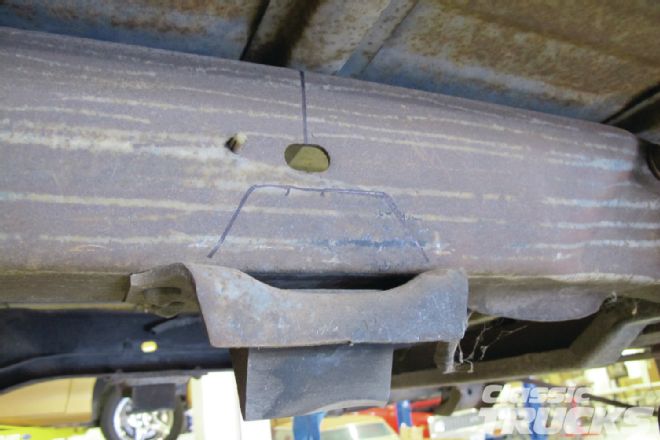 2. The centerline and or wheelbase for the rearend placement was established by measuring the frame and or seeing where the stock bumpstops are placed. Each frame is slightly different so your frame may vary.
 3. Next the passenger and driver side C-notch were used as templates to measure where the stock frame needed to be cut.
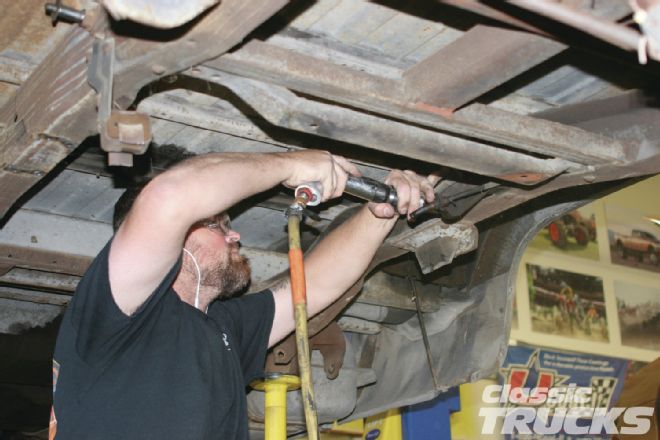 4. A large air hammer was used to remove the rivets holding the stock bumpstop on. Make sure to use ear protection and safety glasses.
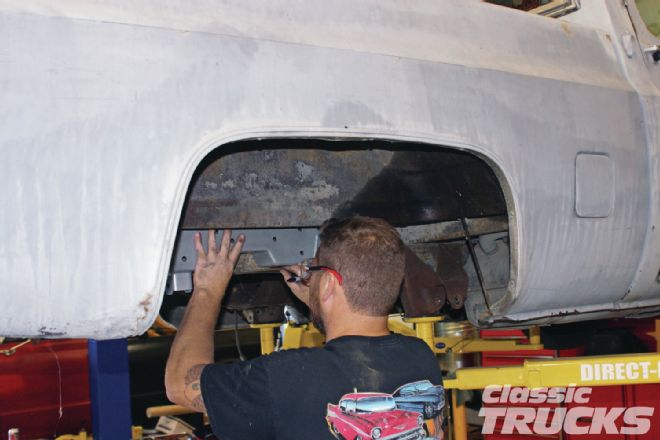
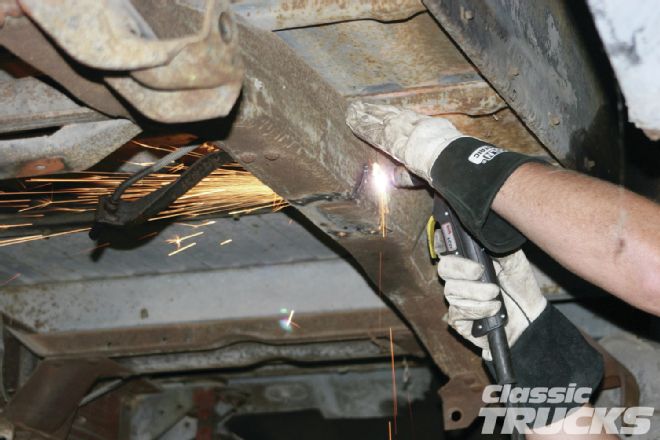 5. A plasma cutter was used to make room for the C-notch kit. CPP uses the C-notch to locate a Panhard bar and also to increase the overall travel of the kit.
 6. Keep the air hammer out because you will have to remove several more rivets that are in the way of the kit.
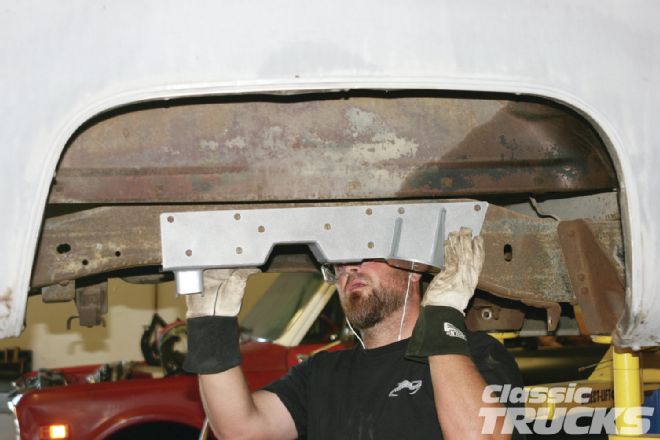 7. After a simple test fit and a trim or two with the plasma cutter the C-notch is ready to clamp on the frame.
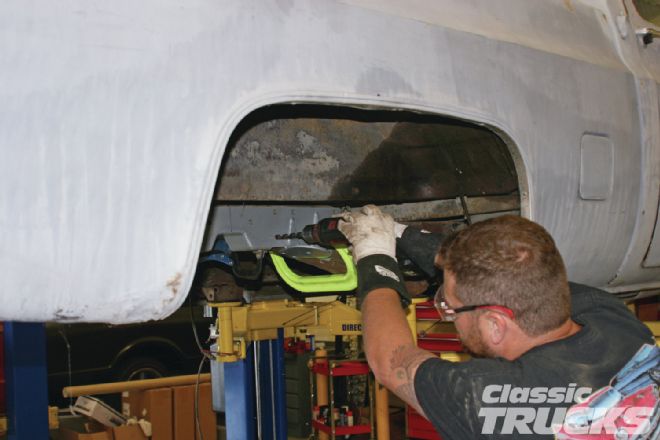 8. Using several large clamps to hold the C-notch up, I was able to drill the holes needed to bolt the notch in. To get the holes started a sharp pointed punch was used to center the drill bit. You can start with a smaller drill bit and work up to the larger bit to make drilling easier on you.
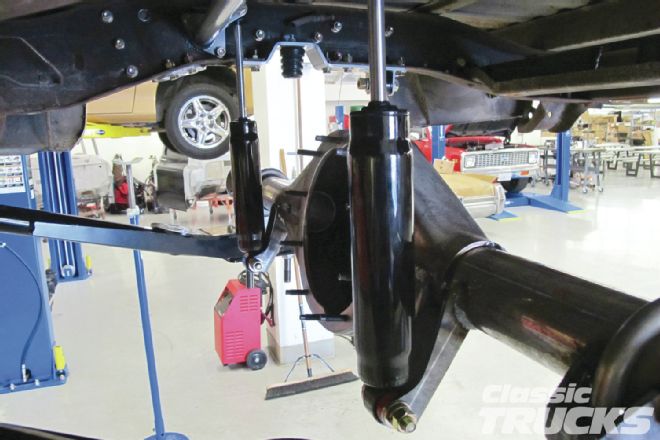
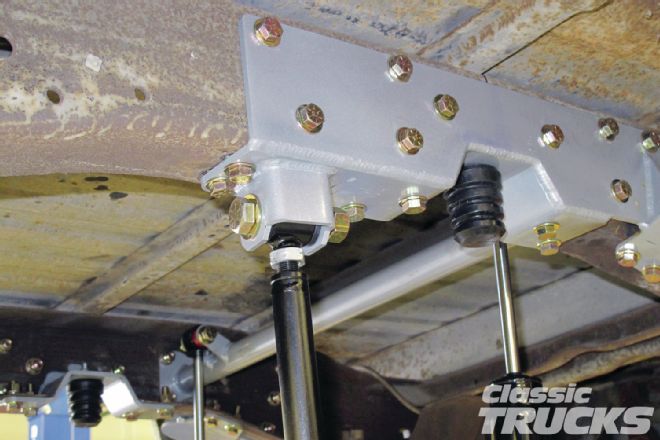 9. With the holes drilled on both sides, the next step was to install the upper shock crossbar from one end to the other. It is also a good time to install the soft rubber bumpstops for the rearend. The bar hanging down on the left is the Panhard bar; this will mount on the rearend via a welded on bracket.
 10. The CPP crossmember was slid into place and measured side to side and also front to rear to make sure it was square.
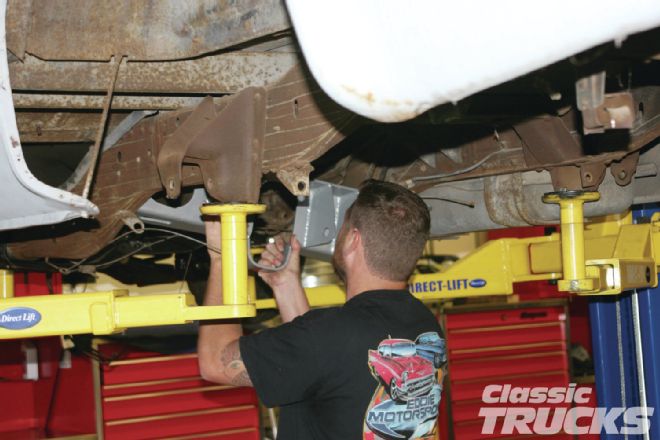
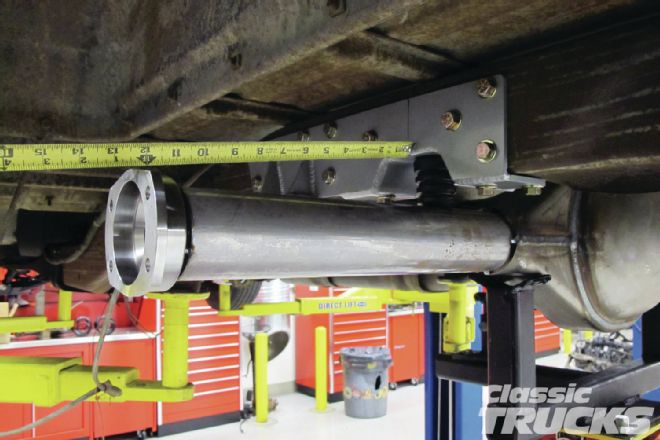 11. You can reuse the 12-bolt rear truck axle, but in some cases like ours the axle was bent and was not cost effective for us to reuse. Instead of trying to modify a 12-bolt we called Currie Enterprises to make a replacement housing, but in the Ford 9-inch style. Starting with a bare Currie housing we were able to center it in the frame by measuring side to side and front to back.
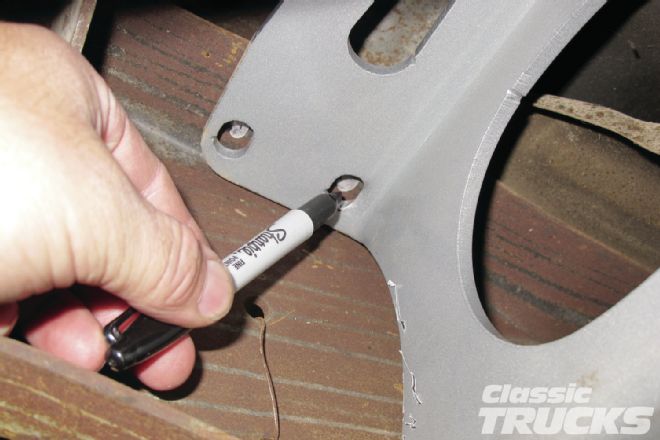 12. Now that we established where the rearend was sitting, the front crossmember was adjusted to be center with the rearend. I like using Sharpie silver or black pens to mark the holes on the frame; this way I can see where I need to drill my holes.
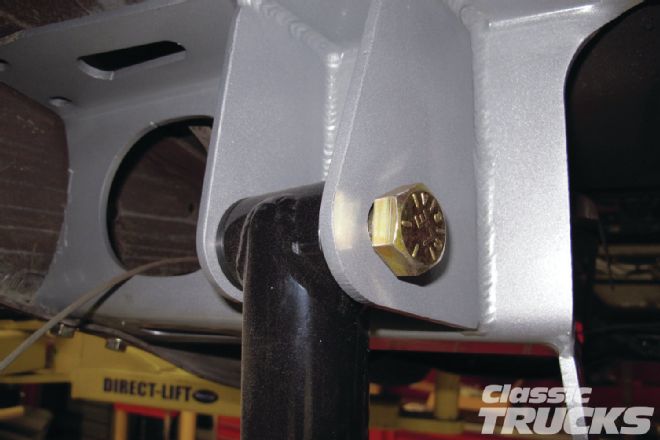 13. The beefy CPP trailing arms were installed on the crossmember side and hand-tightened so they would move easily for mockup.
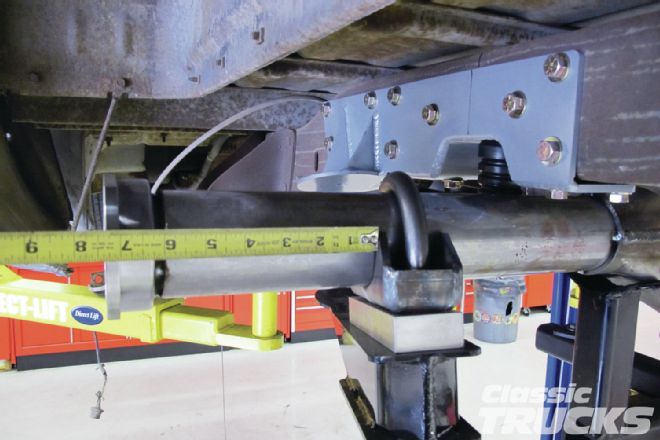 14. Measure from the CPP trailing arm mounts to the end of the housing on each side.
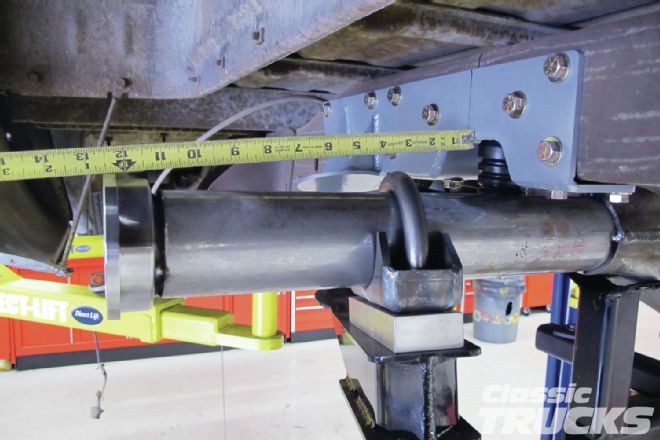 15. Also measure from the frame to the end of the housing on both sides to make sure the housing is in the frame squarely before tacking the bracket on.
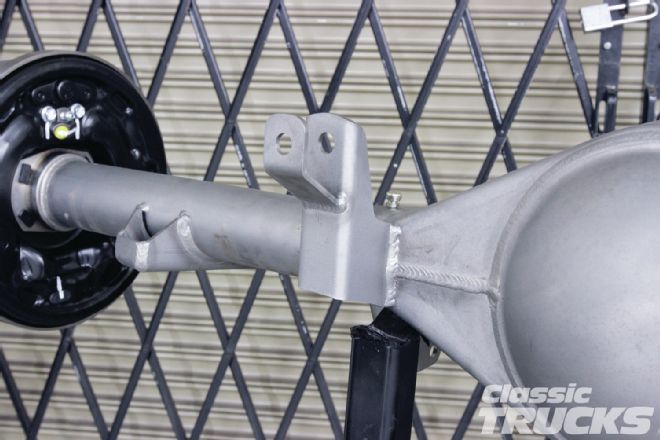
 16. The CPP lower shock mounts were welded on the Currie rearend. Before welding I checked that the shock had clearance and that the shock didn't bottom out before the axle hit the bumpstop. CPP recommends that the shock not bottom out before full upward suspension travel.
 17. The CPP Panhard is adjustable on both ends using left- and right-hand rod ends.
 18. The CPP Panhard bracket is mounted on the Currie 9-inch housing by placing the axle at ride height and centering the axle to the frame. Then I tacked the CPP Panhard bar mount to the housing and moved the rearend up and down to check for binding. Make sure the Panhard bar and rod ends are parallel with each other so they travel on the same plain.
 19. The springs can be attached and are held on by plates that go in between the spring.
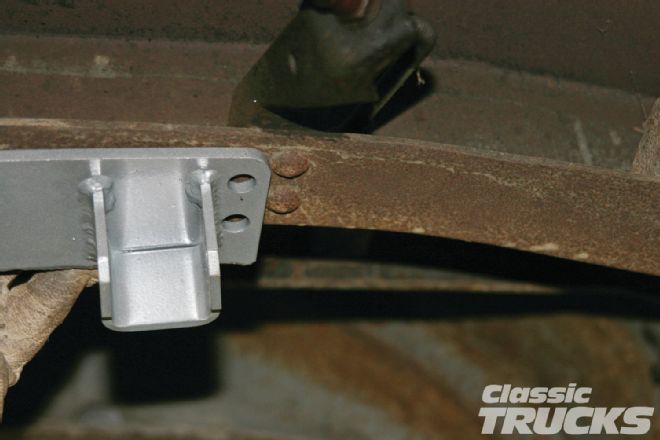
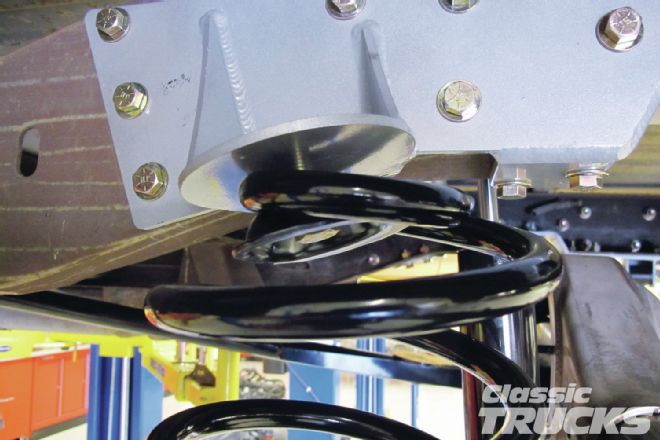
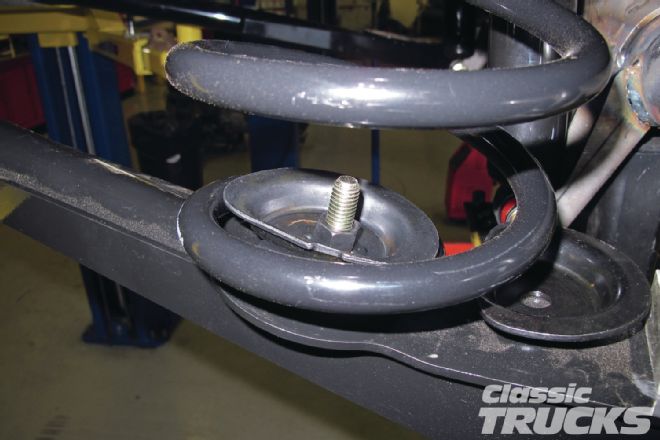 20. Shown is the lower spring mount.
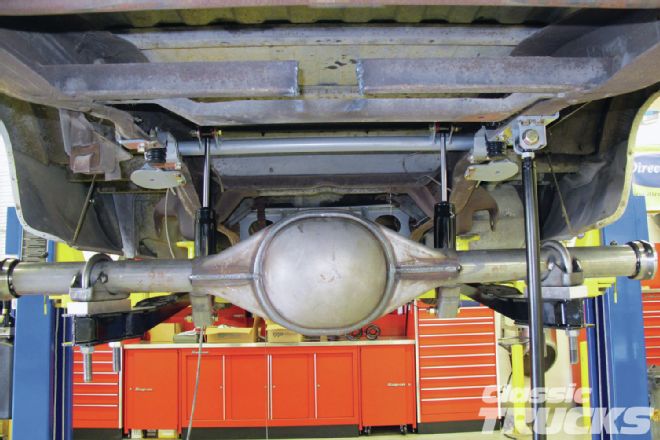
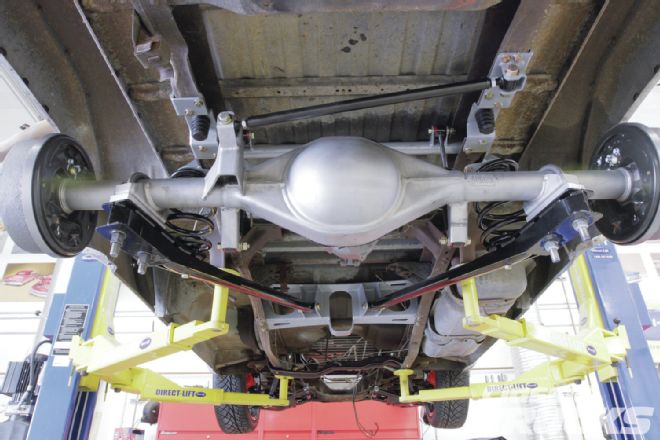 21. The Currie 9-inch housing was completely welded by Currie, and with the CPP trailing arm conversion installed we are done for now.
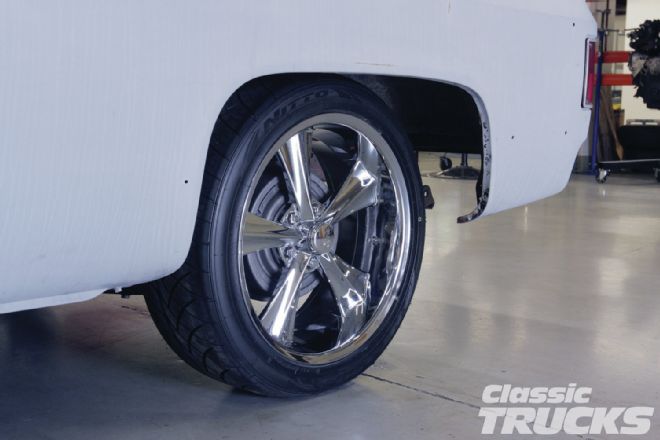 22. We have been waiting for a while to install the 20-inch chrome Rocket Racing Wheels 20x8.5 Booster wrapped with Nitto NT 420s 245/45/R20.
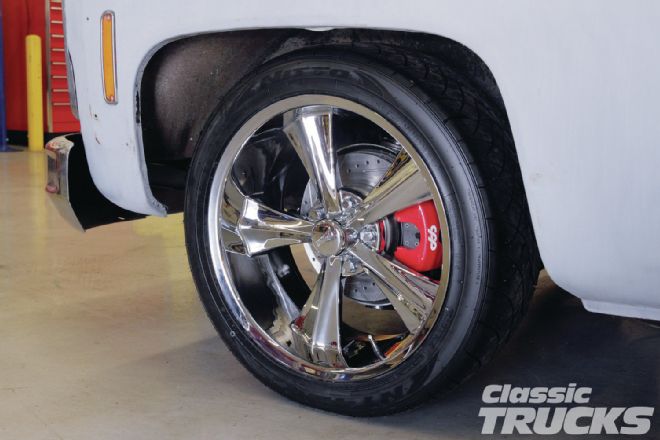 23. We have been waiting for a while to install the 20-inch chrome Rocket Racing Wheels 20x8.5 Booster wrapped with Nitto NT 420s 245/45/R20.
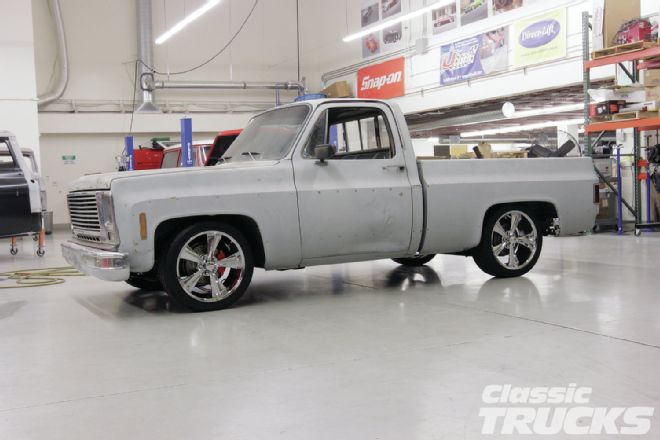 24. With the engine not in the truck, our 1979 Chevy C10 square-body sits really good. We can't wait to get this thing on the road