So you think you have what it takes to build your own custom frame? You’ve got a welder, some handtools, a couple of metal-cutting devices, and tons motivation. This is not a task that a novice welder should take on, but rather someone with intermediate to expert fabrication skills. Nor would I suggest that you try this by yourself because it is a very large project.
I started off already having my Fatman front suspension and rear CPP trailing arms already adapted to the stock chassis. So some of the hard parts were already completed. Now the only question was what to do on the center of the chassis? A simple transmission crossmember was not going to handle all the abuse and I have now gone to the point of no return thinking about purchasing a chassis.
So let’s talk about structure and crossbracing. You can add metal all day long to your frame, but if it’s not going to strengthen the chassis you are doing just that – adding metal. And when adding metal you are adding weight that slows the truck’s overall performance down. Performance like ¼-mile times, stopping, handling, and fuel mileage can be highly reduced from adding too much weight. But all the above, except fuel mileage, can easily be improved by adding the right structure to the stock frame.
Think of Triangles
Every stock truck frame is a basic rectangle with crossmembers running crosswise to help hold weight and support the frame from twisting and or flexing beyond repair. Now think about a bicycle frame, see any squares? Nope, me either. Now look at a metal bridge or anything that is engineered to hold weight lengthwise. Did you notice that the bike frame, bridge, or other structure all had small triangles within the main structure?
Triangles, unlike squares or rectangles, are able to withstand more force because in order to deform a triangle you need to compress or stretch its sides and that is not easy to do. So in a nutshell, by adding triangles to your stock rectangle-shaped frame you are adding strength or the ability to support the extras. By extras I mean engines that make over 250 hp, big brakes such as Wilwoods six-piston calipers, and suspension components such as CPP trailing arms, and Fatman IFS.
Now I’m not saying you will have to go to the lengths that I am to get a great all-around performing pickup. In fact Total Cost Involved, Roadster Shop, Morrison Enterprises, and Fatman Fabrications have all proven that it is about where you place the crossmembers, bracing, and suspension that makes the vehicle perform.
Difference in DIY or Purchased?
The only major difference in attempting to build your stock frame is that you have a ton of work ahead of you if you attempt to do it yourself. Another thing to think about is if your frame is in great condition? All the others listed above are using brand-new steel and computer-generated CAD or Solid Works drawings that not only help strengthen the weakened areas, but can also save weight where I thought I may have needed to add it. I would also say that in no way could I ever compete against the craftsmanship of an established frame manufacturer. They simply can make a better finished product.
Cost and Effect, or Catch 22?
You may already have a welder that takes a huge chunk out of the budget, but what about the other tools like cutters, grinders, and consumables? Sanding discs, MIG wire, TIG rod, gas, electricity, metal, labor, and friends’ labor (beer) – and that’s if you’re not paying for any other form of labor. I’m sure I forgot something, oh yeah, what about time away from your girlfriend, friends, or family? I spent a lot of time getting everything ready and working on the frame and that doesn’t include all the time John and RJ donated.
What about if I purchase a new frame? Then I would take state laws into consideration. The DMV, CHP, or local police department could provide info on the fee for titling the new frame. I couldn’t begin to explain how to do that because every state is different and you may or may not have any extra titling issues. Check with your local DMV, law enforcement, or SEMA for further information.
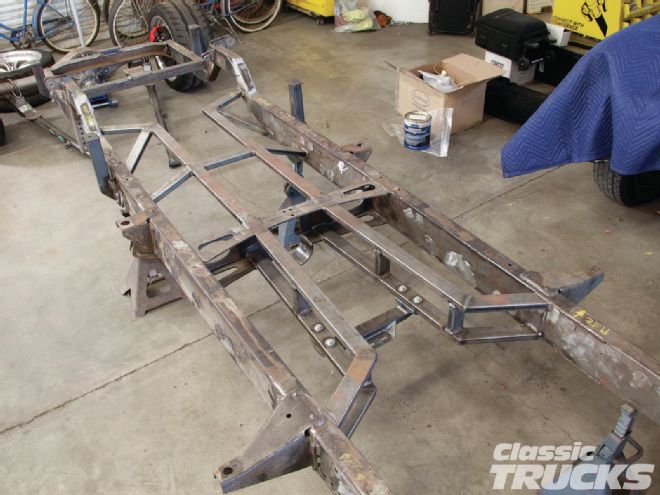
01 We started off by removing the cab, bed, engine, trans, driveshaft, rearend, and frontend. Anything that is attached to the frame needs to be removed.
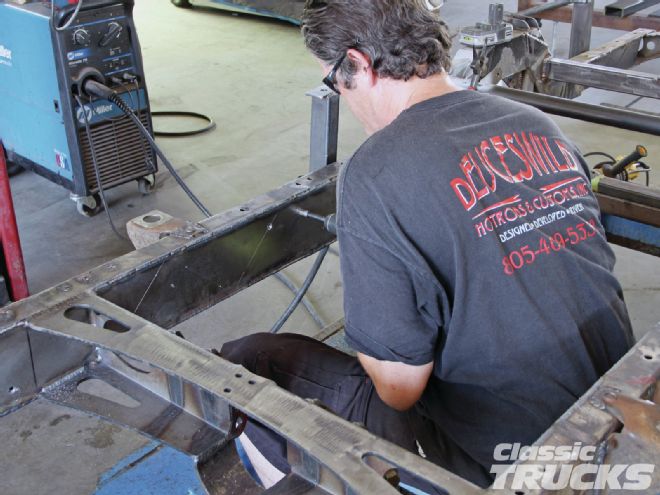
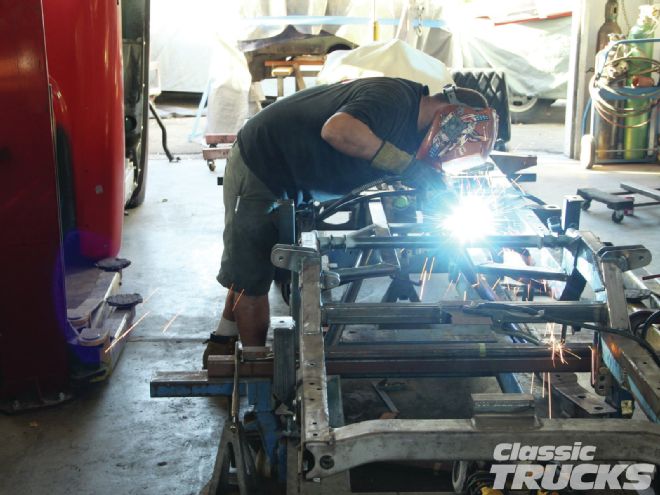
02 Next, RJ Plent from Deuces Wild started removing the rusty areas so that we could secure the frame on a frame table. You don’t need to use a frame table to complete this job, but it sure does make things go faster because you don’t have to wait for the frame to cool off while welding.
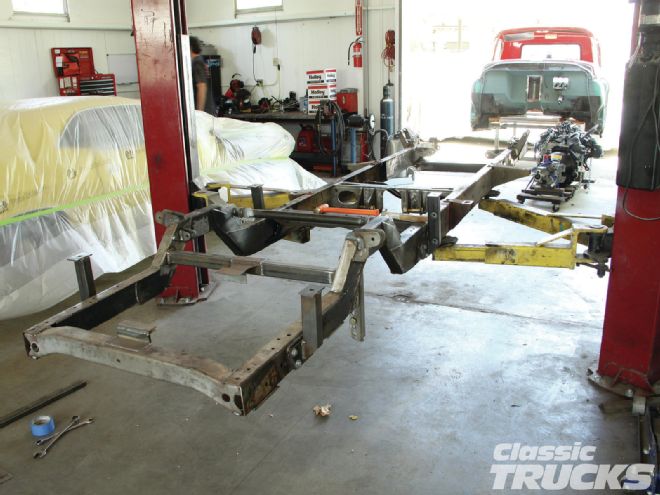
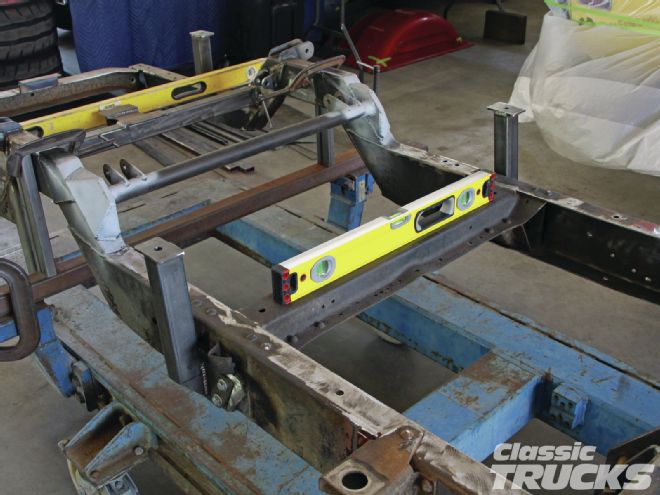
03 The next step was placing the frame on the frame table that Coachcraft let us borrow. We gave the frame a 1-degree rake down toward the front and leveled it side to side.
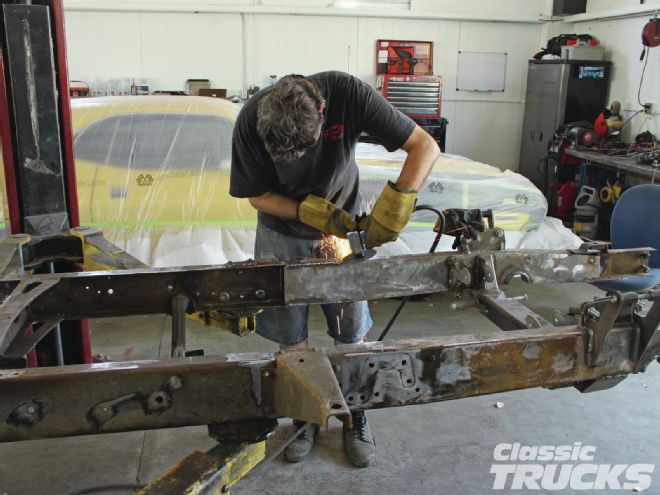
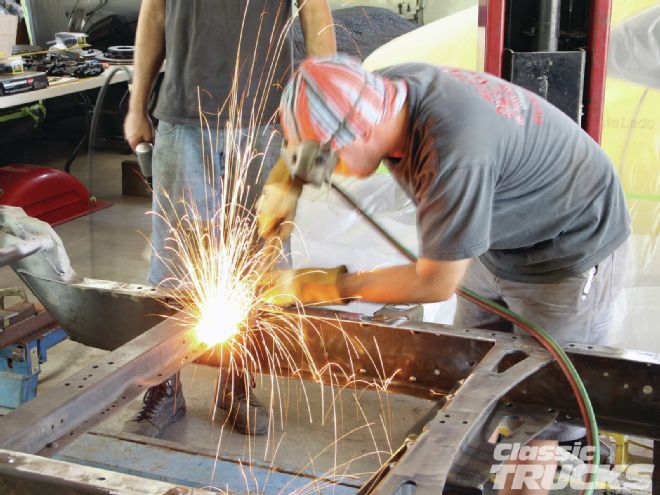
04 Next, (RJ left and John right) a torch and air hammer were used to make short work of those pesky rivets that are everywhere.

05 Since we are making our own crossbracing, also known as K-member/ X-member, we no longer needed this factory crossmember.
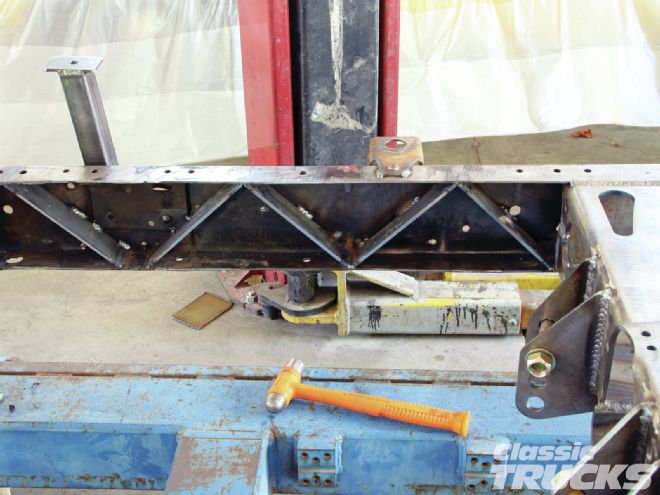
06 We then used 2x1⁄4-inch-thick steel strap to truss the inside of my stock framerail. This would hopefully help stiffen the chassis for autocross, but I don’t know that it was worth the extra effort. You can get away with just boxing your stock frame and it would likely be more than strong enough.
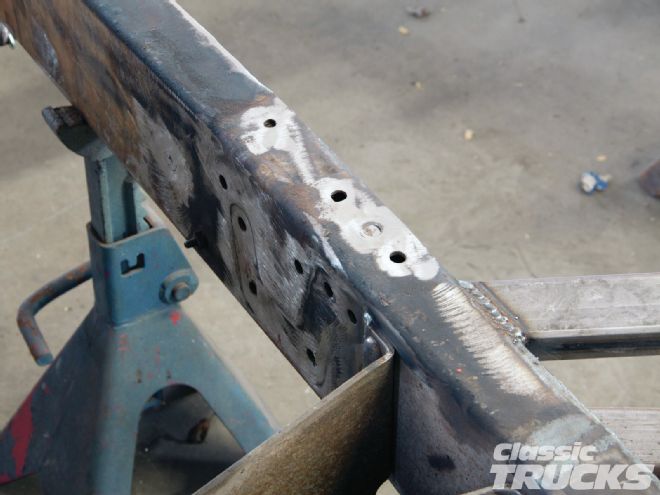
07 We then made boxing plates for the framerails out of 6-inch-wide 10-gauge cold rolled steel. The plates have to be cut down to match the frame and I like to place the boxing plate on the inside of the rail.
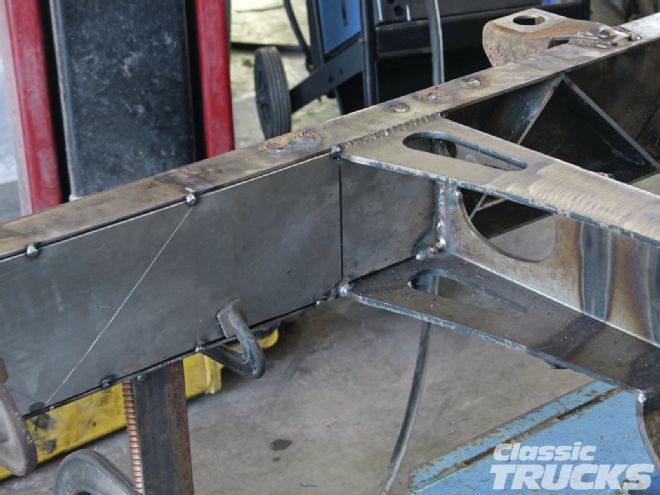
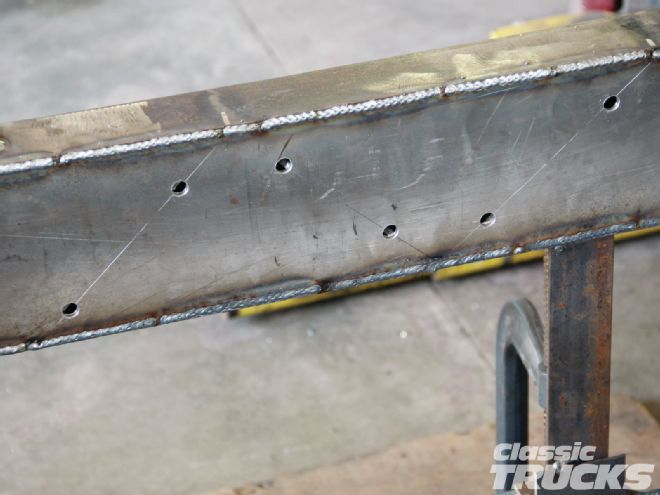
08 We marked the inner boxing plates to match the 2x1⁄4-inch truss we installed on the inside of the framerails. RJ is drilling into the boxing plate with a rotor broach so that we can tie the frame, truss, and boxing plate all together.
09 After drilling the frame we could then weld and tie everything together by filling the drilled holes with weld.
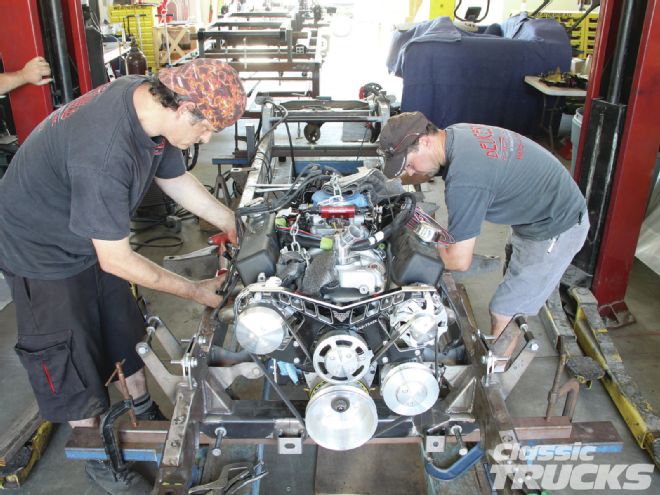
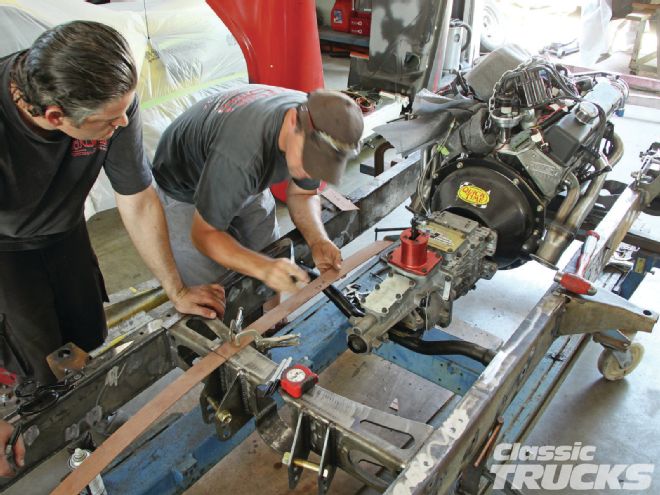
10 It is a good idea to install the engine and transmission that you will be using so that you will not run into clearance issues.
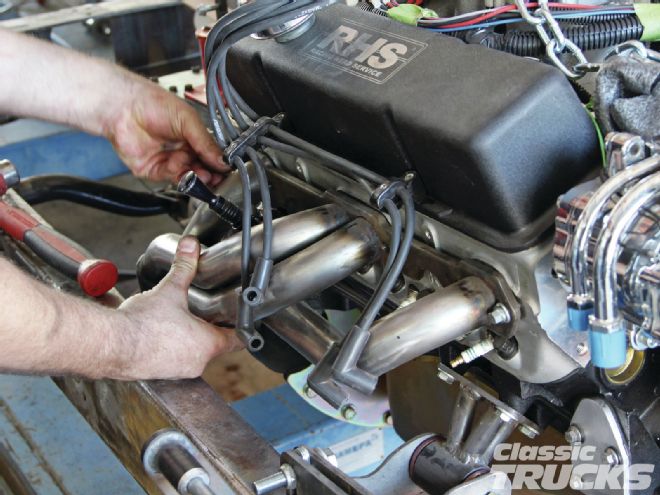
11 The exhaust was also installed to make sure the new K-member/X-member would not be in the way of the exhaust.
12 John, RJ, and I are mocking 2-inch Luan strips on the frame to see where we can add an X-member/K-member. The Luan is easy to cut with scissors and test fit onto the frame before cutting any metal.
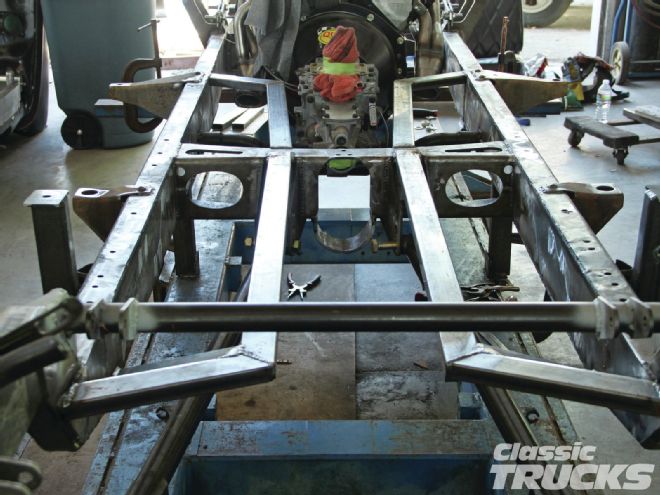
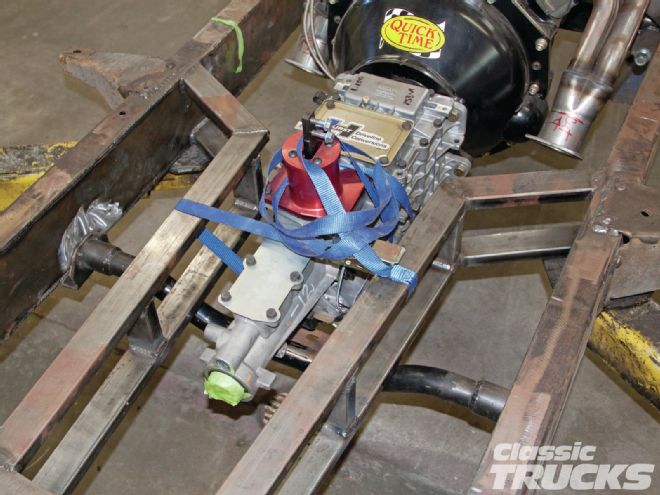
13 We used 2x1-inch 0.120-wall steel to make our center section. Now you have to take into consideration that we only have so much room on the frames to work with. So making a perfect X-member or K-member that will work around the transmission, exhaust, and suspension parts is almost impossible.
14 Now that we had a template on one side it was easy to cut both driver and passenger sides. We copied the front bracing and tacked in the rear section of the X-member/K-member.
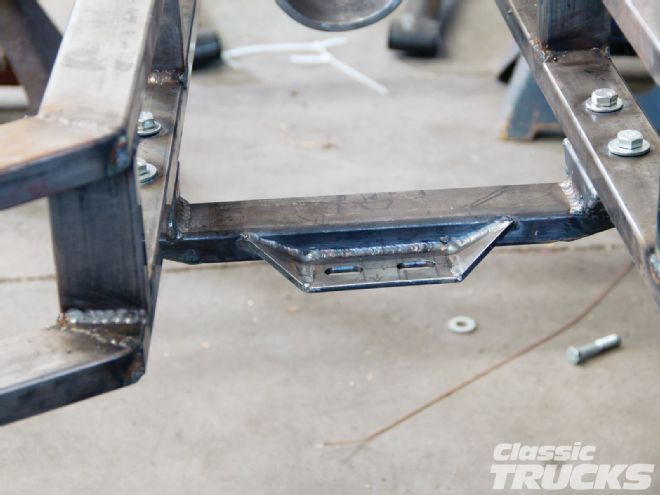
15 We cut the square tubing so that it would slip over the CPP crossmember thus giving me more area to weld. The placement of the tubing is also important because it also helps support the CPP trailing arms and crossmember.
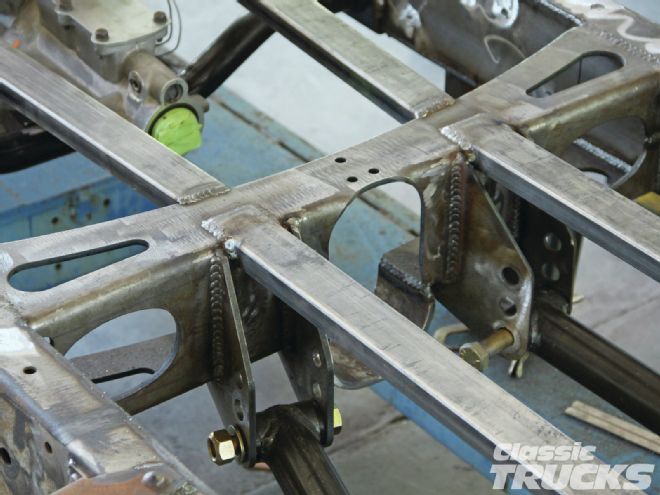
16 After tacking all the new braces in I finish welded some of the square tubing that I could easily get to.
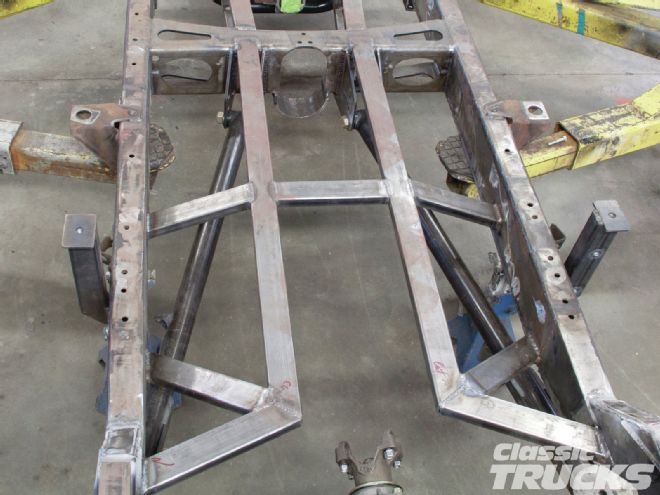
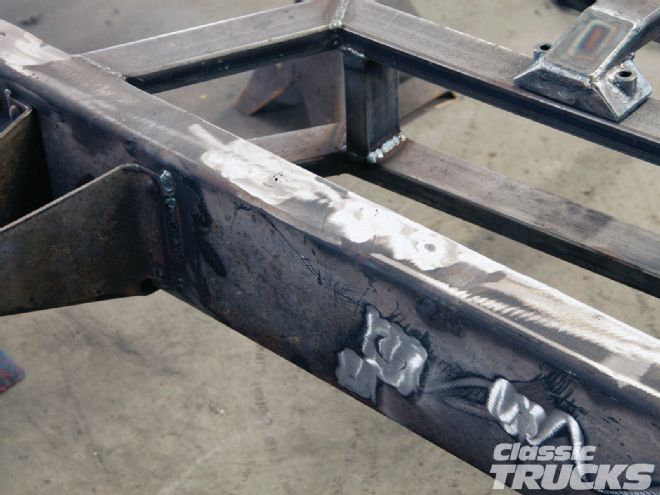
17 In order for the K-member/X-member to work on the frame it needs to support the upper and lower part of the frame. If you crossmember only on the top of the frame then the bottom would most likely have no support.
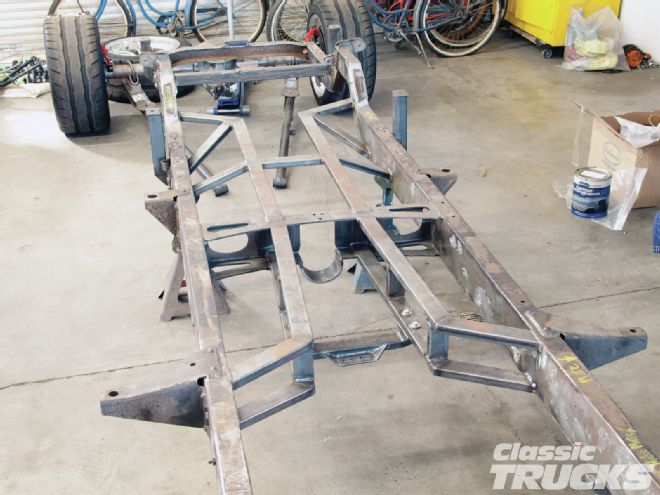
18 It is hard to build structure around moving suspension parts such as the long CPP trailing arms on my truck. There are tons of ways to add structure to a frame, but this is the way we decided to do it without adding a ton of weight. Notice the trailing arms are clear away from the frame and will not cause suspension bind from hitting or bottoming out against the chassis. Some of the supports also drop down toward the bottom of the frame making the lower part of the frame tie into the new X-member/K-member.
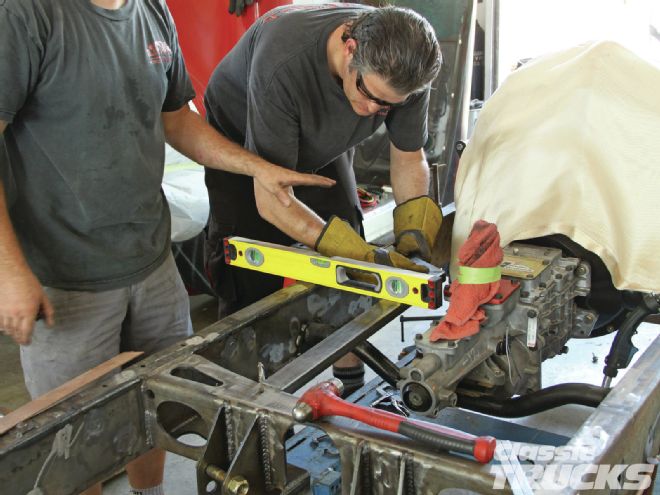
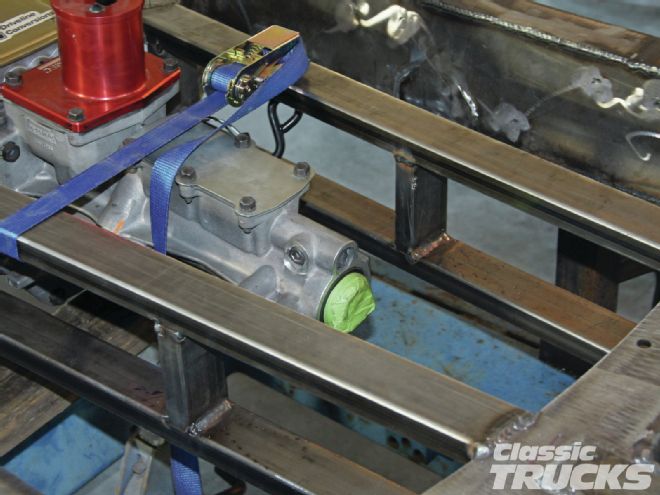
19 Since I already know where the transmission was before, all we needed to do is take a few measurements off the old transmission crossmember. This way we could set the transmission, pinion, and driveshaft angle to where it was before.
20 I made the transmission mount out of the same square tubing that the crossbracing was made out of. With the engine and transmission out, I could now finish weld some of the joints that were not accessible.
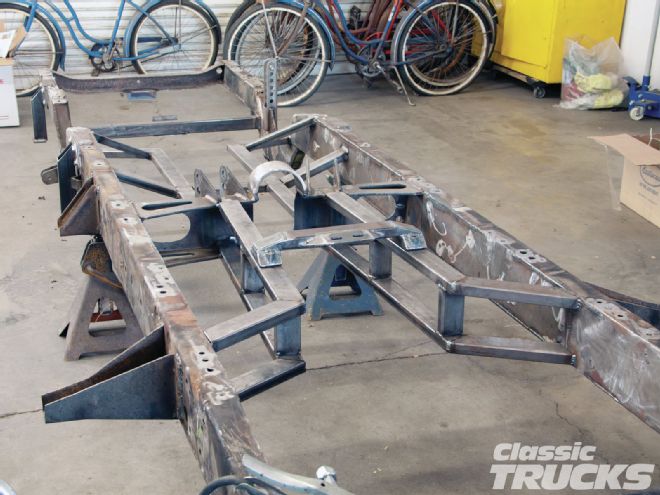
21 Wow, that frame is starting to take shape.
22 With most of the top crossmember welded and the chassis removed from the frame table we flipped it over so that we could weld easier.
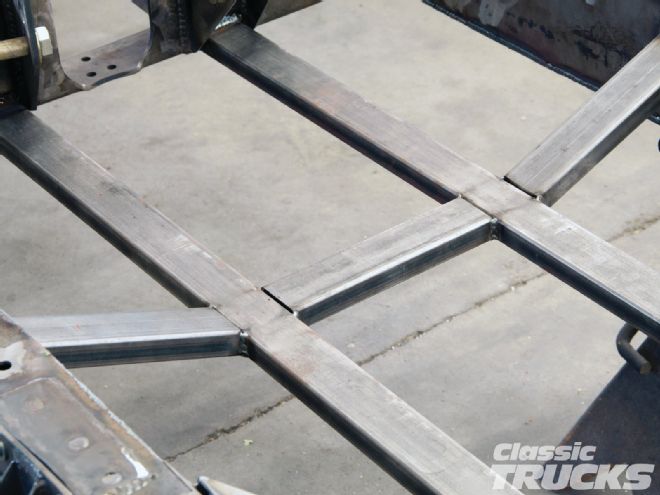
23 We beveled the edges on the square tubing so that the weld would sit flat on the tubing.
24 Since the frame was turned over it is a good time to fill in all those holes that are on the underside of the frame. It is easier to weld toward the floor than over your head or on your back, plus the weld always looks better when welding straight down.
25 After filling the holes I used an Eastwood 5-inch grinder with a 36-grit sanding disc to flatten the welds on the frame. When everything was said and done I see why people purchase custom frames, because it was very labor intensive. All I have to say is do your homework before building a custom frame yourself and definitely look at the option of buying a frame if that is in the budget.
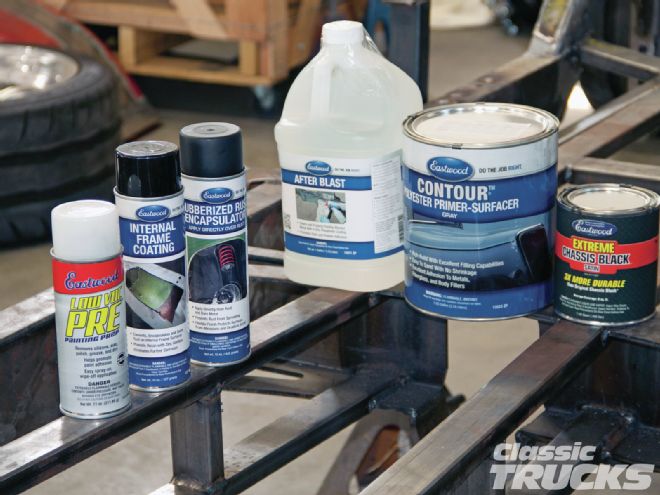
26 After you sandblast or grind the frame the next step is prepping the frame for paint. I will be using Eastwood single-stage chassis black paint and primers. Eastwood also has an internal frame coating to help prevent rust inside the framerails.