In many vintage trucks, the stock fuel tank was located behind the seat, inside the cab. While this was a very common practice for a very long time from most manufacturers, it never really made sense. Locating the fuel tank under the bed and behind the rear axle is a more suitable location for many contemporary truck builders. This location provides better weight distribution and gets the smell of gas out of the cab, which are two definite advantages. On later trucks this location might interfere with the stock positioning of the spare tire, but on most older, vintage trucks the spare tire was mounted on the bedside anyway. Oh well, whatever the reason you choose to move the gas tank is up to you, just be sure that you do it correctly and most importantly, safely.
On my '68 Chevy C10 the previous owner had replaced the gas tank, but did it with an OEM-style tank. Not only does this take up room in the cab, but if it's not vented correctly the fuel smell lingers in the cab. Additionally, with the 400-horse stroker motor under the hood a rather noisy electric fuel pump had been installed just under and outside of the cab. Perhaps I'm mellowing (or maybe getting soft) in my old age, but I wanted to get the excess noise and the gas smell out of the passenger compartment.
The first step is determining what size tank will fit into the proposed location. Depending on your truck, there may be N.O.S. or reproduction optional auxiliary tanks, or you may need to find a universal tank that fits your requirements. For my '68 Stepside, I chose a universal pickup tank (PN TAN-UT) manufactured by Tanks, Inc. and sold through Yogi's. The tank has a 14-gallon capacity, fits real well where I want to mount it, and includes a rollover vent valve that will stop the flow of fuel to the engine should the truck get upside down.

Universal mounting straps are also included with the tank, but I chose to use some beefier strap steel that I had on hand. In either case, you will need to determine how high or low the tank should be mounted in the truck's frame and bend the straps accordingly. I had the bed off the truck for some unrelated bodywork, making the gas tank installation easier, but you can probably leave the bed on to install a new tank. Since the bed was off during the installation I measured the height of the bed's cross sill to determine how much room would be available above the tank, yet remain underneath the bottom of the bed wood. With that information, I supported the tank on a floor jack at the desired location and measured the necessary dimensions for the two mounting straps that would support the tank between the two rearmost crossmembers of the chassis. The strap material was then taken to Morfab Customs so that the strap material (11/2x1/8-inch thick) could be bent in a sheetmetal brake for nice, crisp bends. The straps could be bent in a vise if necessary, but those results may leave a bit to be desired.
Back in the garage, I positioned the mounting straps between the two crossmembers so that they would align laterally with the respective grooves in the tank. I then set the tank in place and double-checked my measurements. Locations for 3/8-inch mounting bolts were then determined and center-punched toward the forward and rearward ends of the mounting straps. The mounting straps were intentionally left long on the ends, but will be trimmed later. Although the gas tank will not bounce out while the bed is on, I chose to add a top strap that mounts to each mounting strap above the tank to minimize vertical movement of the tank since the tank is not physically attached to the mounting straps. Before trimming the mounting straps, I used one to mount the rollover vent valve, which should be mounted in a vertical orientation and as high as possible above the tank. The rollover vent valve connects to the tank via a length of rubber fuel hose.
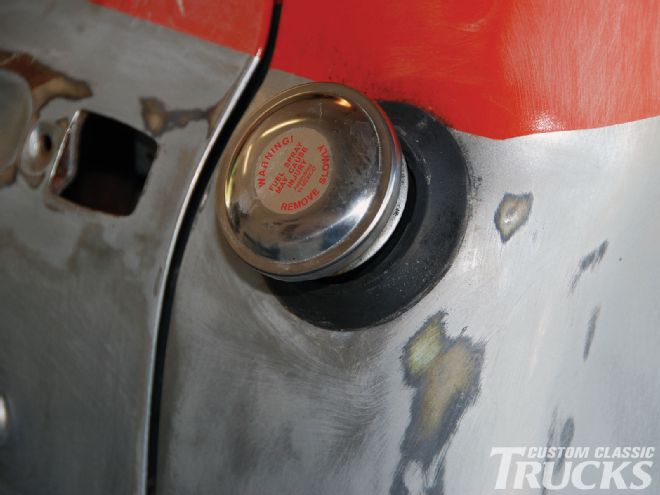
 With the gas tank in the stock location, the electric fuel pump is currently mounted just beneath and outside of the cab. Be sure to drain the existing fuel tank before attempting to move it and have some method to catch fuel in the fuel lines.
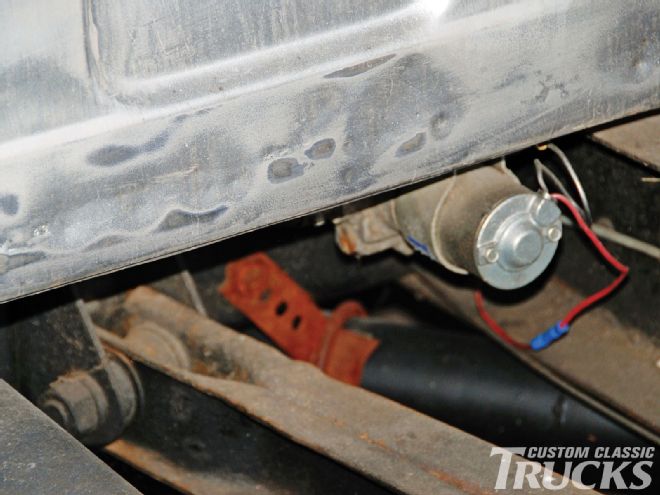
The next step is to relocate the existing electric fuel pump closer to the new tank. Even though it was not mounted this way previously, the fuel pump should be mounted vertically (the inlet and outlet path should be horizontal) for optimum performance. It should also be mounted so that the inlet and outlet are lower than the lowest portion of the tank or as close to that as safely possible. Using some of the strap steel that was left over, I fabricated a bracket that mounts the fuel pump accordingly. The fuel pump is somewhat protected by the rear axle housing and the fuel tank, so it should be safe since this will be a paved-surface-only vehicle. For an off-road vehicle, this location might be cause for some concern, but with the typical ride height of an off-road vehicle it most likely would not be a problem there either.
With the tank and the electric fuel pump mounted securely, it was time to route the fuel line. This truck uses a carbureted engine, so the fuel line consists of both 3/8-inch rubber fuel hose and 3/8-inch steel hard line, but does not use a return line. I used a section of rubber hose to connect the fuel pickup fitting to the inlet of the electric fuel pump. Another section of rubber hose connects the outlet of the electric fuel pump to the hard line that runs along the inside of the passenger-side framerail. From the end of the hard line, a short section of rubber hose is used to connect an inline fuel filter and finally to the carburetor. To prevent the fuel line from vibrating or chafing, the steel hard line is clamped in place with rubber-coated line clamps in multiple locations. Now I just need to mount the fuel sender and related wiring. Be sure to ground the filler neck and the fuel level sender. Oh yeah, still gotta remove the original tank and fill the filler hole. The fun continues.