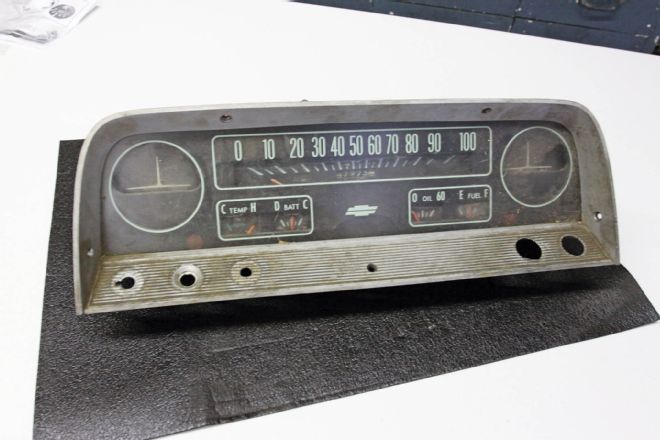
For those who own a 1964-66 Chevrolet C10 truck, and are getting tired of staring at an instrument cluster packed full of faded gauges, here’s some good news. The folks at LMC Truck recently added several new restoration items, including a gauge refacing kit, that for under $50, along with a little labor, will return gauge faces to like-new condition.
The dash cluster shown is out of my 1966 Chevy C10 shortbed Fleetside. In addition to refacing the gauge faces, I figured as long as I had the instrument cluster disassembled it’d be a good time to install LMC Truck’s original-equipment-style tachometer. What I didn’t plan on, that came as an added bonus, was the gauge refacing kit included an air-pressure gauge face.
To find an original factory tachometer in a C10 instrument cluster is rare; to find an air-pressure gauge from one of the larger C-Series Chevy truck instrument clusters is extremely rare. So rare that most C10 fanatics have never even heard the gauge exists. For a really clean resto-mod look, I’m going to utilize the air-pressure gauge to monitor the KP Components air-ride setup that I’m going to install in the pickup at a later date.
Although there’s not a lot of labor involved to refacing the gauges, they are delicate instruments, so care should be taken not to bend the needles or harm the internal mechanisms. The best advice I can offer, other than reading every caption here first, is to do a practice application using a dial face decal that you aren’t going to use.
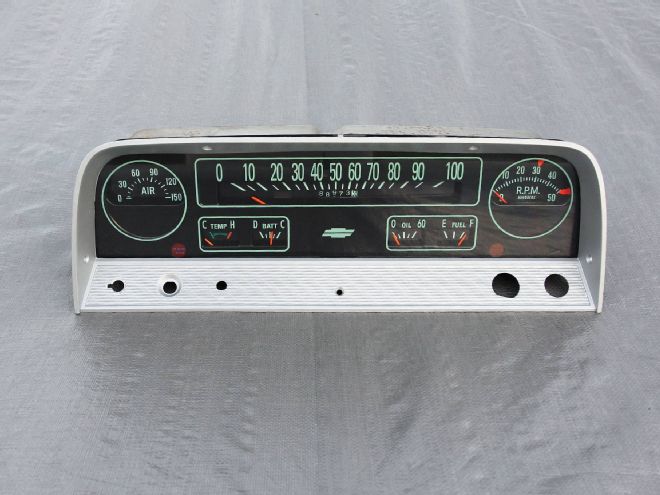
 This is the deluxe instrument cluster. LMC Truck stocks the base model lens face, speedometer with idiot lights and the lens face for the deluxe instrument cluster that includes a temp and oil-pressure gauge with an ammeter. Both clusters feature a fuel gauge.
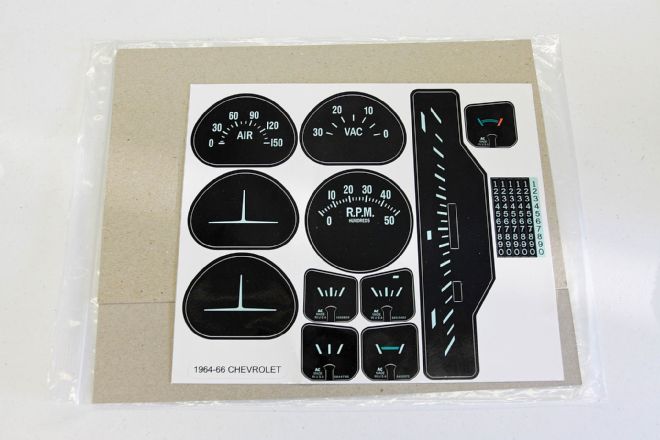 The LMC Truck 1964-66 Chevrolet C10 gauge-refacing kit includes every dial face needed to do a complete restoration or a little customizing like I did to mine. This is a top-quality kit that’s made with genuine 3M products.
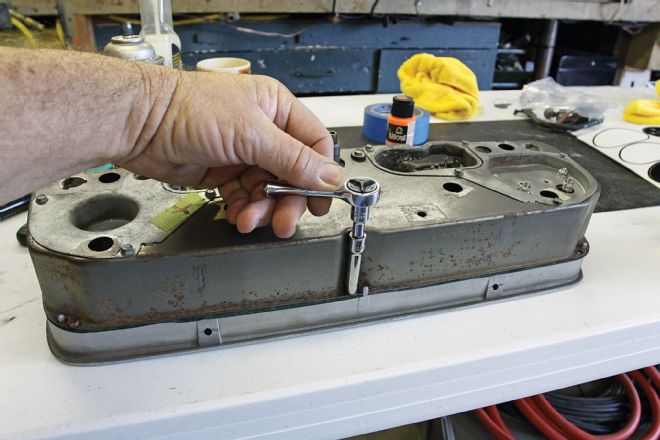
 Separate the instrument bezel from the gauge cluster housing by undoing the 5⁄16-inch hex-head self-tapping screws. Then unplug and remove the gauge wiring harness.
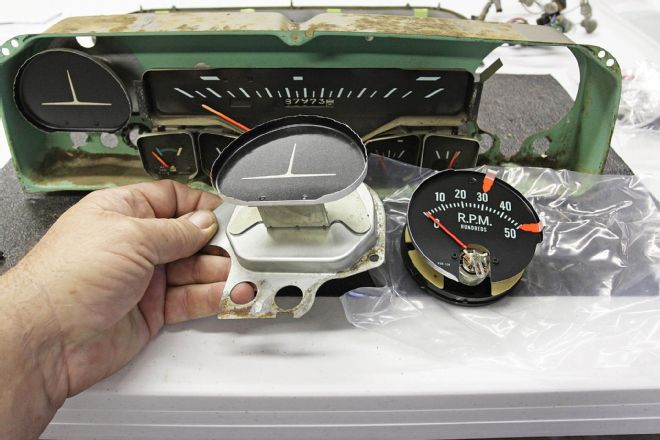 The factory-style tachometer attaches to this mounting plate. Remove the two 5⁄16-inch hex-head screws and insert the two studs on the back of the tachometer into the mounting plate.
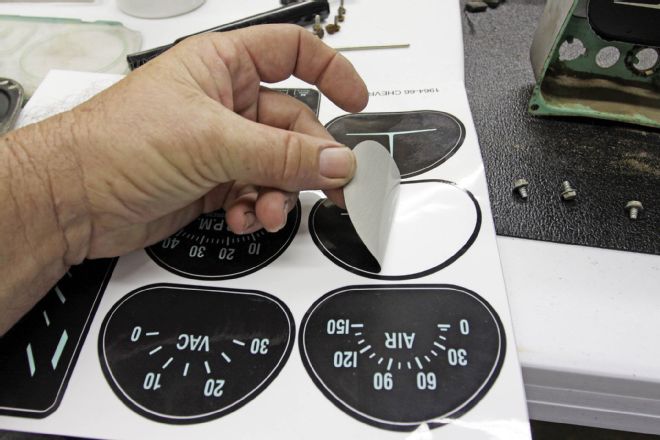 Practice decal installation with a decal that you won’t be using. Peel the gauge face decal away from its backing.
 Square the decal with the blanking plate and start applying at the widest area first. Press the decal completely smooth with fingertips behind a soft towel. Use a Q-tip on tight corners.
 The old gauge face should be absolutely clean before applying the dial face decals. Use warm water or a mild window cleaner to soak and then carefully wipe dry.
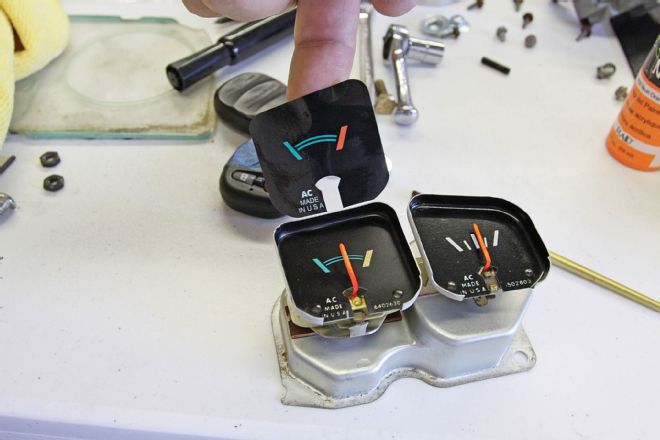 Apply the small gauge decals from the top of the gauge downward. Avoid the needle and do not let the decal touch until it is positioned squarely into place.
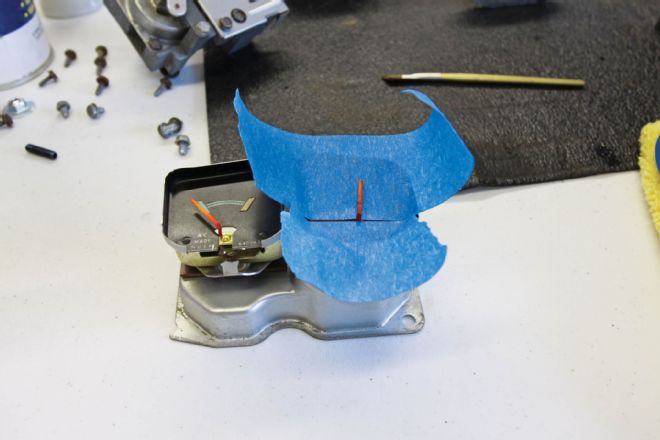 To prep the needles for paint, mask the dial face with 3M low-adhesion painter’s tape. Very carefully wash the needle without bending it.
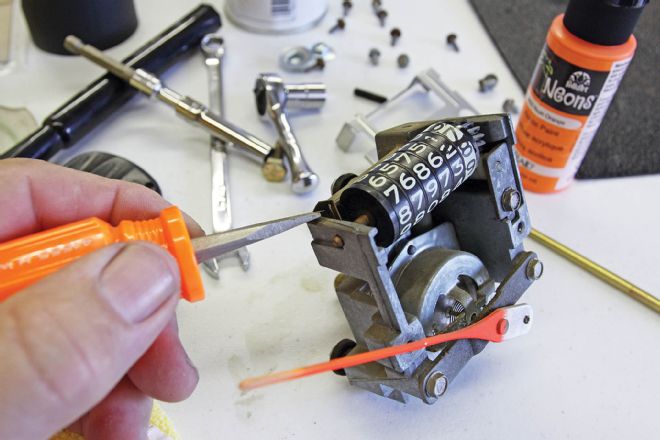 To detach the odometer barrel, remove the retaining clip, move the barrel to the left and then withdraw.
 Exact vertical alignment of the odometer decals is critical. A Q-tip works great to push the decal down into place.
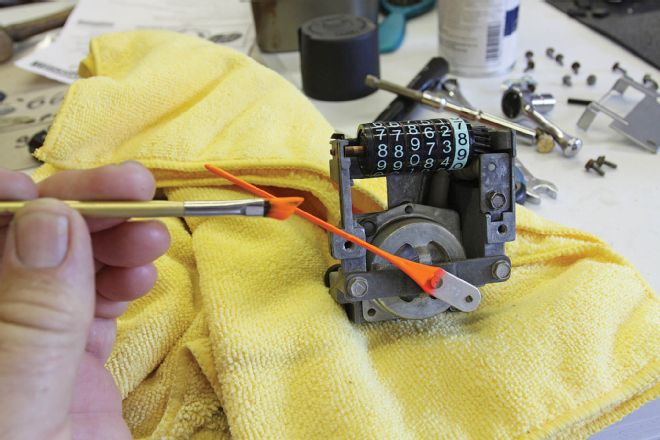 I used water-based fluorescent orange to repaint the needles. This needle was bent. If by accident you do bend a needle, straighten it by bending it back slowly into place at the crux of the bend.
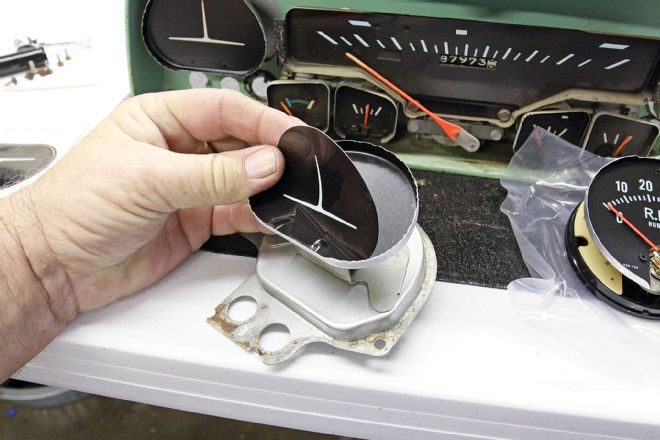
 Install the speedometer face at an angle with the needle placed between the two mounting holes. Lay the speedometer face flat and install its two 5⁄16-inch hex-head screws.
 The first step to reinstalling the gauges is to place the (five) cardboard light tunnels into the light green instrument can.
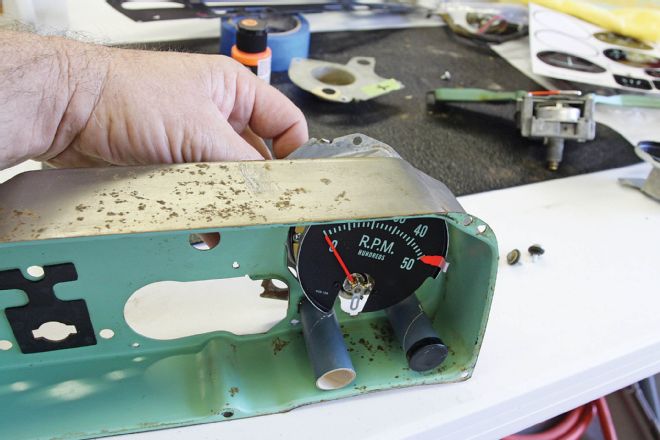 The right-side tachometer/blanking plate is installed from behind. The tachometer wiring harness plugs to the back and is included with the LMC Truck 1964-66 C10 tachometer kit.
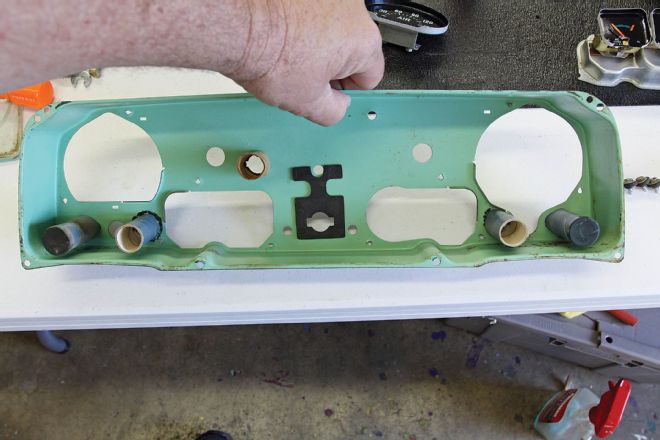
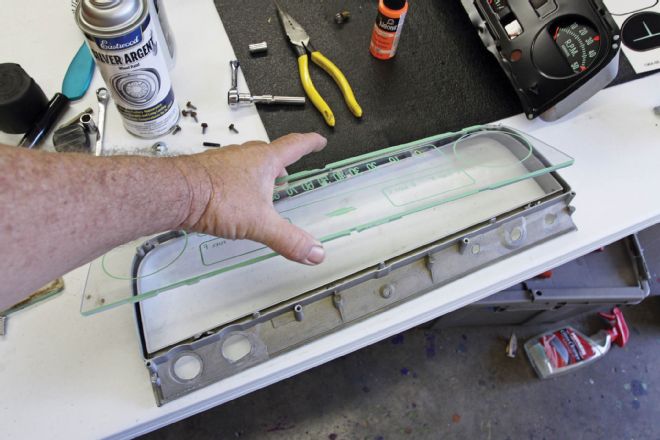
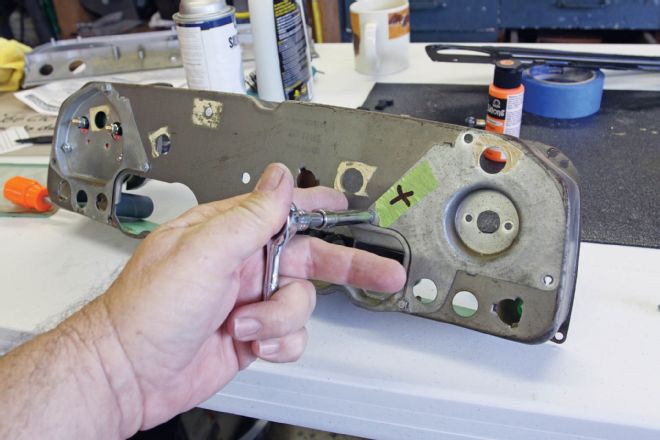 The left-side blanking plate for the air-pressure or vacuum gauge mounts from the rear. Right above my thumb you’ll notice the instrument cluster’s build date: Sept. 18, 1965.
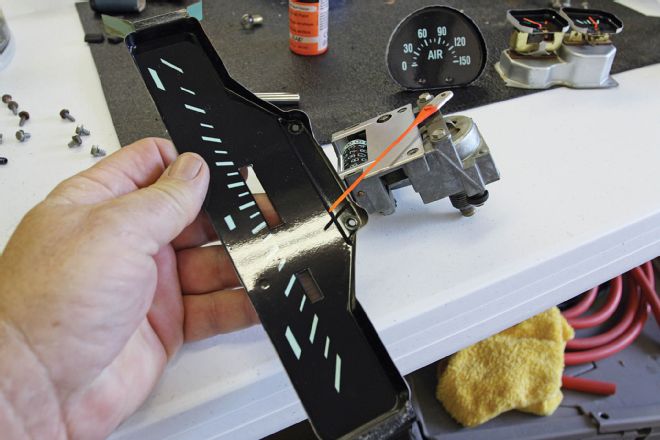
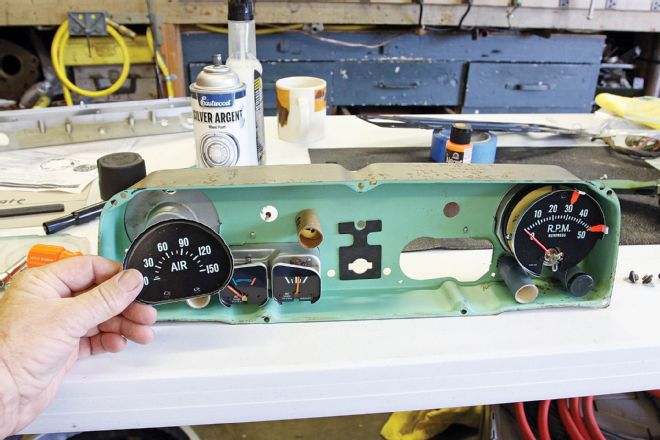 Next, at left, the coolant temp/ammeter two-gauge cluster is installed, then the left-side blanking plate, or if desired, substituted with the air-pressure or vacuum gauge dial face.
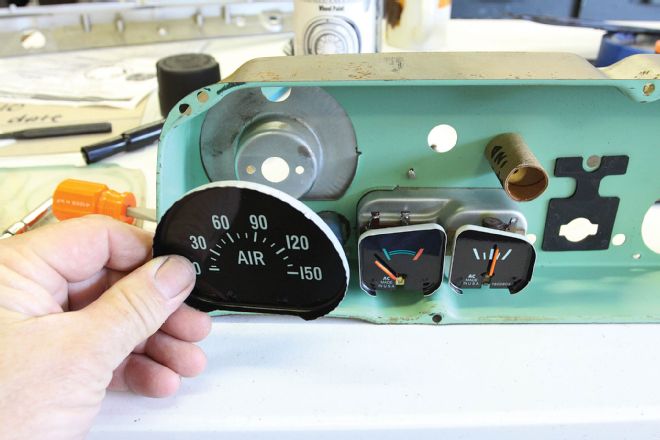 Behind the left-side blanking plate is a good spot to custom mount any gauge a C10 owner might choose to install.
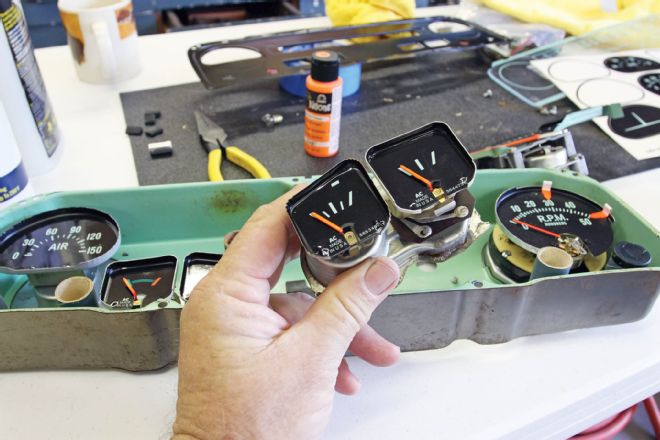 The last small two-gauge cluster to install is adjacent to the tachometer or blanking plate if used.
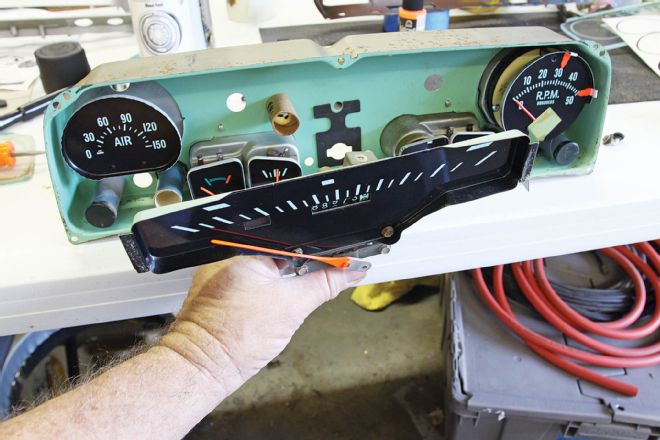 The speedometer is the last gauge to be installed into the instrument can. Make sure the five cardboard light tunnels haven’t dropped out of place.
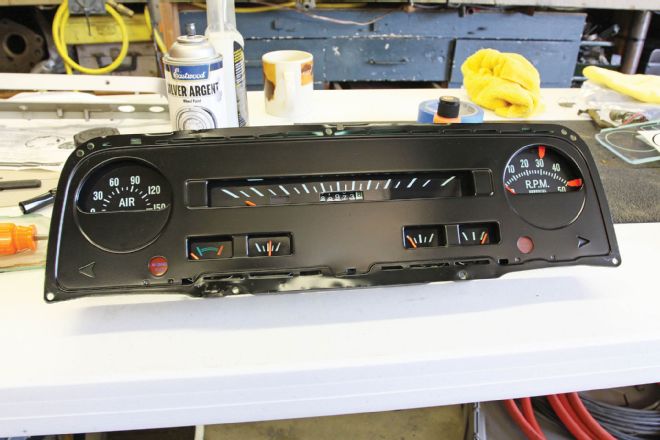 I sprayed semi-gloss black on the flat tin cover to restore it to look like new. Make sure the screw holes in this cover align with the bezel before inserting.
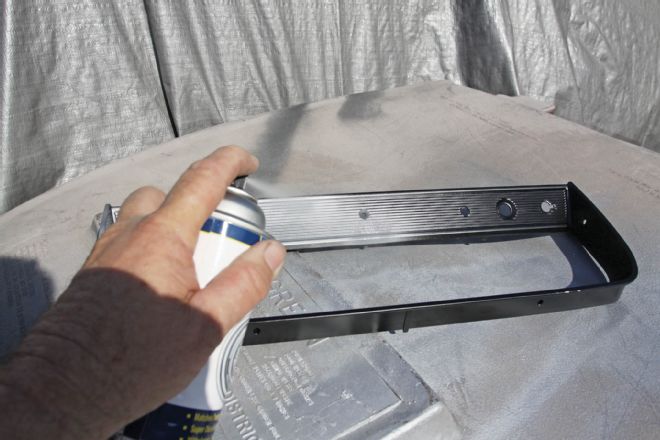 The LMC Truck (part number 38-8019) instrument panel bezel comes finished in a rich semi-gloss black powdercoating. For a silver finish like the original bezel, use LMC Truck (part number 37-8365) argent wheel paint.
 Don’t forget to put the rubber shims back in at the top of the instrument bezel before affixing the dash lens. Note: both style dash lenses are available.
 Tighten the bezel down evenly to the housing a little bit at a time like you would torque down a cylinder head. Reinstall the gauge wiring harness. Now you can mount the refaced dash cluster back into your truck.