Last month, we showed you an E-Body that had its torsion bar crossmember and front floors completely hacked. We couldn’t understand the reasoning for the extent of the hacking, but it was done nonetheless. So, we replaced the crossmember, and now it’s time to tackle the floor. We had thought about repairing the floors with some old road signs and beer cans that we have collected over the years, but decided that this car deserved better. So, proper metal it is. We all know about AMD, and the metal that they have been producing, so it was an easy choice where to get what we needed. The AMD metal has OE-style coverage like the original piece in the car—minus the big cut-outs made by someone. It mates to all surrounding OE panels and pieces with OE dimensions. It even comes with a proper flange on the side to correctly fit with ’70-style rocker panels. It also includes bucket seat, emergency brake cable and speedometer cable brackets. What more could you ask for?
 Resto Corner
Now all we have to do is get to work. Ok, let’s try that again. Now all we have to do is stand back, and watch the guys at the Installation Center get to work. That sounds better.
Costs for Full Challenger floor (front), PN 400-1570: $499.95
 01 Last month, we took the time to cut the hacked floor out of the way so we could replace the torsion bar crossmember. Now we need to install the new floor.
 02 When we replaced the crossmember, we only removed as much floor material as we needed; this helped the body retain some rigidity and support. Now we need to remove the rest of the floor.
 03 Once the floor is completely removed, you need to make sure that the surrounding areas are ready to accept the new floor. This means cleaning and straightening yhe edges of the existing factory floor.
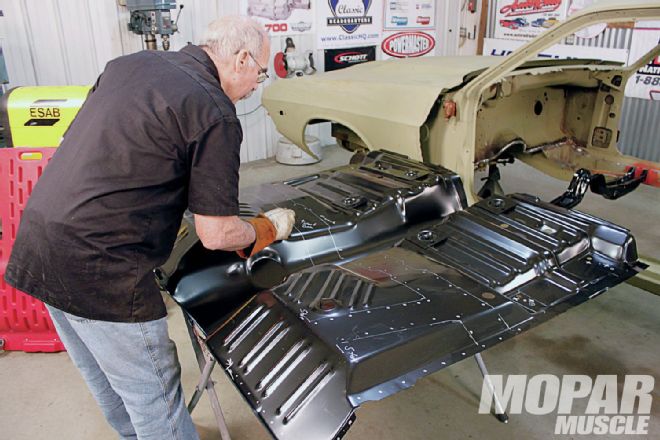
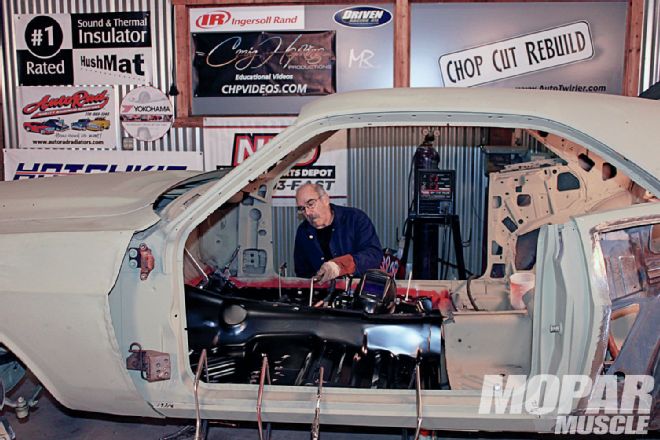
 04 Once you have the surrounding surfaces cleaned and ready, drop the new panel in place to make sure the fitment is good.
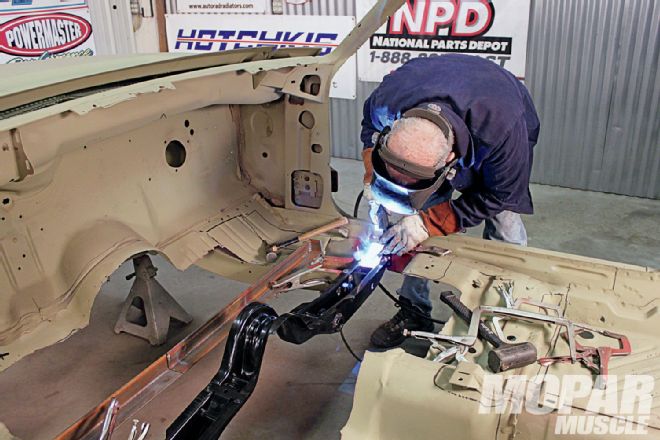
 05 After the floor was properly fitted, go underneath and outline where all frame rails and crossmembers make contact. Once you have that done, remove the floor so you can drill holes where your spot welds will attach the floor to the frame.
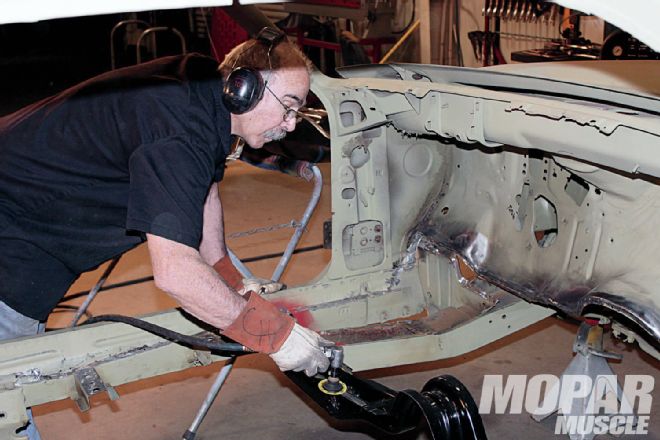 06 Where ever welding will occur, the e-coating on any new parts must be removed before welding.
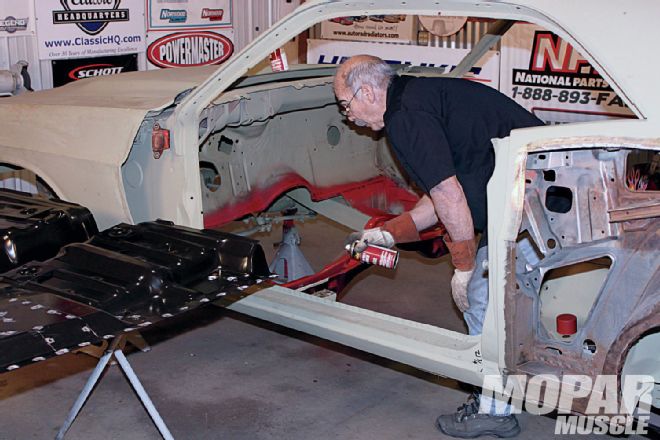 07 I know it looks counter-productive after cleaning off the E-coat, but by spraying on a “weld-through” primer, you can add a layer of protection to the freshly cleaned areas, and still weld the new panel in place.
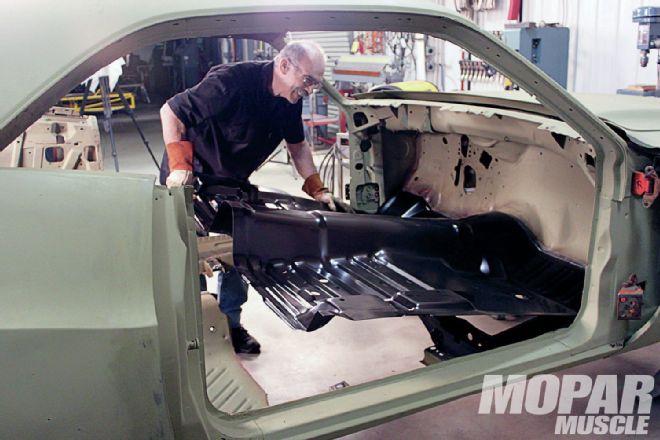
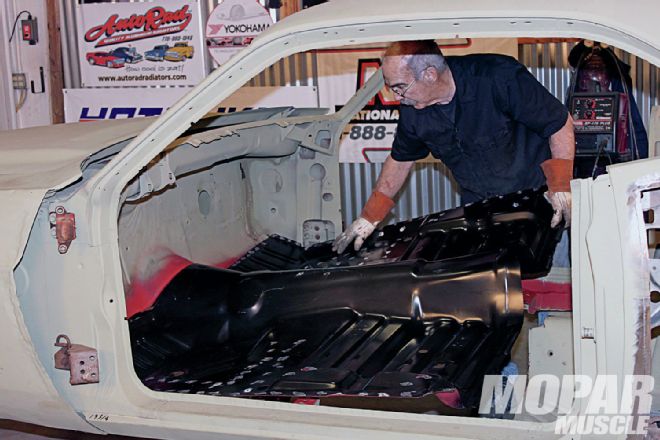 08 In goes the new floor for the last time.
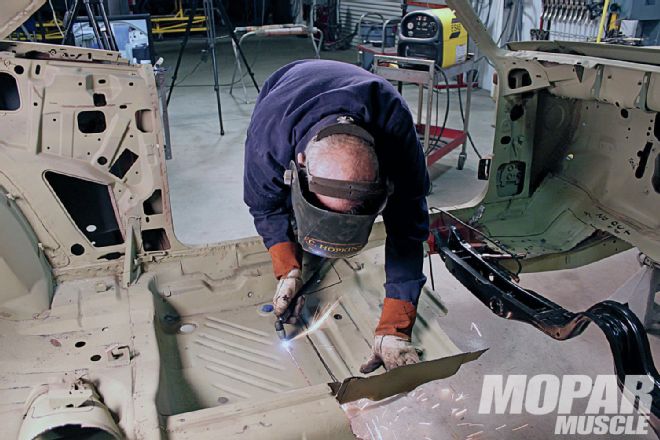
 09 Before any welding starts, the new panel must be properly clamped. If you don’t completely clamp a new panel in place, it could shift or warp, and when that happens, you have just ruined your work.
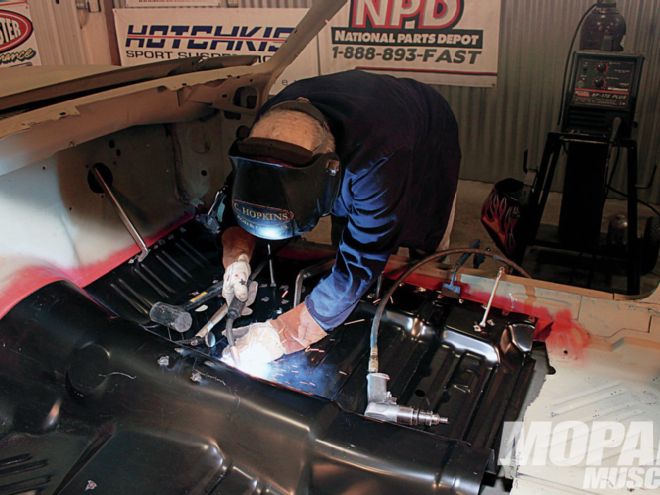
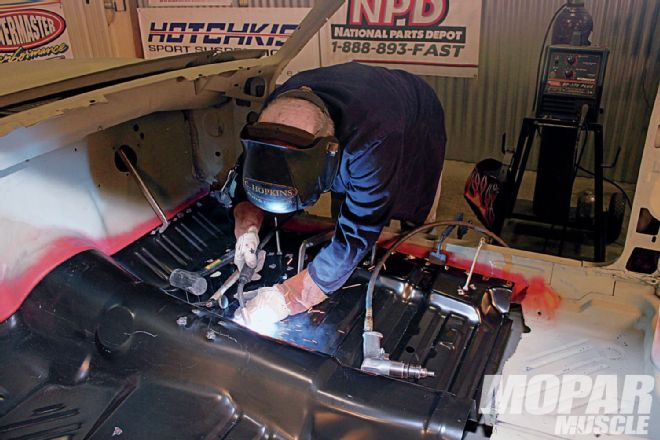 10 Start welding from the center out.
 11 With the front floor in place, it looks like we’ll need to replace the rear pan next. mm