
Let’s face it, pickup trucks were designed as workers, not performance vehicles or potential hot rods. And one of the things that often reinforce this realization is the bulky stock step bumpers hanging below most of their tailgates. But, for those who never plan on pulling trailers or constantly climbing in and out of the cargo bed, don’t fret as there’s a visually pleasing, relatively easy-to-install alternative. It’s called a rolled pan, and it’s traditionally styled after one of the cleanest customizing tricks in the book. Losing the stock rear bumper, and continuing the body line around the tail end not only provides a much smoother look, it shortens rear overhang as well.
Rolled rear pans have been around for decades and have steadily become one of the most popular pickup modifications out there. Pans are offered by countless aftermarket suppliers and are manufactured in both steel and fiberglass configurations. That said, here we’re going to take a look at one high-quality offering from one of our favorite aftermarket suppliers – LMC Truck.
As we said earlier, installing a rolled pan is pretty easy. In fact, the most difficult part would be painting, or having it painted to match your existing finish. But, when it comes to actual wrench twisting, the hardest part about installing LMC Truck’s all-steel roll pan is stripping off the original rear bumper.
For those who want to accomplish the task quickly and easily it’s just a matter of following the simple instructions. For those who save instructions for last, the job is straightforward enough to be successful as well, even if it does take a second try. So, let’s take a look at LMC Truck’s all-steel rolled pan and just how easy their installation really is.
 01 LMC Truck offers a large selection of rear pans for nearly every make, model, and year pickup out there. Aside from the selection of styles (smooth, or with integral license plate pockets and/or taillight openings) they’re also offered in steel or non-steel materials.
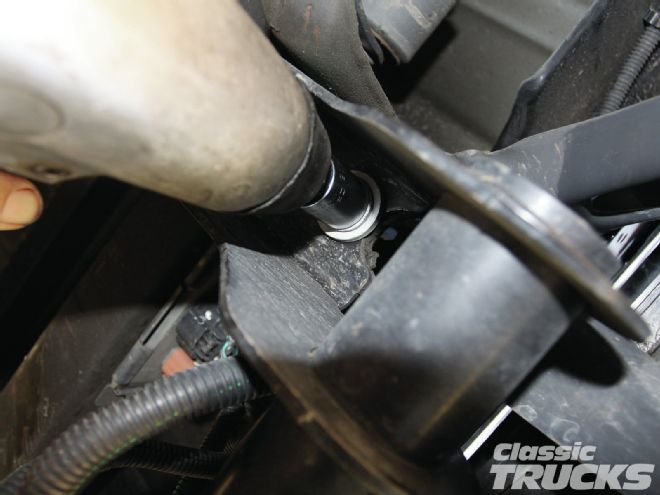
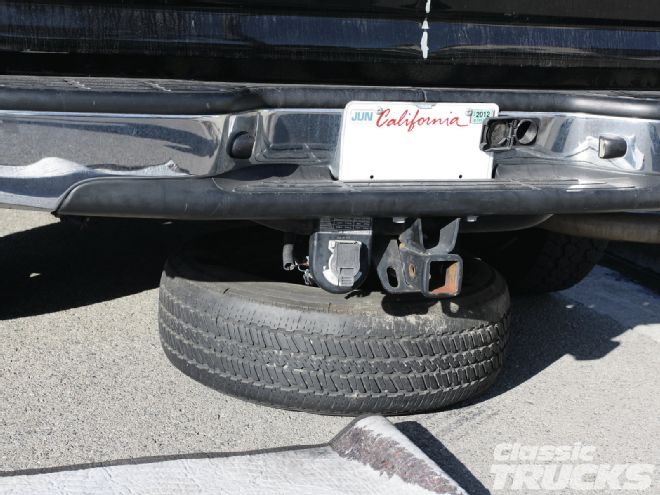 02 Depending on the make and model pickup you’re working on, often you’ll have to remove the spare tire first. The first step is to pop open the jack handle hole cover in or above the bumper (as you can see, our subject is a later-model GM, but the process will be nearly the same for any year/model), insert the jack handle, lower the spare tire down, and remove it. It’s important to note the square opening is the end of the jack handle to insert into the hole.
 03 Next is to disconnect the license plate lights. Untwist the plugs on the backside of the lights – in this case these will be reconnected to the license plate light included with this particular LMC Truck rolled pan.
 04 Looking upward at the impact bar reveals some (three) of the bolts that need to be unbolted in order to remove the bumper.
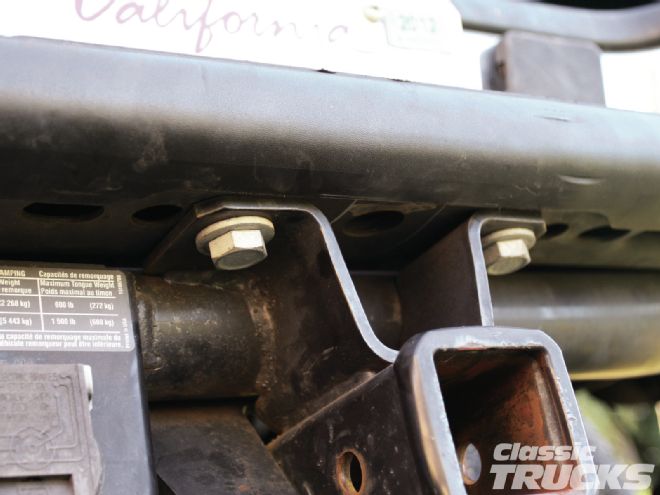 05 Remove these two bolts to separate. Although the bolts mounting the bumper on this late model are metric, most earlier models are standard SAE. Here we’ll loosen the bolts holding the stock GMC trailer hitch to the bumper.
 06 Next the lower framerail to the bracket bolts need to be removed.
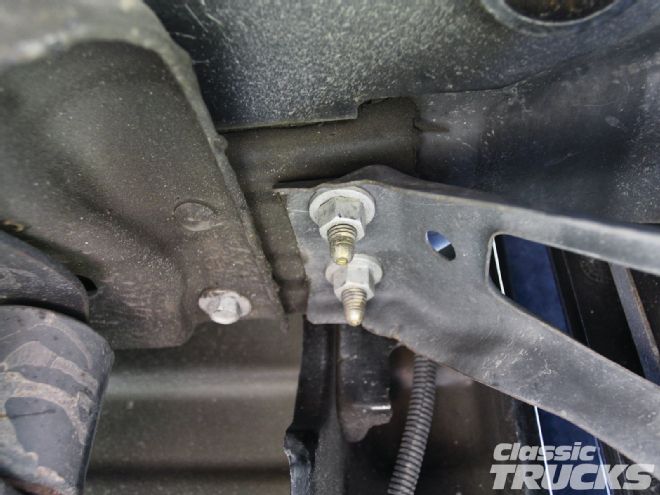
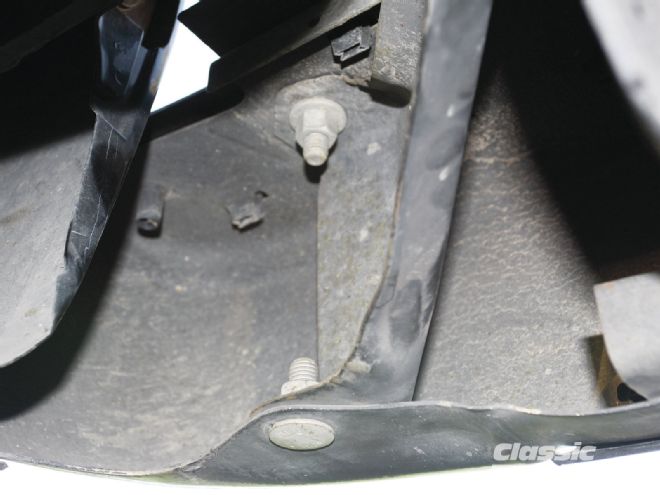
 07 Four bolts are used to mount the stock GMC trailer hitch. After the two bolts above the receiver are removed these two vertical bolts attached to the framerail must be removed.
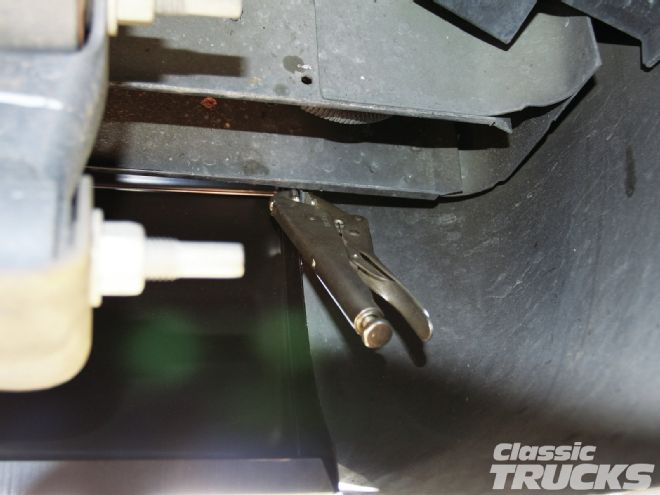
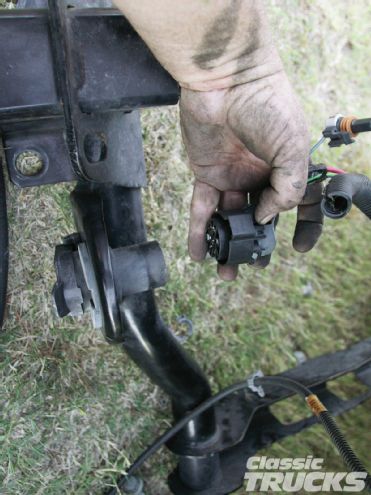 08 The next step was to compress the locking tab on the trailer harness plug to remove it from the trailer hitch.
 09 In the case of our subject truck we found that the driver-side bumper brace needed to be loosened in order to drop the rear bumper away from the bed.
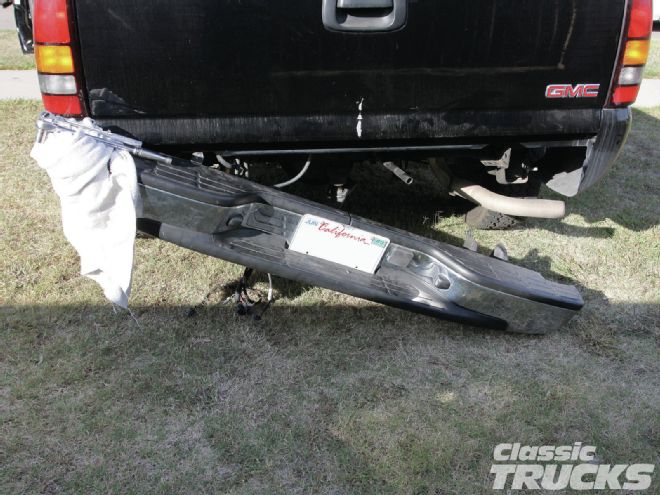 10 A towel was placed on the driver side to prevent body or paint damage. Then the bumper was slowly jiggled to clear it away from the truck.
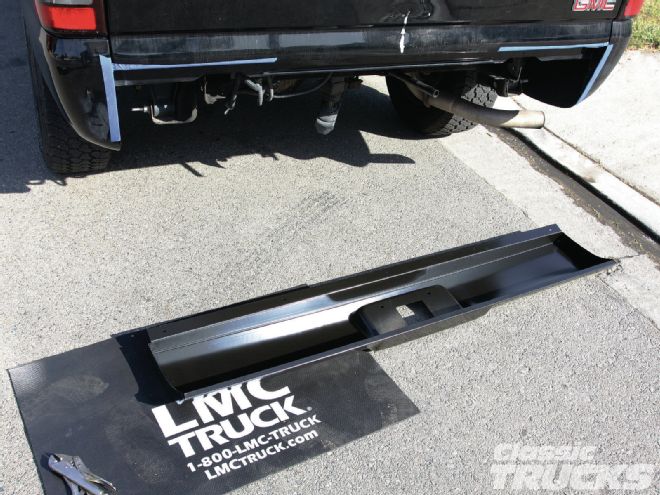 11 Many steel rolled pans arrive to customers in bare steel that requires a lot of prep work and primer before they can be installed. LMC Truck steel roll pans arrive specially coated in a black electro-deposit primer. Amazingly, a simple scuffing with a 3M pad and then finished with a spray can full of black acrylic lacquer (in this case) is all that was done to make the roll pan look like it does here.
 12 Test install the roll pan to make sure it fits. On this roll pan it needed the ends turned in slightly to obtain a perfect fit. Using duckbill pliers will provide professional results.
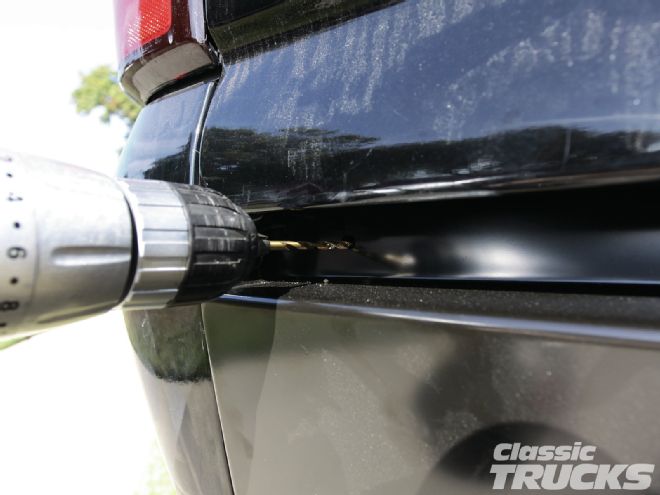
 13 To mount the roll pan use a pair of Vise-Grips at each end to clamp it into place. Once you have a perfect fit drill two 1⁄4-inch holes, and then bolt together using the appropriately sized bolts.
14 In this particular pan there were five pre-drilled mounting holes and you’ll drill matching mounting holes in the bed using the appropriately sized drill bit.
13 To mount the roll pan use a pair of Vise-Grips at each end to clamp it into place. Once you have a perfect fit drill two 1⁄4-inch holes, and then bolt together using the appropriately sized bolts.
14 In this particular pan there were five pre-drilled mounting holes and you’ll drill matching mounting holes in the bed using the appropriately sized drill bit.
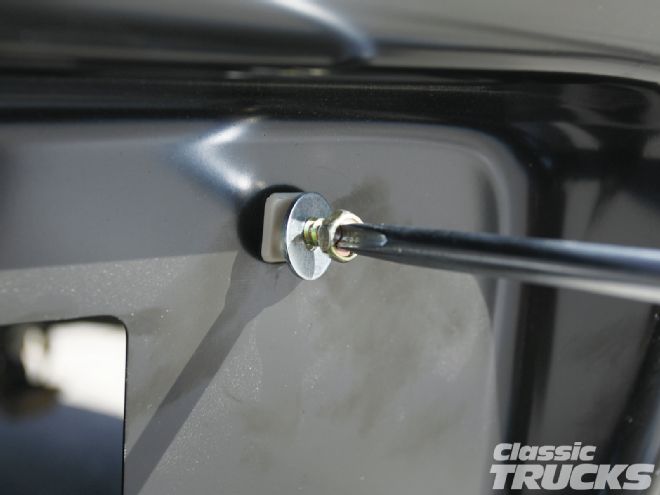 15 At this point all we had to do to finish the install to our liking was to screw in the five gold cad-plated Phillips screws included in this particular kit, and we were done.
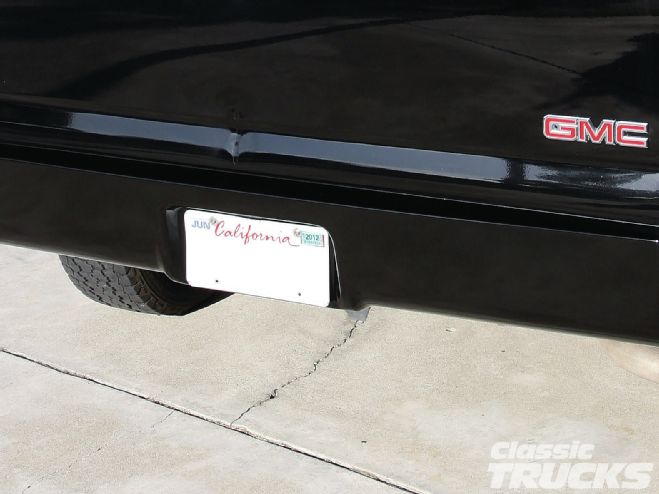 16 As we mentioned earlier, LMC Truck offers these pans for nearly all pickups and the user can proceed from here by welding and molding as an option – just keep in mind if you go that route that the extra steps will require the new pan to be painted after installation.