This how-to installment is an early introduction for our latest how-to project: the restoration of a '68 Mustang coupe slated for our big annual paint and body issue next month. We had originally picked the car because it seemed so ridiculously clean, straight, and rust free that we figured we were looking at an easy sand, block, and paint. Once again, we forgot that there really is no such thing with a 45-year-old muscle car.
We probably should have seen it coming though; no matter how well you know a classic car project or how clean it seems, there are nearly always hidden areas of rust or damage to be addressed once you strip away the paint. Let's be honest; no muscle car was designed to last forever, and each model has specific little areas that are known trouble spots. And yes, we did find more than this, but we'll reveal that in later stories.
For early Mustangs, taillight panel rust is very common since water tends to get absorbed by the bezel gaskets and held against the sheetmetal. The '67 and '68 Mustangs seem to mostly get it at the bottom of the taillights, and usually from the inside out. That's not only because the paint will be thin or nonexistent, but also because the gaskets on the inside of the panel are thick and can keep a lot of water trapped for an extended period.
Luckily, the taillight panel also happens to be one of the easiest welded-on panels to replace on early Mustangs, so although we were disappointed, we weren't too distraught over the extra work. It's relatively easy, so even if you've never done a panel replacement, this one is a great place to start, so follow along if you'd like to try it yourself. Also lucky for us, Brian Ferre, our paint and body expert and instructor at Los Angeles Trade-Tech College where our paint and body project is taking place, has restored and painted 100 Mustangs or so in his career, many of which needed taillight panels. With him and his crew of upper-level students at L.A. Trade-Tech, and brand new sheetmetal from YearOne, we were in good hands for a first-class repair.
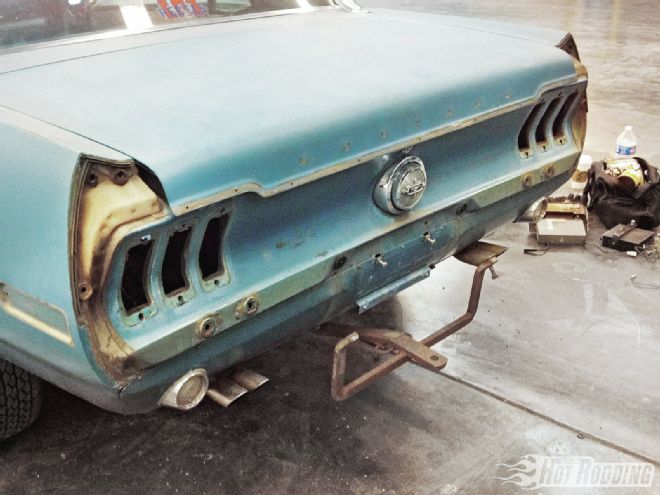
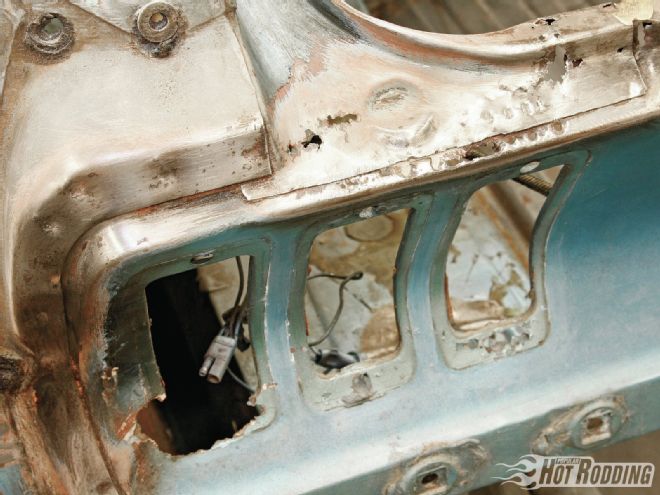
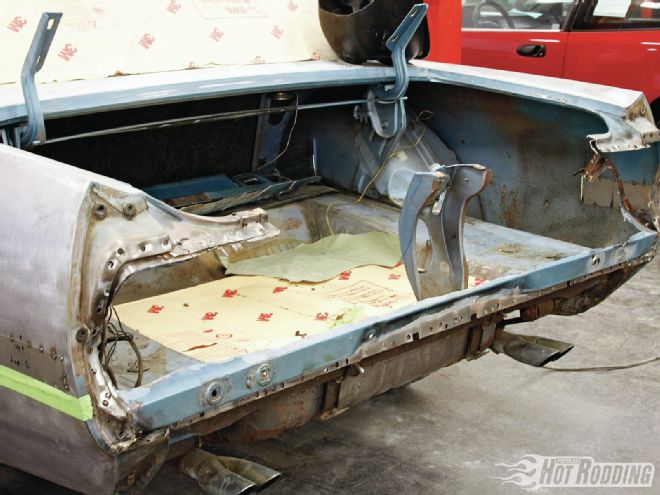
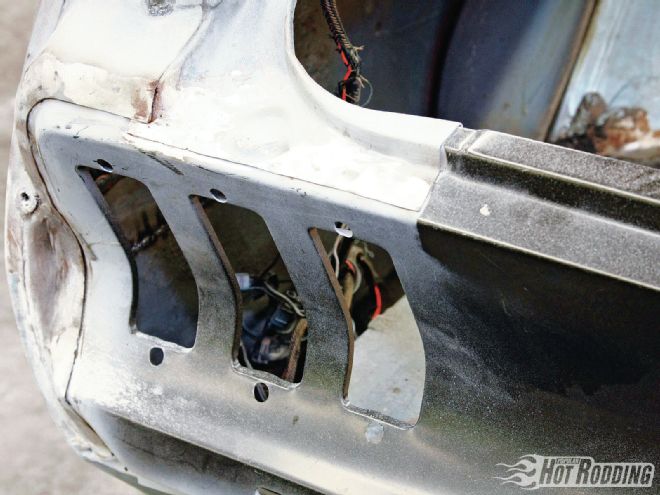
1. The most sinister thing about rust is that it can be fairly extensive without giving even the tiniest outward clue. Looking at the tailpanel of our ’68 coupe during its strip-down process before paint, even with the taillights removed, a casual glance revealed only solid steel.
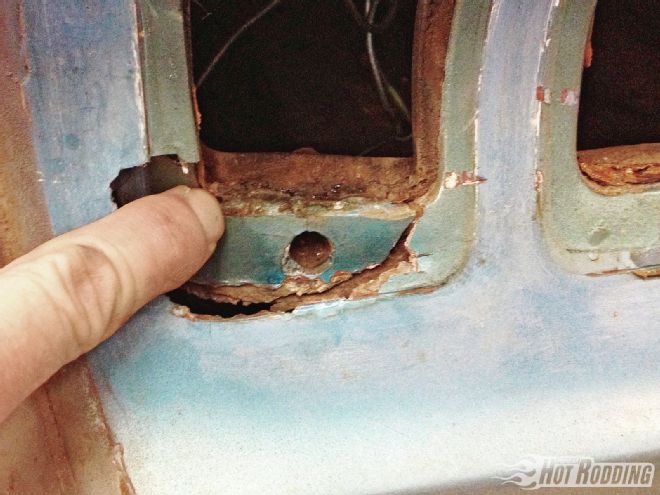
2. A closer inspection and a little pushing revealed very thin spots below each taillight that had been rusting from the inside, thanks to moisture held by the gaskets. A couple layers of paint were almost totally hiding the damage.
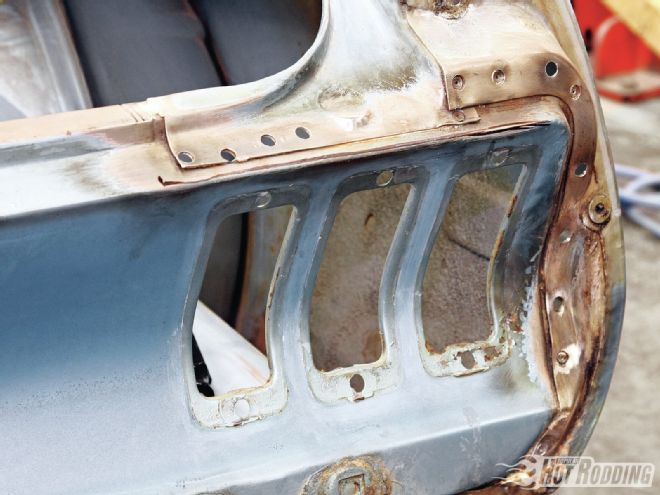
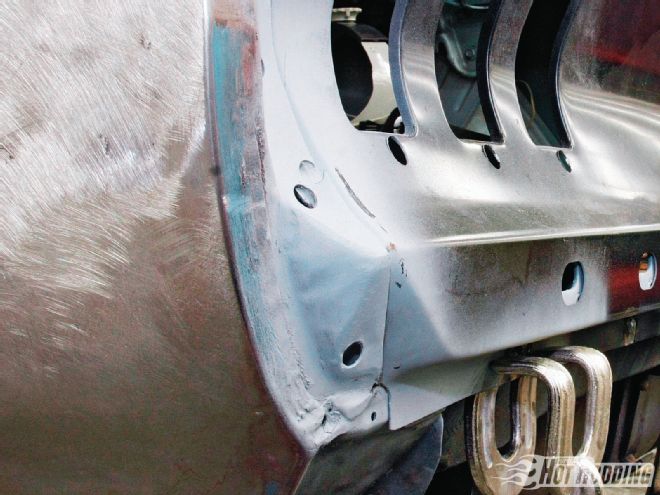
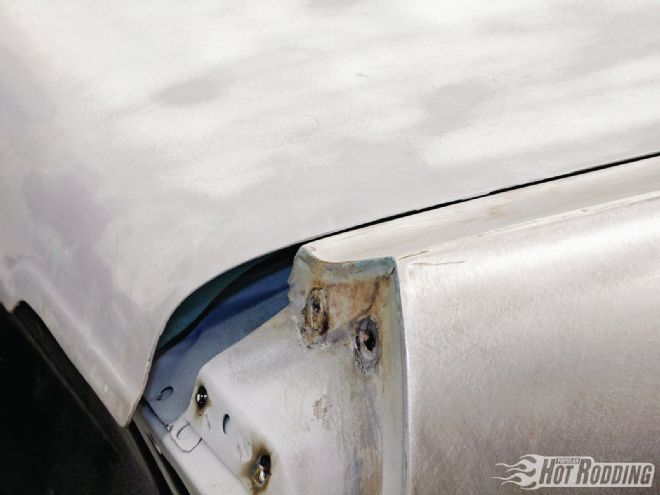
3. Another common spot to find rust on Mustangs is on the corner section that connects the taillight panel to the quarter-panel. After removing paint we found some on the driver-side, though the passenger side was clean. These small panels are available as replacements, but our rust was determined to be minor enough for the original to be patched. Also, note that removing the paint reveals where the spot-welds are located.
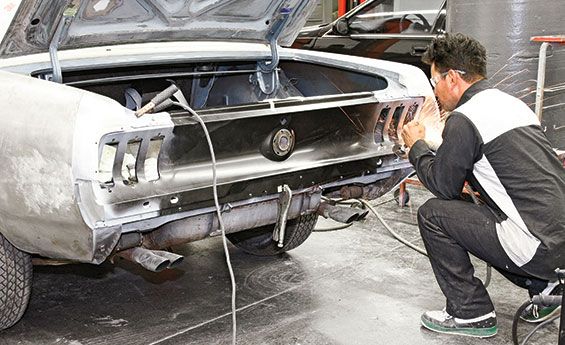
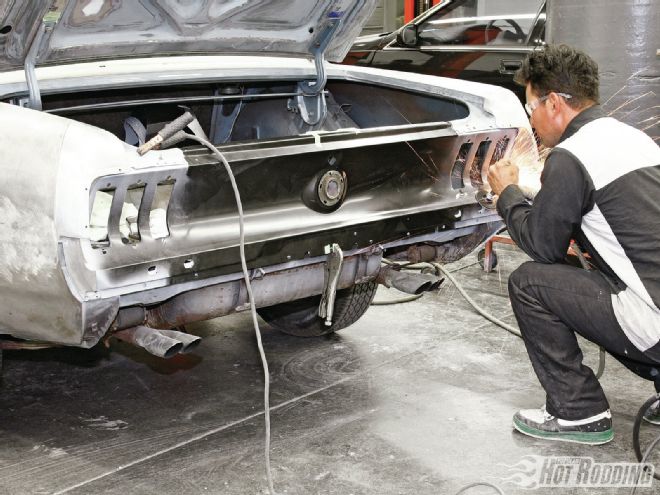
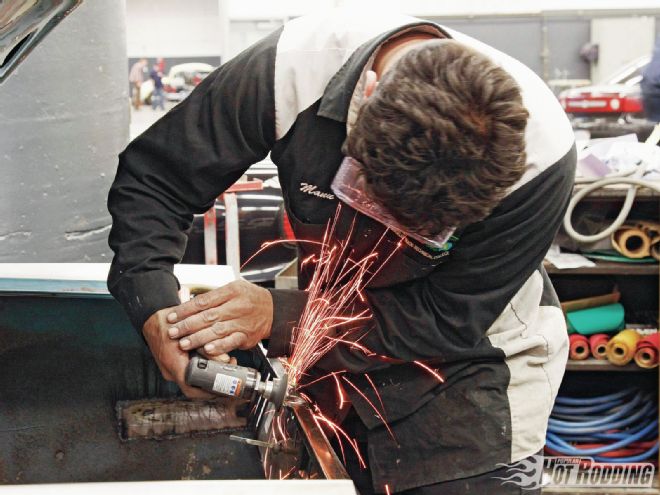
4. The taillight panel is spot-welded into place, so to remove it we needed to drill out all of the welds. A specific spot-weld removal bit is recommended, but a large standard drill bit can also be used.
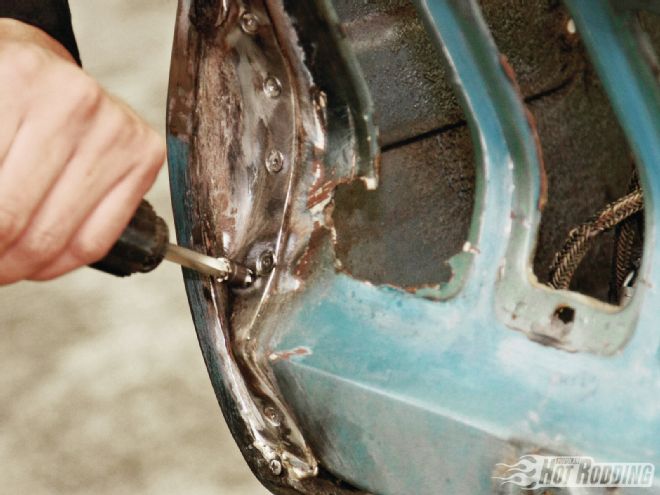
5. Ideally you only want to drill through the outer layer of steel and leave the iner as a surface to weld the new panel to. If you do go all the way through (as some of our holes ended up) it's not a tragedy; you'll just have to do some extra welding to fill up the holes.
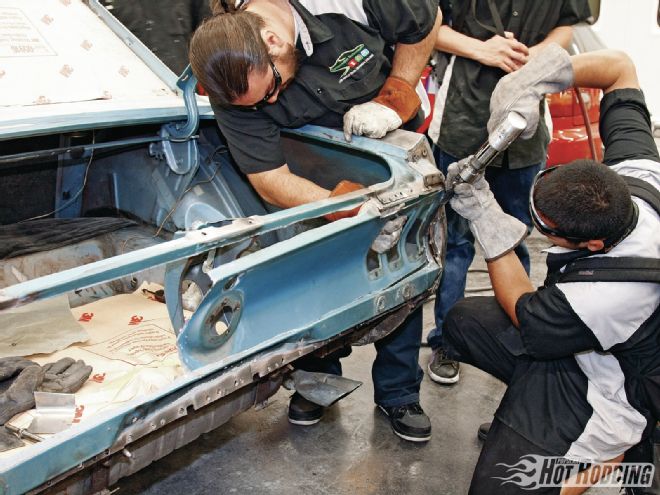
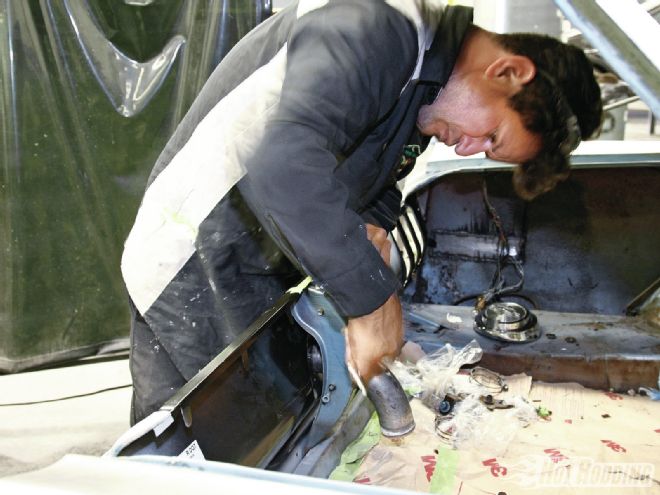
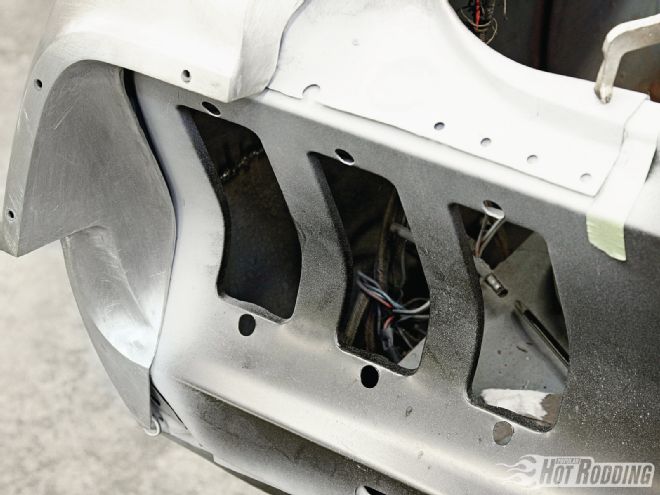
6. Ferre recommends cutting away the centersection of the panel. This makes it easier to access the lower spot-welded sections around around the bumper brackets and trunk latch tower. The L.A. Trade-Tech students used a nibbler to make quick work of the removal.
7. With the centersection of the panel cut away, the flanges of the taillight panel that connect behind the quarter-panel ends and at the trunk floor are much easier to remove without damaging or stressing the good sheetmetal.
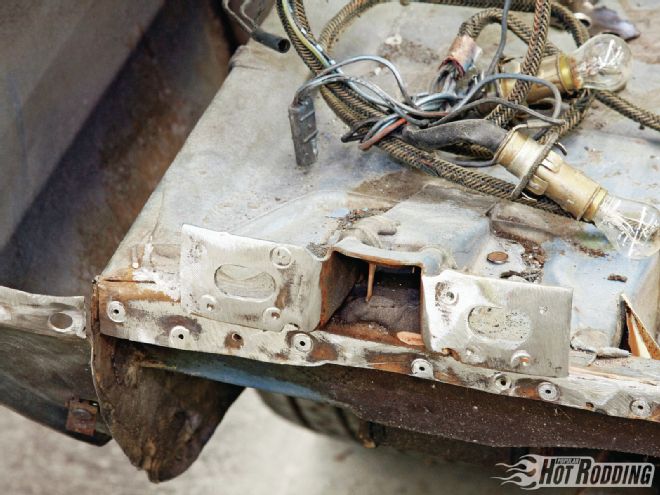
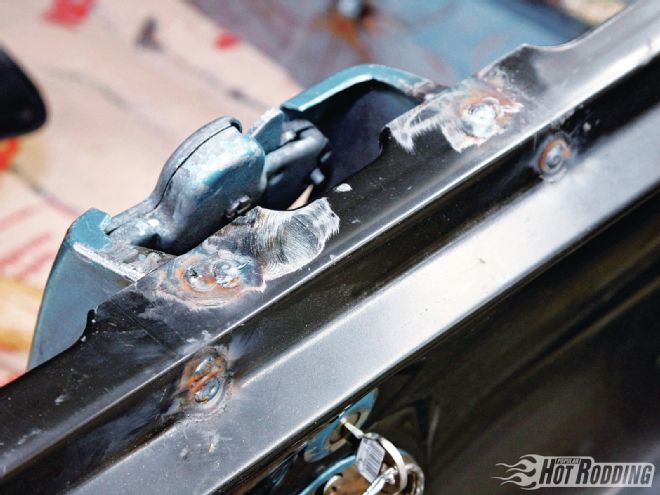
8. There are two of these bumper brackets that are spot-welded to the taillight panel. There should be four welds per bracket.
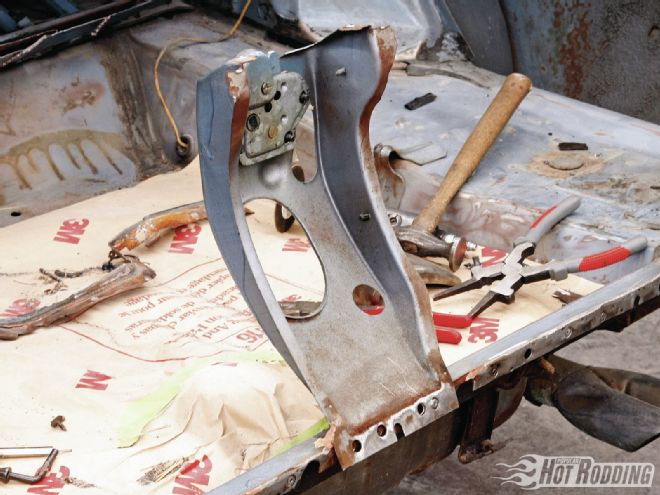
9. The trunk latch is not only critical for closing the trunk, but for positioning the new taillight panel. Be cautions not to tweak it during removal. It's a good idea to mark its exact position beore removal as a reference for reinstalling with the new taillight panel. There should be four or five welds at the bottom.
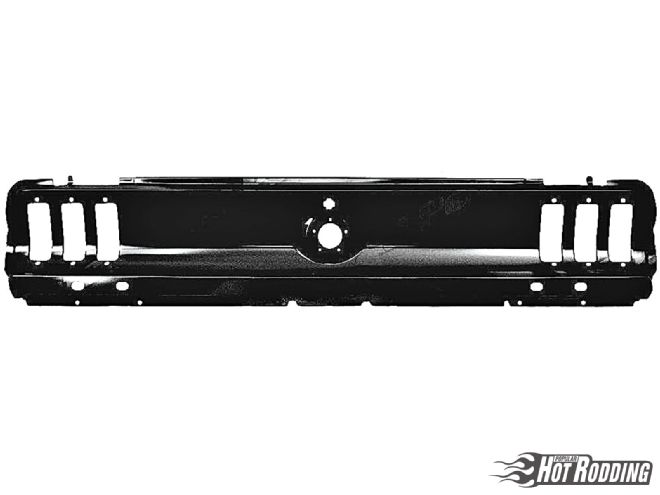
10. This is our new taillight panel from YearOne (PN FJ286, $46.14). They arrive e-coated for corrosion protection until you’re ready to paint. There may be cheaper panels out there, but when it comes to parts with complex curves like this, it pays to ensure you get a quality piece. It will fit like the factory piece, it will save time and money, and the end result will always be better.
11. There’s no real secret to getting the panel into place; just slide it in from inside the trunk. The bottom flange will slide over the original sheetmetal, but all the other edges will slide in behind the original panels.
12. This bottom body line is the first place to start checking for alignment and making adjustments since it must fit here before anywhere else will line up. The bottom corner will likely need a slight amount of trimming and/or bending of the flange to allow it to slide all the way into place. Vise-Grip pliers or sheetmetal clamps placed along the bottom will help hold the panel in place while you fit it.
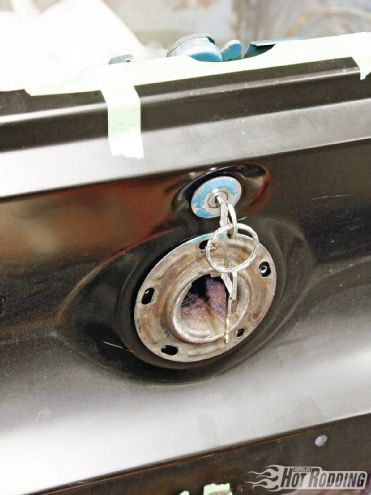
13. The next location to check for fitment is around the trunk latch tower and filler neck. The best way to make sure everything will reassemble like factory is to reinstall the key cylinder and filler neck once you get it close; that will help in the fine-tuning.
14. Before we can finalize the fitment of the taillight panel, we need to reinstall all the relevant panels. The trunk lid, for example, needs to be installed and correctly positioned so that we can make sure the latch lines up perfectly.
15. A common mistake here is to just quickly bolt the trunk lid on and go, but since we’re using the lid to help ensure the latch tower is in the right position, it’s a smart idea to spend the time to properly gap it.
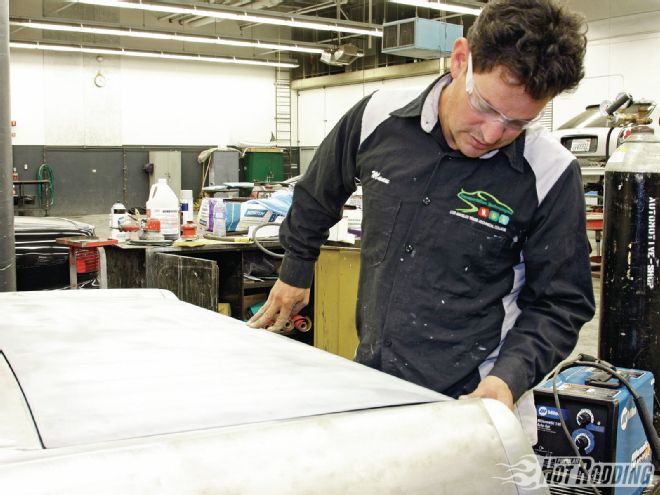
16. The metal around the latch area of the taillight panel will likely need a small amount of clearancing during fitment of the trunk lid. Just a light touch from a sanding disc should be all that’s needed.
17. Once we found the right placement for the trunk latch tower, it was welded to the taillight panel with spot-welds like factory. Once we grind these welds down, the replacement will be hard to spot.
18. The next critical parts to reinstall are the quarter-panel endcaps. With the endcap installed we can see that there is too much gap at the top of panel, meaning we need to bend the mounting flange inside the quarter-panel and pull the panel outward slightly. This is common and every car will be a little bit different. Taking time for fitment here will make the difference between an obvious replacement and one no one will ever notice.
19. Once we were pleased with the fitment of the panel, we clamped it with as many locking pliers as we could find to ensure it didn’t move while welding. Holes were drilled in the panel to correspond with the original factory spot-welds and filled in.
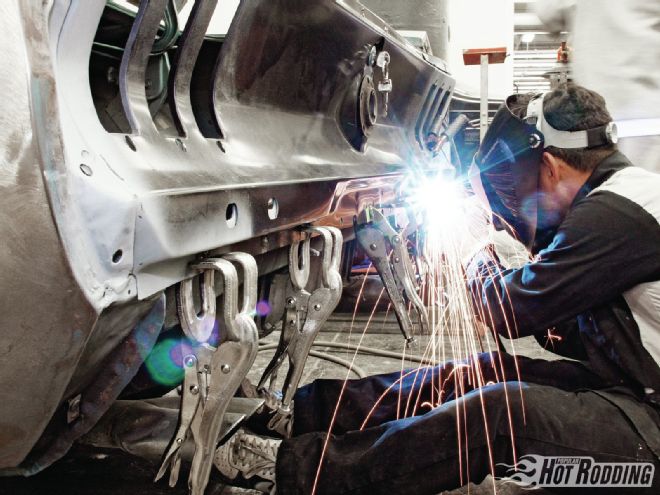
20. Here’s what the fully welded panel looks like with all the spot-welds sanded down. Hard to tell it’s not original, isn’t it? Also note the excellent work in repairing the corner piece; a chunk of the original taillight panel was used and hammered and dollied into the right shape.
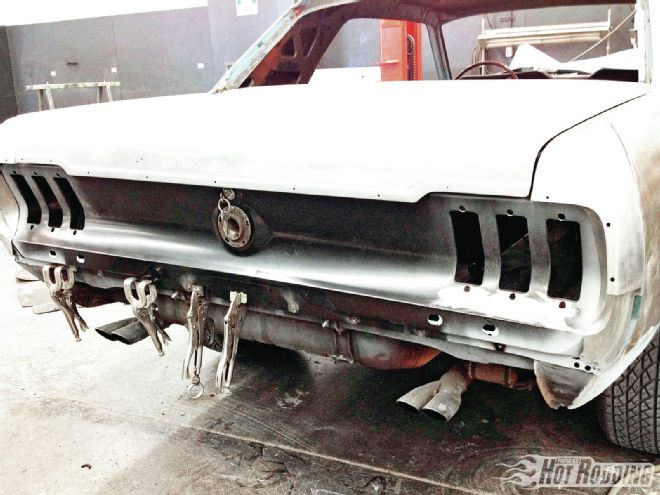
21. With all the rear panels in place, our Mustang is starting to look like a car again and all of the gaps are tight. Now we’re ready to move forward into our bodywork and paint.
Learn It Here!
Los Angeles Trade-Tech College is a fully accredited school with an expansive curriculum with disciplines ranging from art trades, to fashion, mathematics, and sciences. In this story, we're hanging out with the gearheads, fabricators, and painters in the Automotive Collision Repair department. The classes are a combination of classroom instruction coupled with hands-on training. Students learn welding procedures, diagnostic and repair procedures, body part alignment processes, metal finishing/shrinking/filling techniques, autobody electrical wiring systems, body section replacement and structural sectioning practices, body damage estimating techniques, autobody construction methods, paint color application skills, and body shop practices. Under the guidance of instructors like Ferre, who is himself an exceptional custom painter and pinstriper with decades of experience, the students learn top-level skills that open doors for them at shops all around the country, or that help them open their own shop doors!