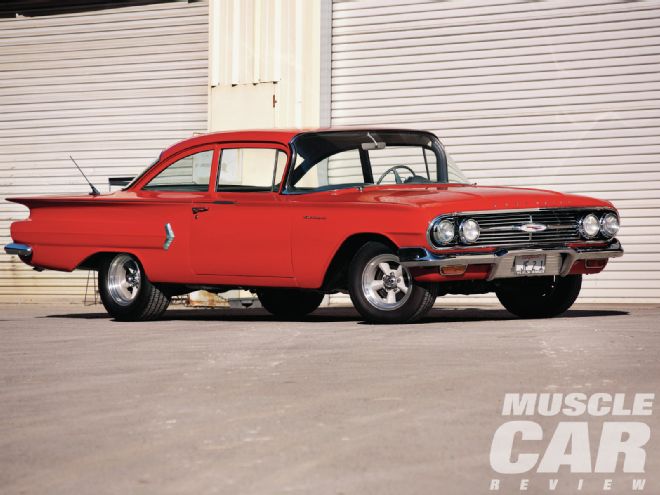
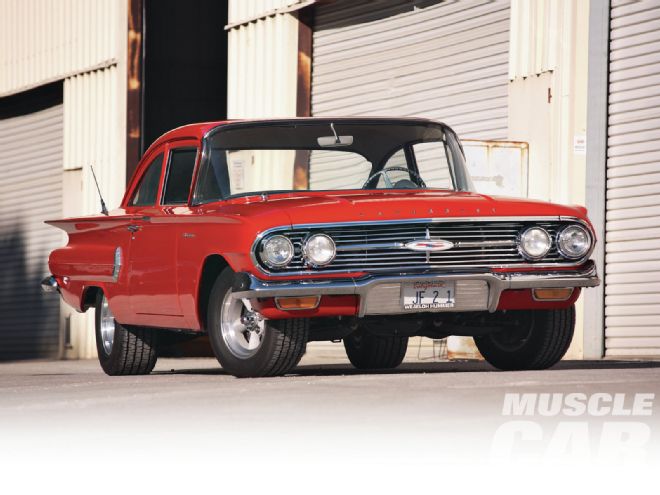
We are going to do the unthinkable with our Road-Ready Biscayne. We’re switching from a four-speed manual to an automatic transmission. But before you spike the magazine onto the floor in disgust, let me explain.
First, this car was originally a six-cylinder three-speed car that, when it was restored, got its Tri-power W motor and four-speed. It’s not an original Z/28 or SS396. Second, the automatic we are installing is not a Powerglide or even a 350, but a 700-R4 overdrive—a performance automatic overdrive. And if you recall, we’re driving from San Diego to Detroit, and at this moment, gas is $4 a gallon. You do the math. A 30 percent reduction in rpm at highway speed will give us a few extra mpg, and then, if you consider the slow-moving traffic on Woodward during the Dream Cruise, well, it all makes sense now, doesn’t it?
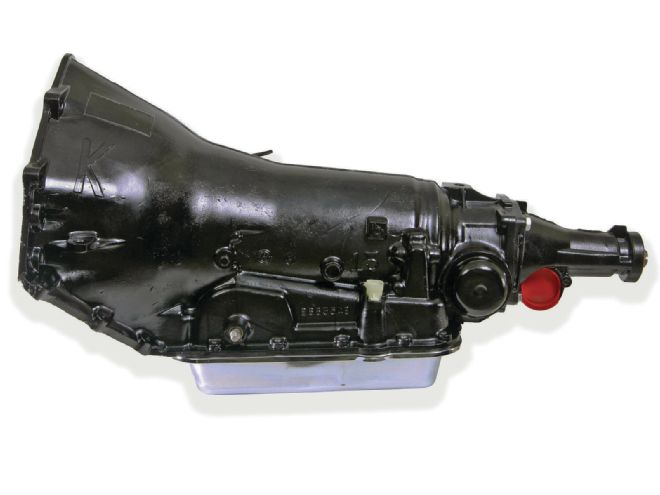 Summit’s 700-R4 transmission comes with a deeper chrome pan that includes a drain. It’s also pretested on a dyno, and the spec sheet written following that test is included.
We are fond of one-stop shopping and contacted Summit Racing Equipment for the 700-R4 transmission and components. Summit’s tech staff took plenty of time to ensure that we had the correct torque converter for our application and even ask about the tire size and rearend ratio so they could add the proper speedometer gear. The smaller components came first, followed by the transmission on a UPS truck. As we uncrated the transmission we noticed the larger chrome pan with a drain plug and the transmission’s dyno test sheet.
With the car on a hoist, we removed the driveshaft, transmission crossmember, transmission and shifter, bellhousing, clutch, flywheel, pilot bearing, clutch pedal, and linkage. We used a transmission jack to lift the new 700-R4 temporarily into place for a test fitting. We knew from the start that we would have to modify the transmission crossmember and shorten the driveshaft. With the transmission in place, it allowed us to take accurate measurements for both modifications. Jerry Harder, owner of Oceanside Driveline, came over to make the driveshaft measurements. He wanted to make sure that after he shortened the driveshaft it would have ⅝ inch of clearance at the tailshaft with the rear wheels in a normal ride height position. This ensures that any up-and-down movement of the rear axle will not cause the yoke to bottom out or be pulled out of the tailshaft.
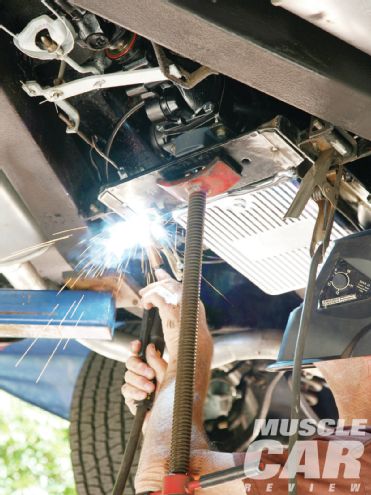 1. With the transmission temporarily in place and supported by a screw jack, we fitted the three pieces of the sectioned crossmember together so it could be tack welded. This temporary fitting also allowed us to check the clearances between the transmission and floor pan. No issues on that front.
With the driveshaft in process we concentrated on modifying the crossmember. We modified our original crossmember by cutting the centersection out and doglegging it back to pick up the transmission’s rear mount. With the transmission in place, supported by the transmission jack, we added the rear-mount centersection to the transmission, mated up the two ends, and tack-welded them in place. We then removed the tack-welded crossmember, added a few gussets for strength, and did our finish welding on a bench. The only other modification necessary was a quarter-inch clearance notch on the crossmember’s forward flange to clear the transmission’s pan. Also with the transmission in place, we checked to make sure we had sufficient transmission-to–floor pan clearance.
Back on the bench, we added the connections for the Summit-provided Lokar flexible dipstick and throttle valve (tv) cable. We also mounted the Summit torque converter. Throughout this entire process we made sure to keep all of the openings in the transmission plugged or covered to prevent even the smallest amount of dirt from entering.
When we ordered the transmission, Summit’s customer service rep asked about the type of carburetor we had on the engine. This was to ensure that we would be sent the correct tv connection for the carburetor. The tv cable controls line pressures, shift points, and part-throttle downshifts—it is the link to the ghost in the machine that makes it all work. That makes it one of the most critical portions of the 700-R4 installation. Following the tv cable installation instructions to the letter is a must!
The torque converter used in the 700-R4 is a lockup design that’s activated electro-hydraulically. As an original equipment installation, the 700-R4’s lockup was accomplished through the car’s computer. But with no computer, the lockup can also be wired independently with a toggle switch, which is what we will do. When locked up, the inherent torque converter slippage is eliminated, dropping highway speed rpm by approximately 300.
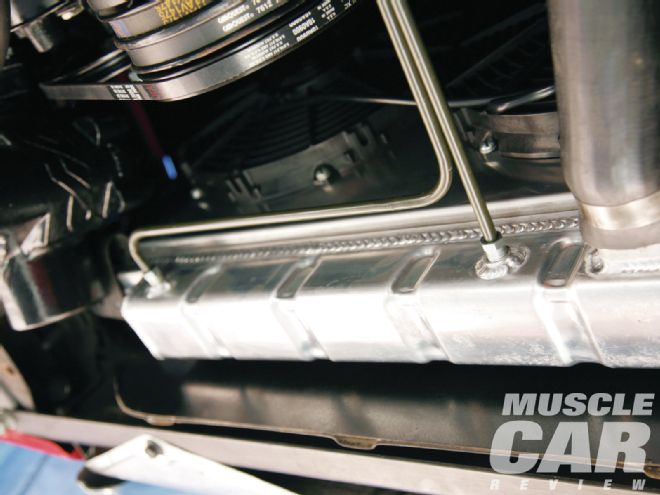 8. We chose to run full hard lines for the transmission cooler. While a short section of flex line at the radiator can be slightly more convenient, they can also be a source of potential problems.
Since the Biscayne is an original stick-shift car, this swap offered us some options for shift linkage. We could have found an automatic steering column, but we also had a hole in the floor where the four-speed’s linkage entered the passenger compartment. We liked the look of Lokar’s new bench seat shifter, and its floor mount design allowed us to use the existing opening in the floor pan. It also has the same swizzle stick look as Chevrolet’s original four-speed shifter, with the convenience of detents and a Neutral safety switch.
700-R4 Gear Ratios
First: 3.06:1
Second: 1.63:1
Third: 1:1
Fourth (OD): 0.70:1