The idle air control valve in your vehicle is a very important component in maintaining the vehicle's regular idle speed. The valve, commonly referred to as the IAC valve, controls the idle speed by allowing air to bypass the throttle plate. The valve can become clogged, which can lead to engine damage. To avoid this, replace the valve immediately if it becomes clogged.
Park the vehicle on level ground and allow it to cool for 20 minutes. This will ensure that all components are no longer hot to touch, preventing serious burns.
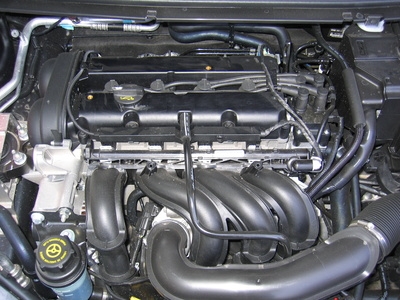
Open the hood of the vehicle and locate the idle air control valve. The valve is located toward the back of the intake manifold. The location may vary slightly based on the vehicle model, so you need to refer to the owner's manual for the exact location.
Unplug the wiring harness from the IAC valve. There will be a small tab where the harness meets the valve. Depress the tab and pull the harness away from the valve to unplug it.
Use a socket wrench to loosen and remove the two bolts securing the IAC valve in place. The bolts are located on each side of the valve. Remove the valve from the vehicle by lifting it straight up.
Clean the valve mount with a rag and throttle body cleaner. This will ensure that the new valve sits properly and has a smooth connection.
Install the new IAC valve by placing it back onto the mount. Replace the two mounting bolts and tighten. Plug the wiring harness into the new valve. Close the hood of the vehicle.