Besides sending lots of smile-inducing horsepower to your rear tires, the crank also powers all the engine accessories necessary to keep your Chevy rolling down the highway. To do this, power is transferred to the various items such as the alternator, power steering pump, and A/C compressor via a rubber belt. Back when most of our now classic Chevys were new, a simple V-belt was used. It got the job done, but as power levels and technology advanced it was replaced by the multi-rib serpentine belt system. The ribs, in most cases there are six, resisted slipping better than its V-belt ancestor and the serpentine design meant more accessories could be ran on a single belt. Yep, a single belt could run accessories on the driver and passenger side of the engine. It may not sound like a big deal today, but it was quite the leap forward.
Most modern engines, like the LS series, were designed around this system, but for the most part, older small-blocks were stuck in V-belt land. Sure, you could dig up a factory serpentine kit from some wrecked mid-’80’s GM car, but they were not guaranteed to fit in the confines of your classic Chevy and are a bit ugly. After all, factory systems were designed to function properly, not win car shows.
Enter the aftermarket. Companies like Concept One came up with a way to imbue old Chevy engines with modern serpentine technology. And they did it with a kit that looks kick-ass, to boot. Hey, sounds like a win/win to us. In addition, their kit incorporates a compact design that easily clears most valve covers, headers, and other engine bay clutter.
To check out the kit we grabbed some Eastwood tools, a Victory series pulley kit, and a small-block we had that was in the queue for an install.
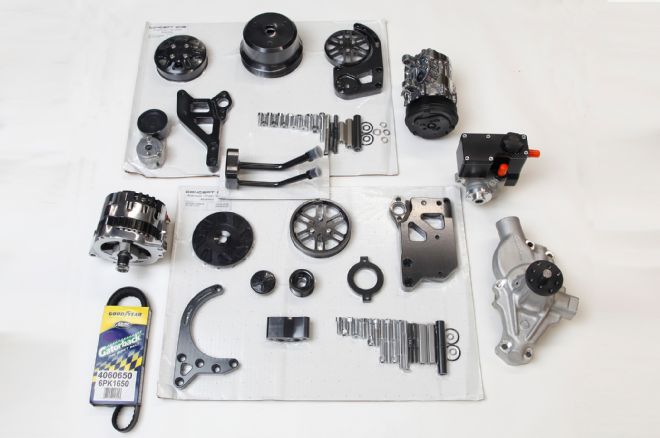
01. A lot of top-quality parts are packaged in the Concept One Victory Series pulley kit. In addition to all the needed hardware and a host of custom-milled billet brackets, there’s an aluminum Edelbrock water pump, Sanden SD-7 A/C compressor, Delphi aluminum power steering pump, Powermaster alternator, and Goodyear Gatorback belt. The kit, in machine finish, runs around $2,000 and they have finish upgrades like polished, black, and clear anodized.
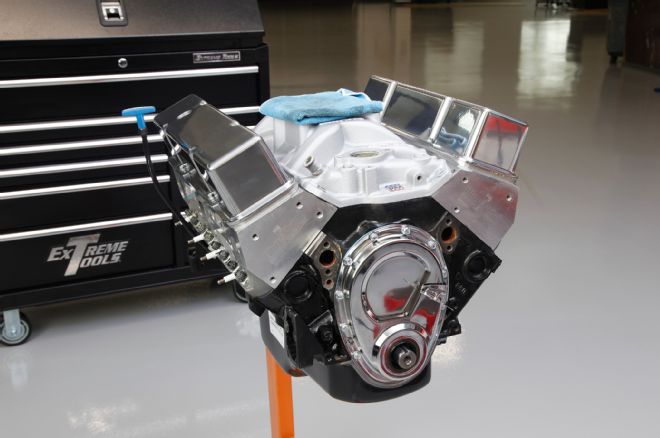
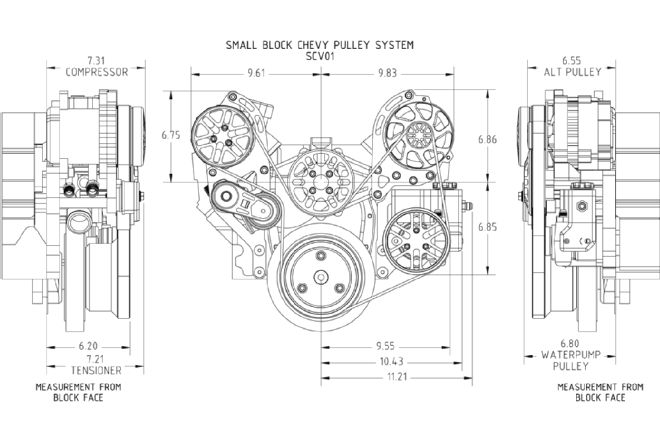
02. This 350 small-block Chevy is typical of what’s under the hood of many hot rods. Originally, it ran a V-belt system, but V-belts tend to slip when the horsepower gets ratcheted up too far. It’s also not the best looking way to go. A far better system is one that uses a multi-ribbed serpentine belt. It’s functionally better and looks great. Our engine had aluminum heads, but the Concept One system will work on iron-headed engines as well, even ones without accessory boltholes. Just make sure your block has drilled and tapped holes on either side of the harmonic damper.
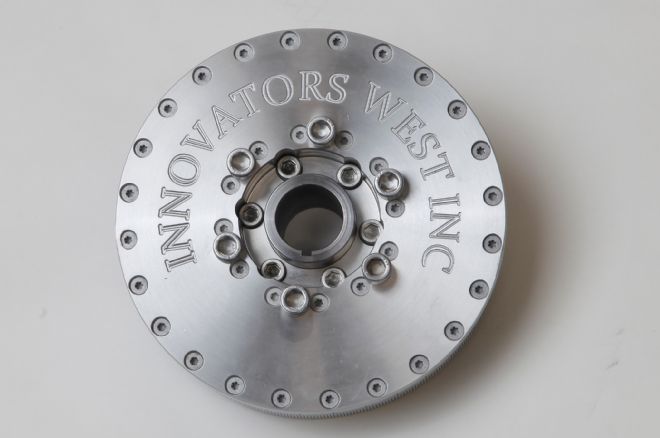
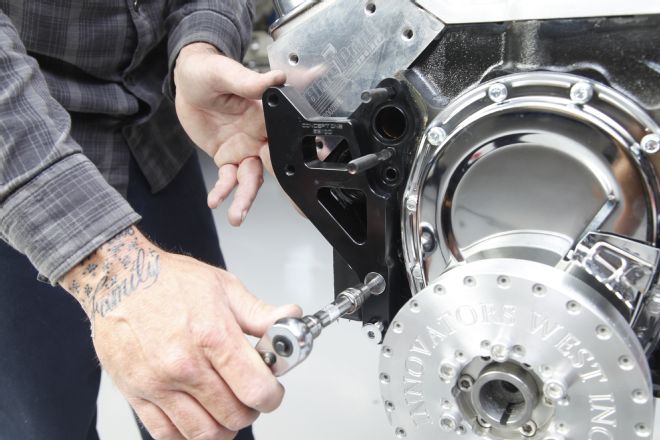
03. The balancer can be a simple GM piece or something as high end as this billet piece from Innovators West Inc. (PN 102). It’s good for up to 1,000 hp; way more than we will be making, but it’s nice to know we have room to expand our power output.
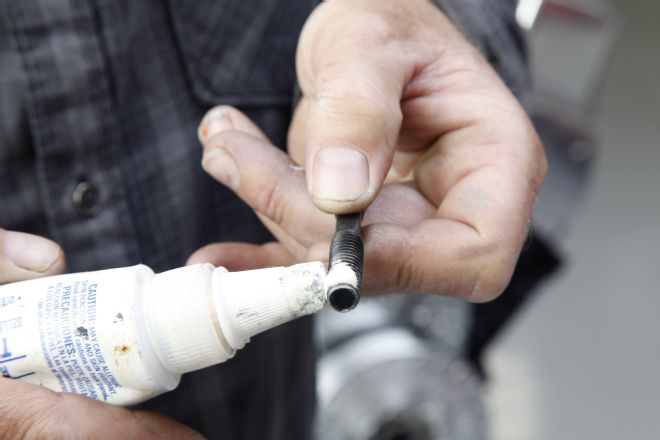
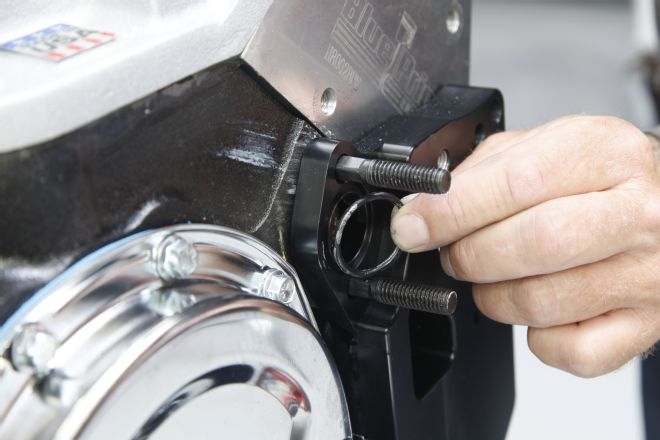
04. Water leaks are a drag, so we made sure to give all of the water pump studs a nice coating of thread sealant. The four studs were then screwed into the water pump boltholes.
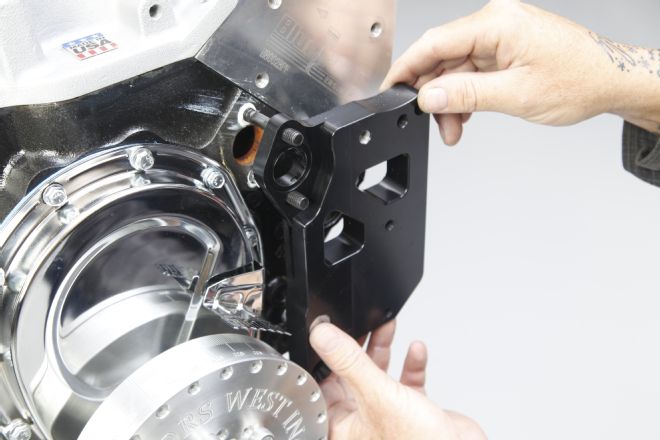
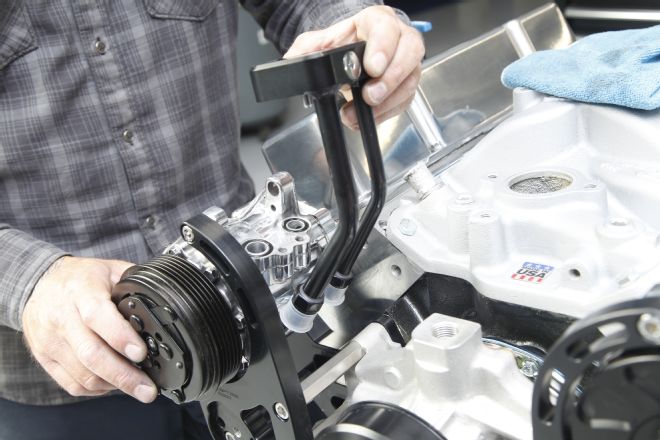
05. We then slid the rear driver-side accessory bracket in place over the studs.
06. This was followed by the rear A/C compressor bracket, which was secured using the supplied fasteners. We made sure to use a dab of antiseize on any stainless fasteners used.
07. Next up was installing the included O-rings that will seal up the water pump. Forgetting this step will result in much sadness when you eventually fire the engine.
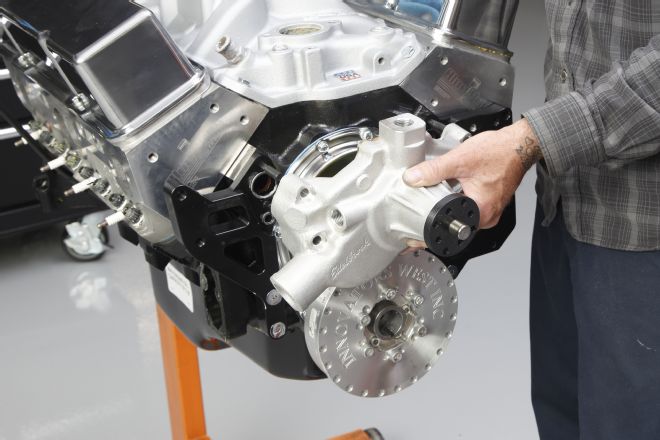
08. The Edelbrock water pump was next on the list. It simply slid over the four studs we installed earlier.
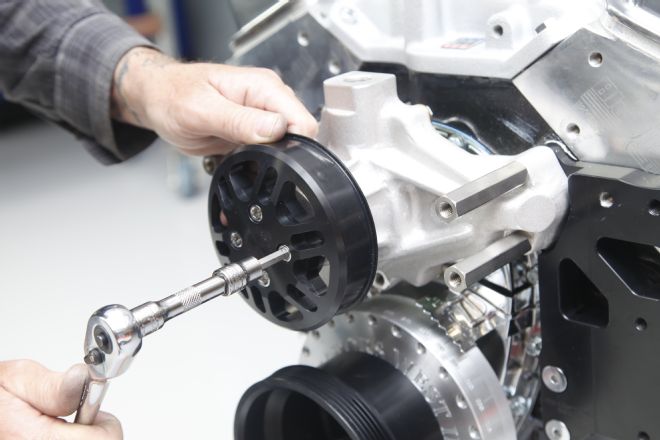
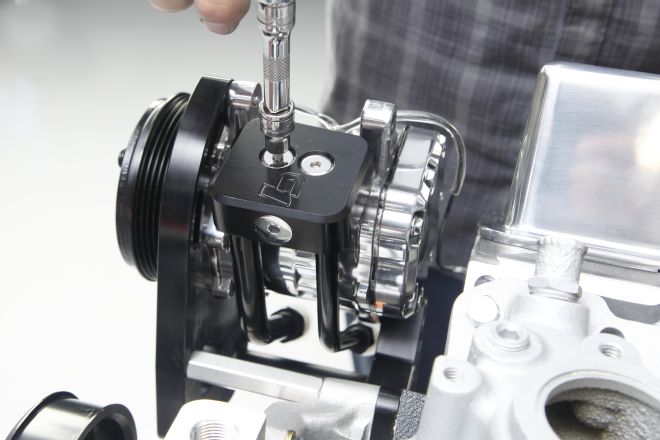
09. Three fasteners secured the billet crank pulley to the Innovators West damper.
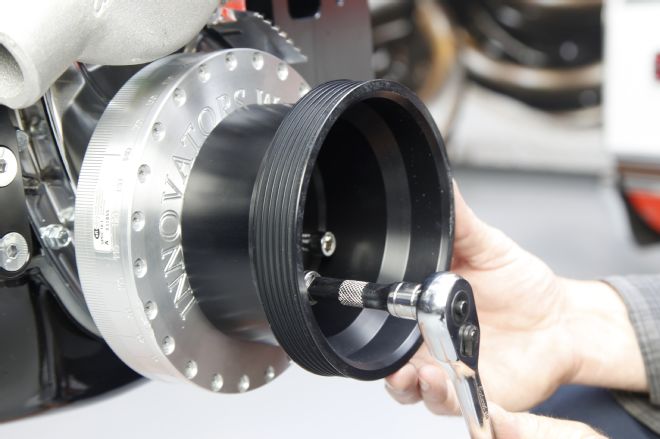
10. The Concept One kit is designed to work with electric cooling fans, but if you need to run a mechanical fan, they can hook you up with a modified water pump pulley. Just keep in mind that the kit uses a reverse-rotation water pump, so make sure the fan is right.
11. The billet spacer then went onto the back of the aluminum Delphi power steering pump.
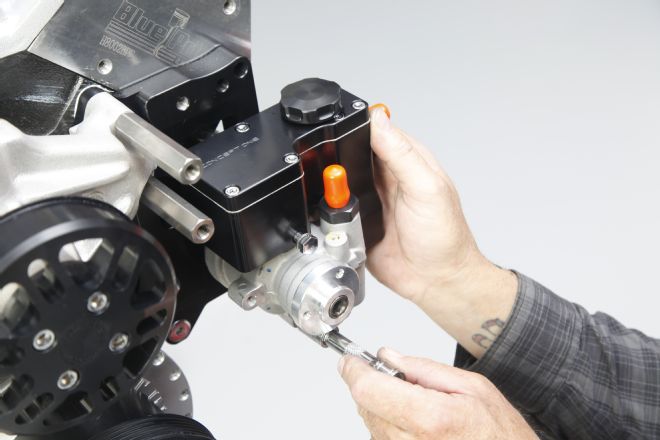
12. We then mounted the pump/reservoir assembly to the billet bracket using the supplied hardware. Concept One has one of the best-looking reservoirs on the market. You can also see two of the four hex spacers that we installed onto the water pump studs.
13. It was then time to secure the alternator spacer.
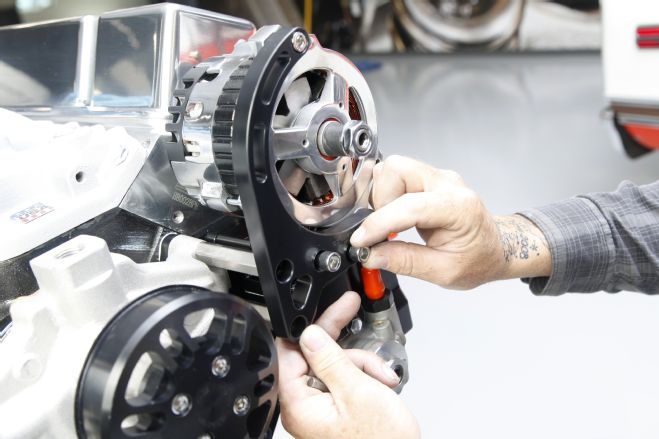
14. The alternator bracket, along with the polished Powermaster alternator, was then secured to the engine. The kit comes with a 105-amp unit, but for an additional $50 you can upgrade to one rated at 140 amps.

15. Once fully locked down, we could toss on the alternator pulley and fan.
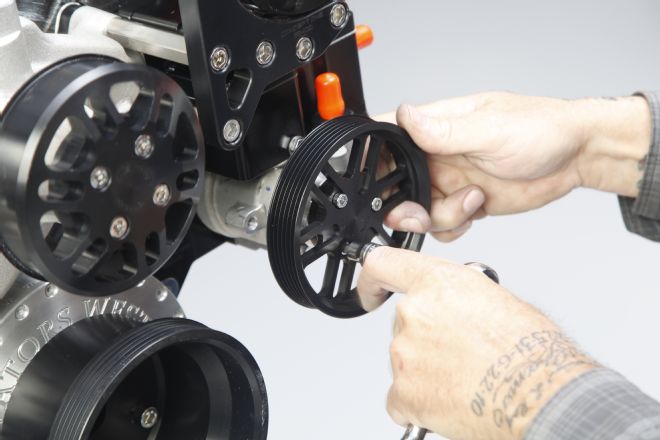
16. Three machine screws secured the power steering pump pulley to the Delphi pump. It was very nice not having to hassle pressing on a traditional pulley.
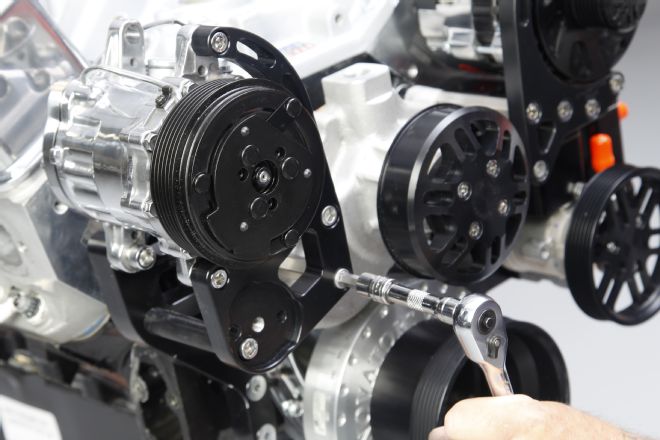
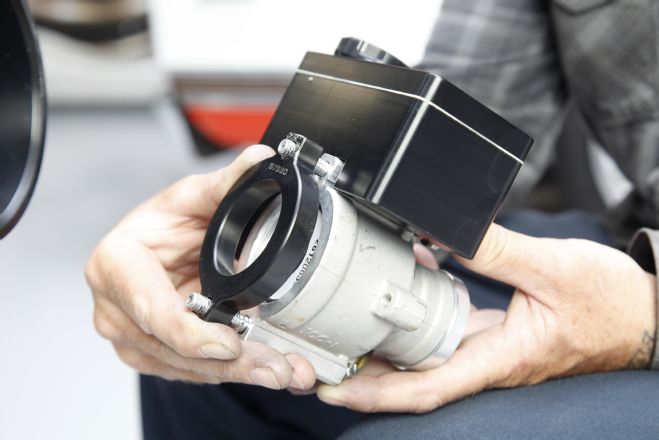
17. Using a variety of spacers and fasteners, the polished Sanden A/C compressor was bolted in place.
18. The kit also included this sweet billet compressor manifold. We really liked how it routed the lines in from the bottom for a clean install.
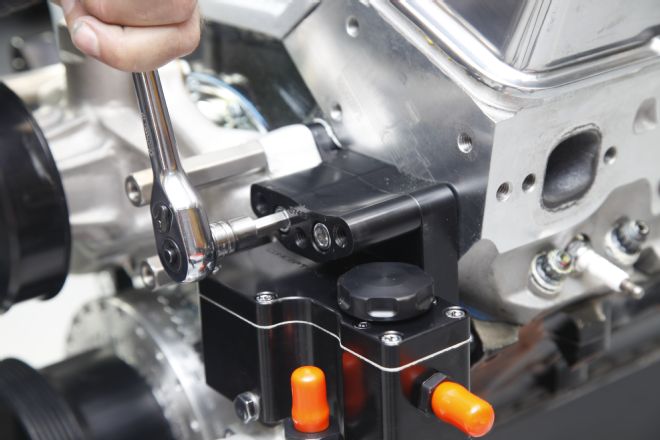
19. The manifold was secured with two stainless fasteners. Note that if you won’t be installing the A/C soon then you should leave the compressor sealed up and install this when hooking up your system.
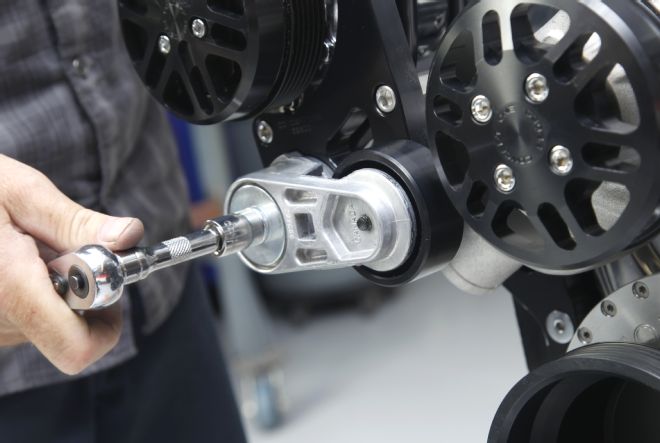
20. The Goodyear tensioner was then bolted to the lower area of the large A/C compressor bracket.
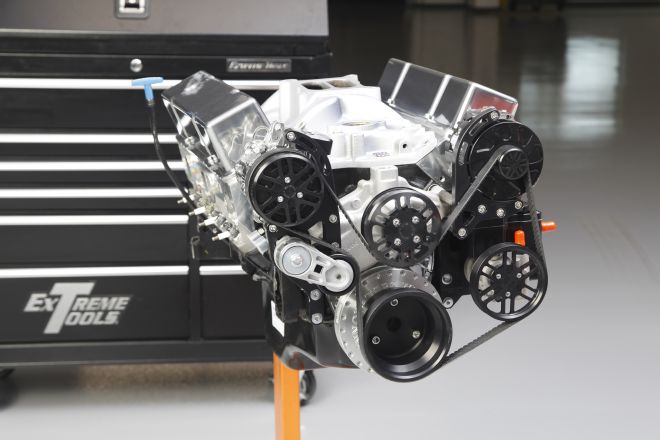
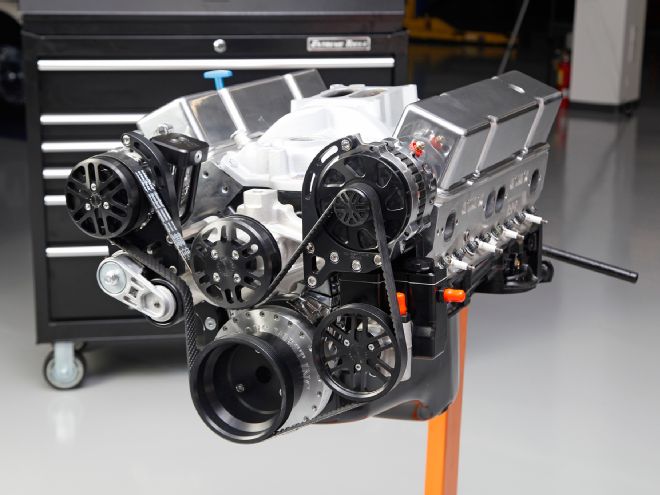
21. After adding the Goodyear belt, we put this project into the “done” category. The install took less than 2 hours and our small-block looks killer and far more updated than it did before.