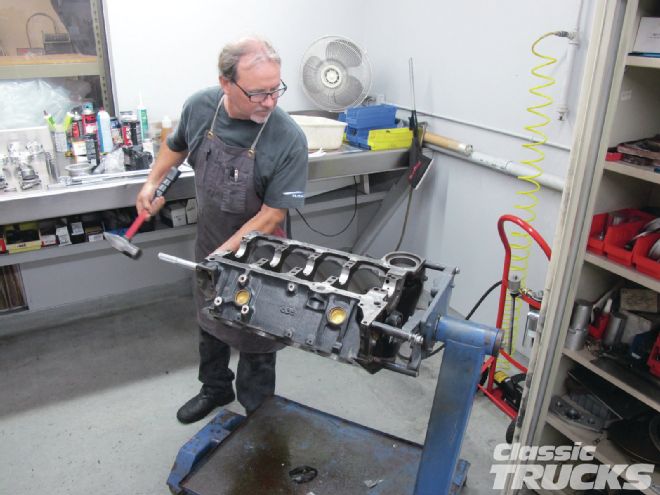
Today's aftermarket engine part manufacturers are making everything under the sun from stock replacement parts to wow, that's possible to build? In a nutshell it seems like we have the parts covered for just about every application of the small-block Chevy we want to build. So where to begin, or better question is, what is the weak link to your current engine? Usually we find out when it's to late, like in my case of a broken crank. This was all my fault because I was pushing the limits of what the last crank could do. Some of you may say it was a bad crank and I have to disagree – it was my driving habits.
In my case, repetitive 6,000-plus-rpm shifts with almost 456 hp and 481 lb-ft was pushing the capacities of the cast crank material. The good news is that the engine never self-destructed, but it did send main bearing material all through the engine. One of the positive things in all of this is that we can now provide you guys, the readers, with some details on how to beef up the bottom end and squeeze some more power out of that old small-block.
Although a plethora of available engine parts may be a logistical nightmare for novice engine builders, companies like Lunati, Comp Cams, Summit Racing, and Airflow Research (AFR) all have tech lines to help you. Mix and match the wrong parts and you'll wind up not making any more power than you started with, so start by doing some research. Questions I would ask include, do you want a stump-puller engine that will not rev up past 5,500 rpm or do you want an engine that revs to the moon, but has trouble getting the truck moving? Or is it a combo of the two? For me I definitely want the engine to rev, but I also want the engine to pull like a freight train from off idle to max rpm. The best way to achieve this is by choosing parts that work well together. Let's talk about the 383 bottom end and different rod lengths, etc.
Rod Length
Popular 383 kits have a 3.750 stroke crank, 5.70 rods, and 1.425 pistons, and if you add up the total of the combo you get a 9-inch deck height. This kit is popular because pistons are available in different CC's from dished, flat-top, and domed. The Lunati VooDoo Engine Kit we choose has a non-twist forged 4340 steel crank with a 3.750 stroke (part number 70137501), 6-inch H-beam rods (part number 70160001-8), and a shorter piston compression height of 1.130 inches (part number 201006K1) kit with rings and pin.
The Lunati Balanced Kit comes with main bearings and rod bearings that are designed to fit the standard small-block. So why did we choose to go with the longer 6.0 rods versus 5.7 rods? The 5.7 rods with the 3.750 stroke have what is called sidewall load. When the 5.7 rod and piston is at top dead center (TDC) or bottom dead center (BDC) the piston is forced to the side of the block causing increased friction. The 6-inch rod will have the wrist pin sit higher in the piston which optimizes the rod ratio for higher rpm's and puts less stress on the cylinder wall because of the decreased angle the rod is at during its cycle. The downside to the long-rod build is that the piston has smaller ring-lands due to the higher wrist pin location, so it is not as conducive to a boosted application.
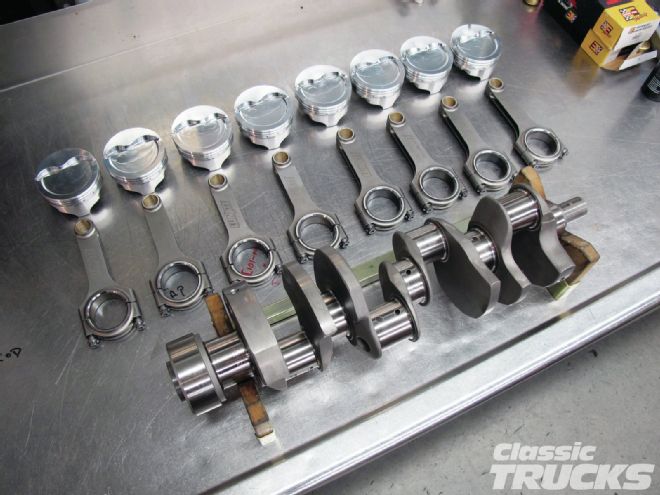 We ordered a 383 stroker kit from Lunati and it came with their Voodoo series crank, engineered from 4340 forged non-twist steel that is known for its durability and strength in high-heat applications. The Lunati Voodoo H-beam connecting rods (70160001-8) are manufactured form 4340 forgings, heat-treated, stress relieved, shot peened, and magnafluxed to ensure the highest level of quality. We ended up with the flat-top Lunati -4.9cc pistons. Lunati pistons are forged from virgin 2618 alloy aluminum that is extremely strong and durable, but also very malleable.
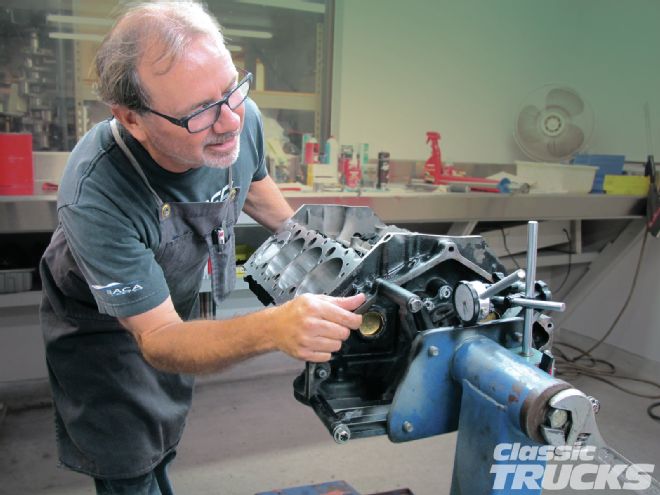
 One of the first things Gordy Jennings from Pfaff Engines did was to measure the mains, bore, cam, and lifter tolerances to see if the block could be used. The block was also magnafluxed and visually checked for cracks.
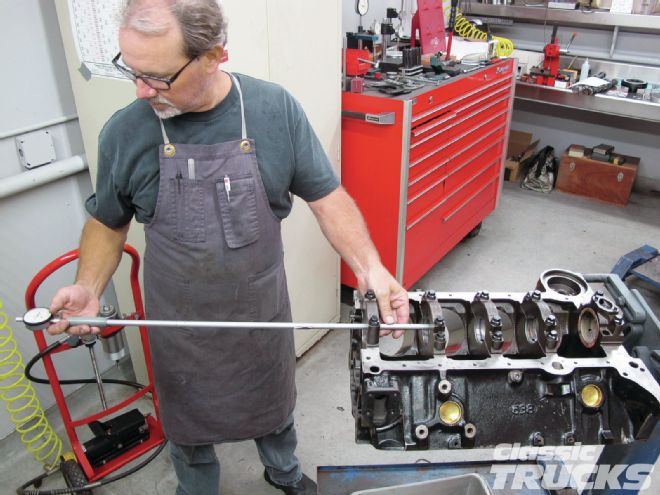
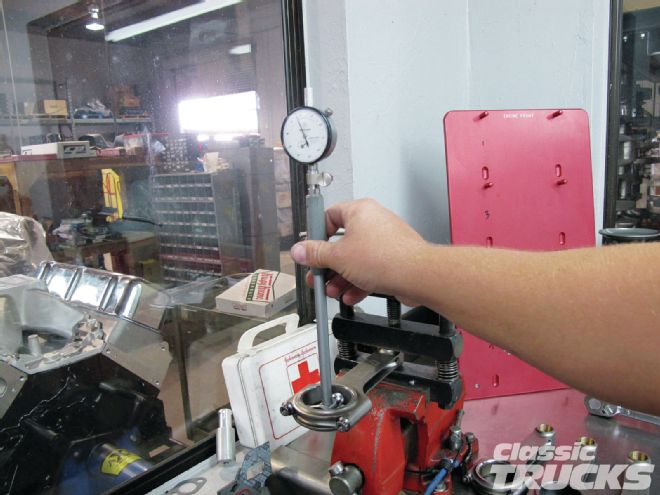
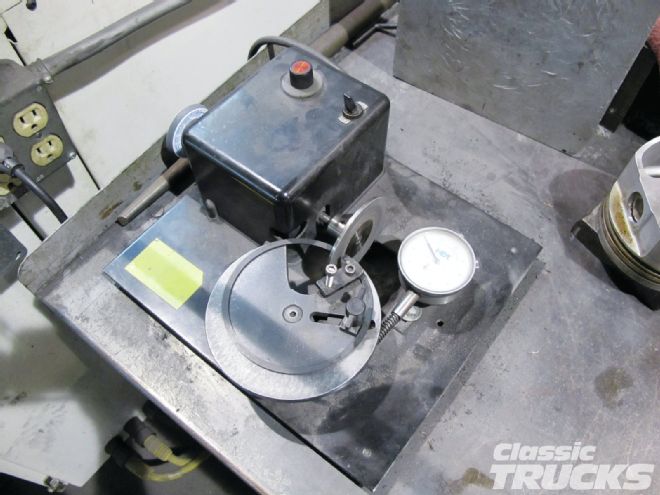
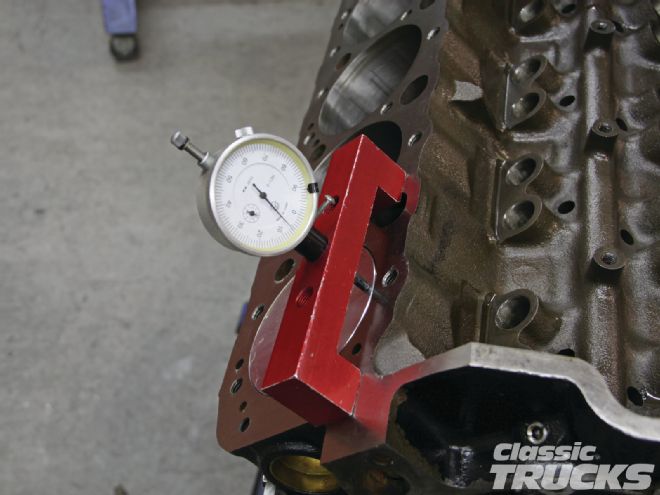
 Here, we're measuring the to see how tall the block deck height is. The block was right at 9.024.
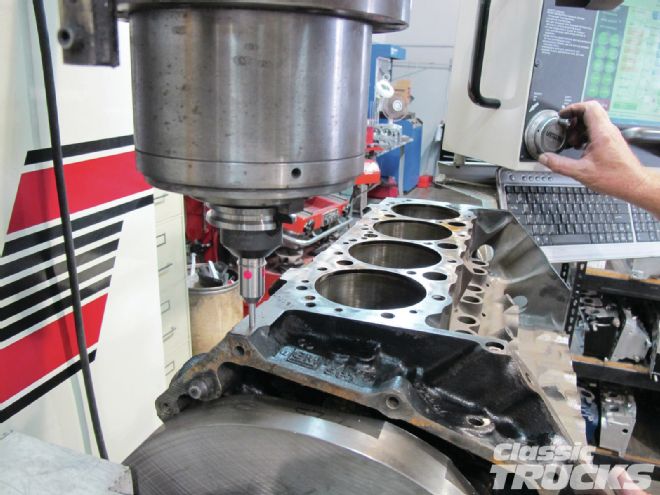
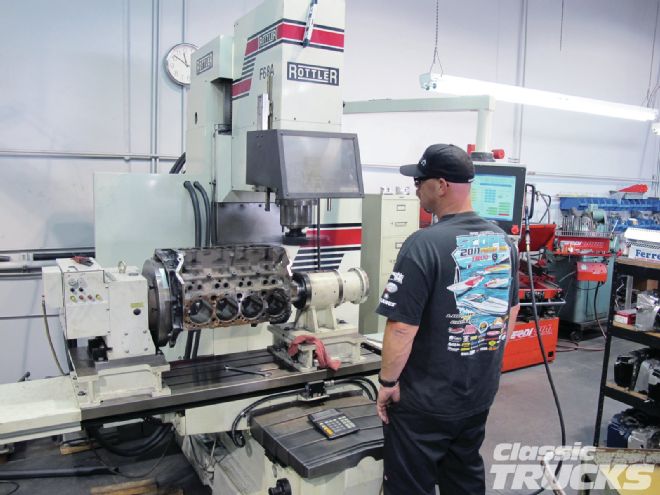 The Rottler surfacing machine is more accurate than yesteryear's manual machines. Here, Steve is taking 0.024 per my request to zero the deck height.
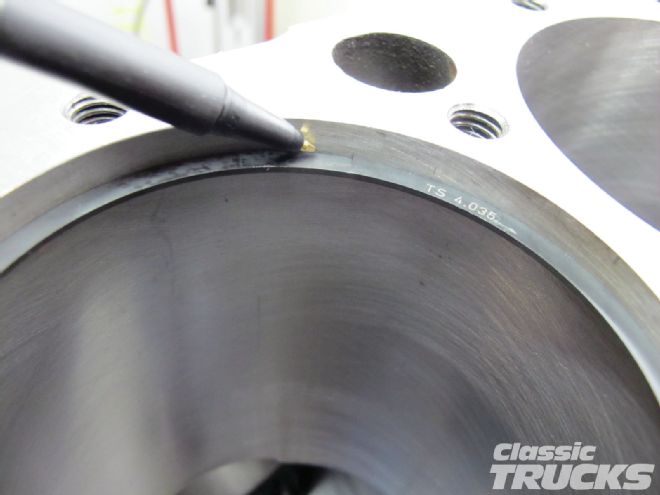
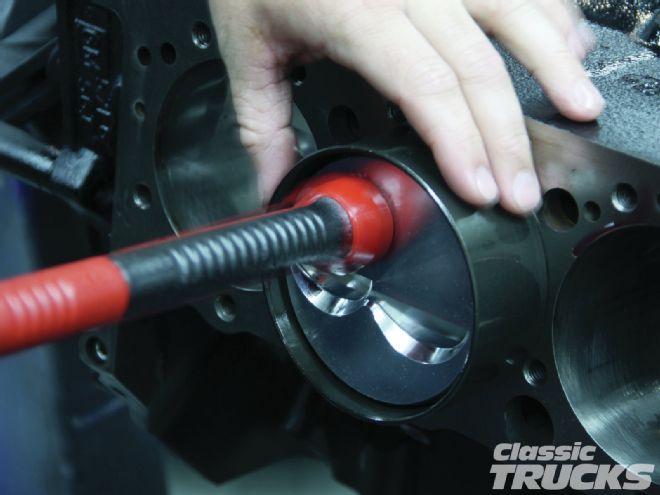
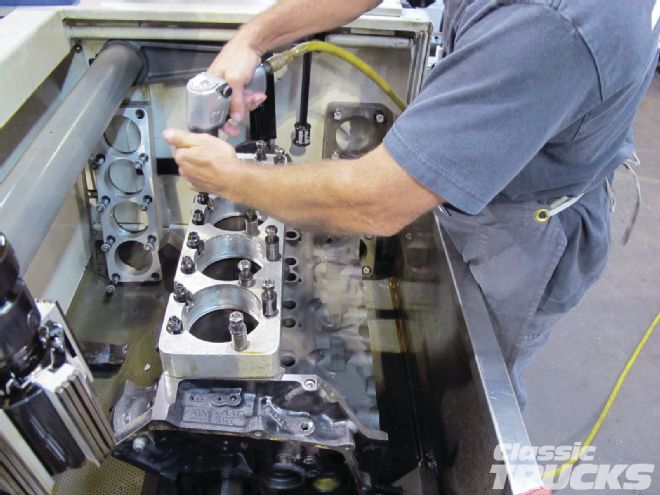 Make sure a torque plate is used during the boring or honing process. If not used, the top of the bore could become oblong.
 Gordy measured the pistons and decided to hone the block to give it a nice crosshatch on the cylinder bore.
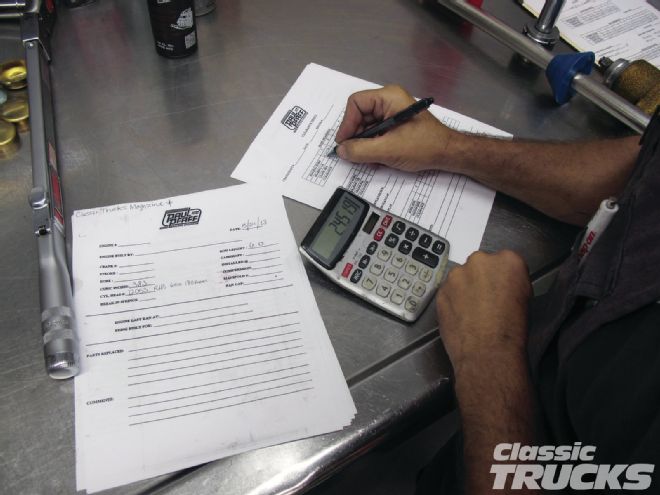 Next Gordy is marking down every engine detail in a special book he created. This way if we have to replace a bearing or if anything goes wrong with the engine we know how to fix it. Also if a customer wants to build this engine, Gordy has documented details on how to do so.
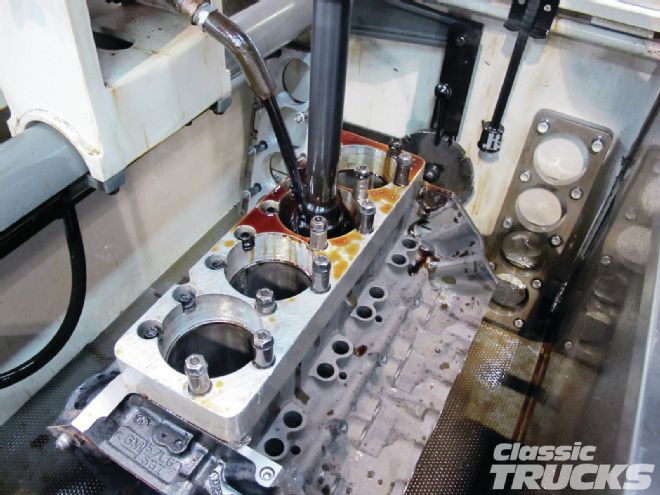
 He is also watching the machine to see if the cylinders are egg shaped or deformed. The last step is to deburr the top of the block so the pistons slide in without damage.
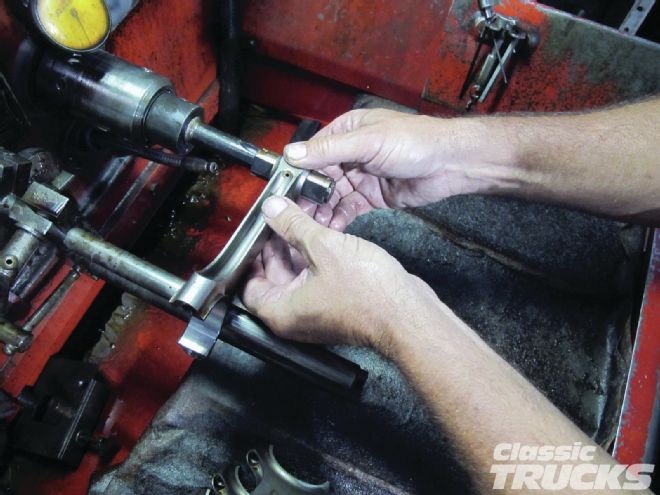
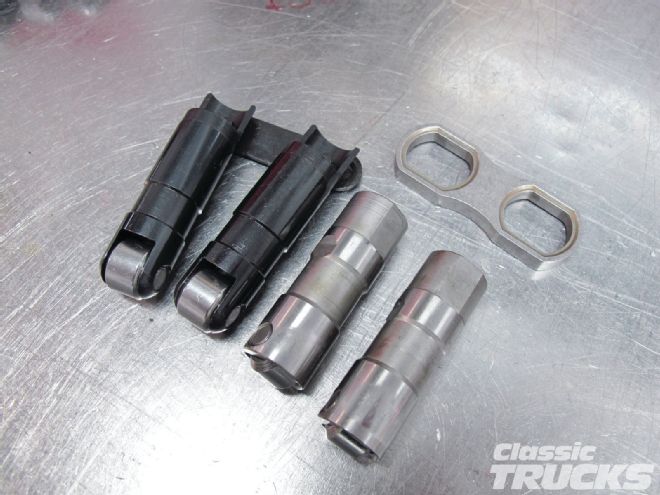 On the left is a new set of Comp Cams short-travel hydraulic roller lifters. The short-travel lifters are the retrofit style, meaning they have connecting arms to prevent them from turning. The short-travel lifter helps with higher-rpm engine revs and will stabilize the valvetrain because of the shorter travel. On the right are Comp Cams hydraulic roller lifters for the Gen II SBC. These are standard travel and have many applications.
 Gordy measured the new lifters and decided the tolerances were too tight. If a lifter has tight tolerances and sticks or binds in the lifter bore it can be disastrous for the engine. Unfortunately I don't know what happened to the photo of Gordy honing the mains, but he used this machine to make sure the bearings would all be even across the mains caps.
 The block was then stripped of all the oil plugs and hot tanked to get all the metal off it.
 Here Gordy installs new Clevite cam bearings, making sure all the oil holes are lined up toward the main caps.
Deck Height
This is measured from the center of the crank to the top of the block on both sides, left bank and right bank. A quality machine shop like Pfaff Engines of Huntington Beach, California, will be able to check your deck height and machine the block according to where your requirements for clearances and compression need to be. Most, but not all of the Chevy Gen II one-piece rear main 350 blocks, come with a 9.025 deck height. Machining or zero decking the block is done by removing .025 off the block, making the deck height 9.000 inches total on both sides. Now this can be problematic or a blessing depending on the parts utilized. For example, some stroker kits will take into consideration that machining the block down is expensive and some people are not going to do it, so they might spec the pistons so that they are less than .025 in the hole.
Piston Compression Height
Many people confuse piston height with deck height. Piston compression height is a measurement taken from the center of the piston's wrist pin to the top of the piston. A 5.7 rod will have a larger piston compression height than a 6.0 rod with the same stroke crank. To figure out what piston compression height you need per your rod size, you need to calculate the following. First, divide the stroke 3.750 by 2 = 1.875; add this to the rod length + 5.70 = 7.575 minus the 9.0 deck height = 1.425 piston compression height, this is for the shorter rod. The 6.0 rod for a 383 is calculated in the same way: 3.750 divided by 2 = 1.875; add this to the rod length + 6.0 = 7.875 and minus the 9.0 deck height = 1.125 piston. Lunati uses a 0.005 taller piston that will put the deck height of the piston at 9.005 or +0.005 out of the hole if the block is zero decked or machined to 9.000. Now, if for some reason you decide to not machine the block, then the Lunati piston will be 0.020 in the hole.
Pistons
Dish, flat, and domed are the three common types to choose from, but for the most part we are looking at the either dished or flat. Dished pistons are just that – dished to reduce compression and are measured in minuses (-18.6cc). Flat-top pistons are flat on top and increase compression and have valve reliefs on top. They can measure plus or minus, but most common are minus (-4.9cc). Domed pistons protrude into the combustion area of the head and are measured positive or plus (+12cc).
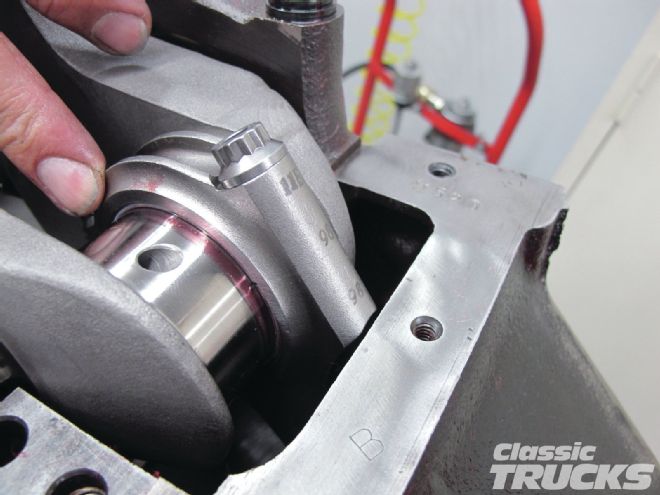
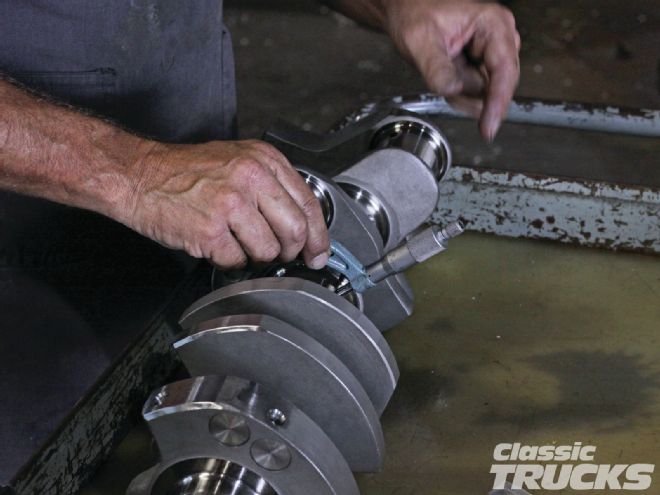 Gordy measures the main bearing surface and the rod bearing surface on the Lunati crank so that we can determine if the supplied bearings will work for this application.
The main bearing surface of the block was cleaned with degreaser and a fresh towel. This way we could install the main bearings and accurately measure.
Gordy measures the main bearing surface and the rod bearing surface on the Lunati crank so that we can determine if the supplied bearings will work for this application.
The main bearing surface of the block was cleaned with degreaser and a fresh towel. This way we could install the main bearings and accurately measure.
 The Lunati rods were split apart and we installed the rod bearings, then torqued them down to 60 lb-ft.
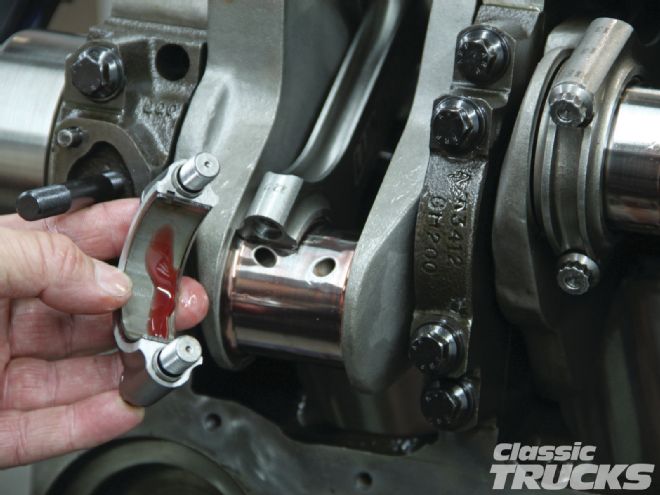
 With the rod bearing installed, Gordy measured the difference between the crank bearing surface and the new bearings. Depending on the engine builder, and also what the engine is going to be doing, you may need to purchase new rod and or crank bearings to fit your specs. The Lunati kit comes with non-chamfered rod and main bearings that you will have to chamfer. More expensive bearings can be ordered to come pre-chamfered and in plus or minus sizes to help with fitment.
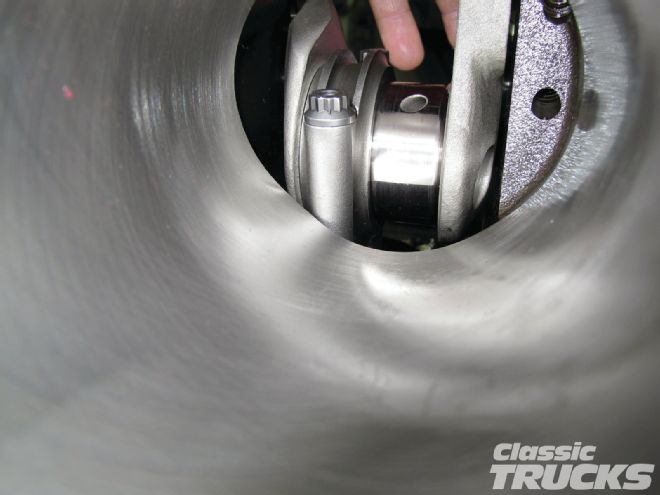
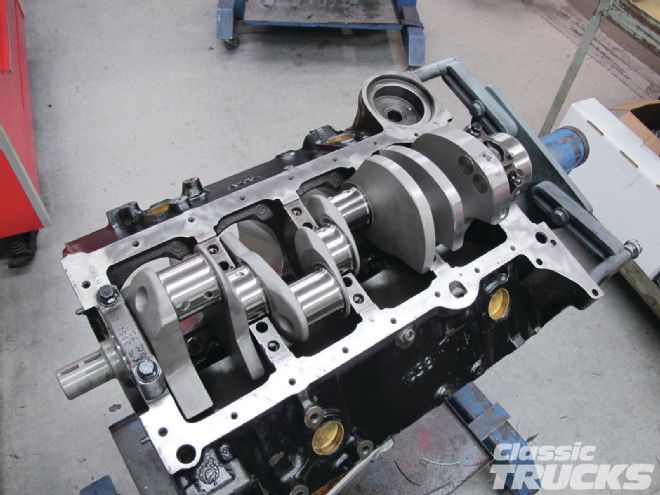 Gordy installed the main's thrust bearing and the front bearing near the timing gear only. We wanted to test-fit the Lunati H-beam rods and mock up a piston to see where further clearance would be needed. The Lunati crank was cleaned thoroughly and some assembly lube was placed on the bearings before torqueing down the ARP outer main cap bolts to 70 lb-ft.
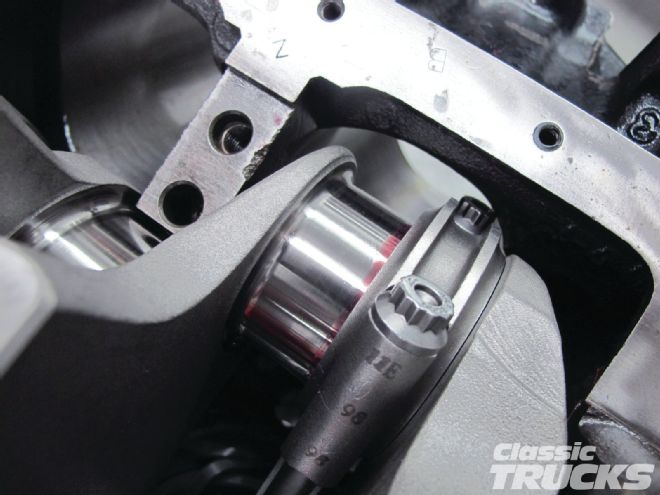
With the rod torqued to 65 lb-ft and a piston with no rings in the No. 1 cylinder, Gordy checked for interference.
Gordy installed the main's thrust bearing and the front bearing near the timing gear only. We wanted to test-fit the Lunati H-beam rods and mock up a piston to see where further clearance would be needed. The Lunati crank was cleaned thoroughly and some assembly lube was placed on the bearings before torqueing down the ARP outer main cap bolts to 70 lb-ft.
With the rod torqued to 65 lb-ft and a piston with no rings in the No. 1 cylinder, Gordy checked for interference.
 Oil pan gasket area on the block.
Bottom of the cylinder where the ARP rod bolt hits.
Oil pan gasket area on the block.
Bottom of the cylinder where the ARP rod bolt hits.
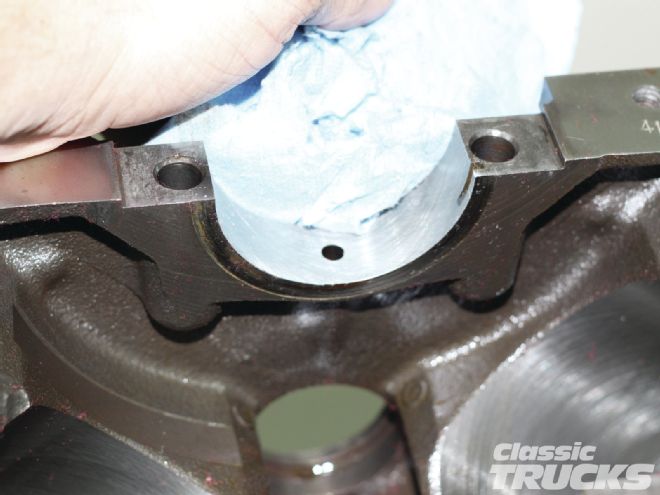
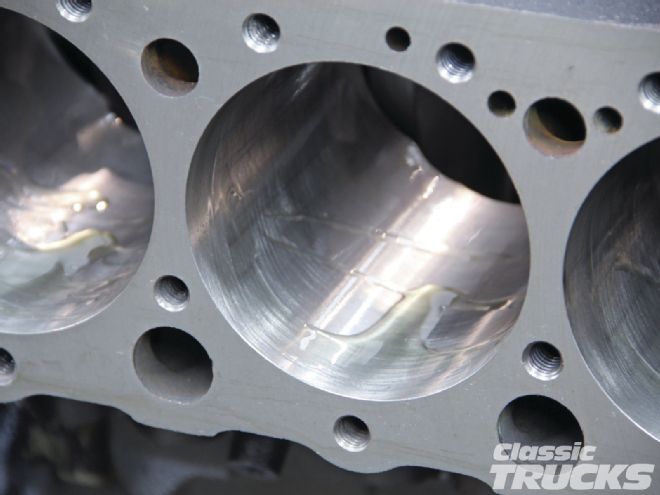
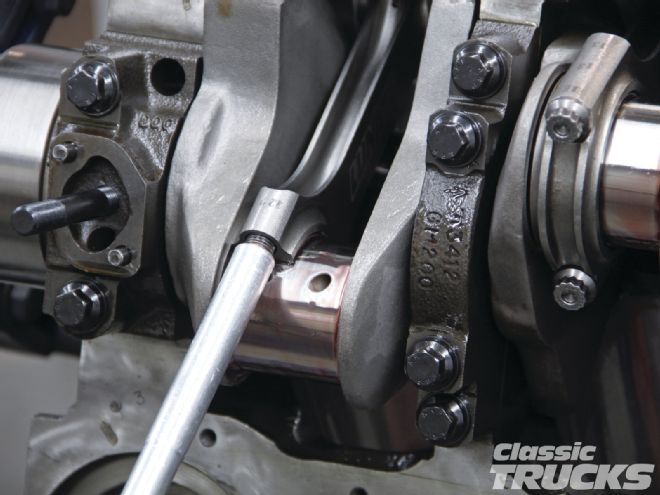
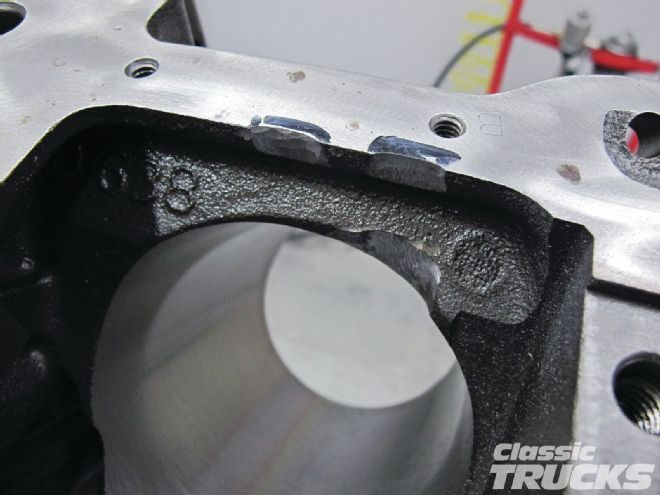 With a carbide bit and some time you can do this by hand. I used a Sharpie to mark the spots that the rod and ARP bolts were hitting and carefully clearanced the block. A zip tie can be used as a .050 measuring device. Be careful not to take off more than needed because the sidewalls near the cylinders are also water jackets.
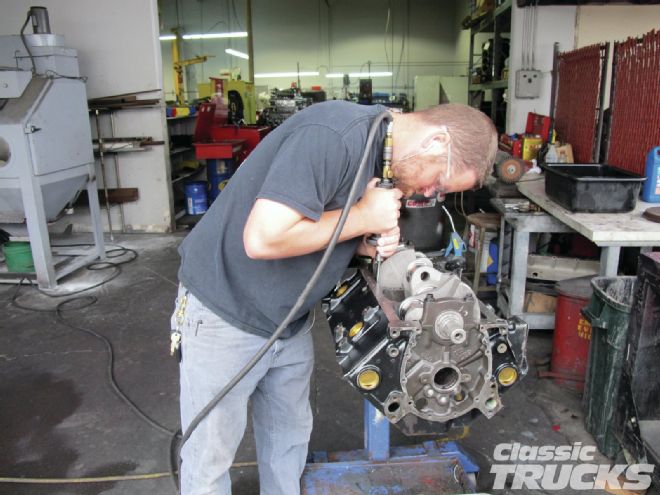 After test-fitting the first cylinder I cleaned off the block with brake cleaner and compressed air to get rid of any metal chips. Then I installed the crank, rod, and test piston in each cylinder to test-fit the clearance. If you are going to grind while the crank and bearings are installed be careful to not hit them with the carbide bit and blow off the metal chips before moving the crank. Just remember if you scratch the crank, cylinder, or any bearing surface you might have to start all over. Hot tank the block after this step.
Further machining the rods to piston pin depends on the tolerances that the machine shop/ engine builder considers ideal. Here, Gordy gives a little more clearance for expansion.
After test-fitting the first cylinder I cleaned off the block with brake cleaner and compressed air to get rid of any metal chips. Then I installed the crank, rod, and test piston in each cylinder to test-fit the clearance. If you are going to grind while the crank and bearings are installed be careful to not hit them with the carbide bit and blow off the metal chips before moving the crank. Just remember if you scratch the crank, cylinder, or any bearing surface you might have to start all over. Hot tank the block after this step.
Further machining the rods to piston pin depends on the tolerances that the machine shop/ engine builder considers ideal. Here, Gordy gives a little more clearance for expansion.
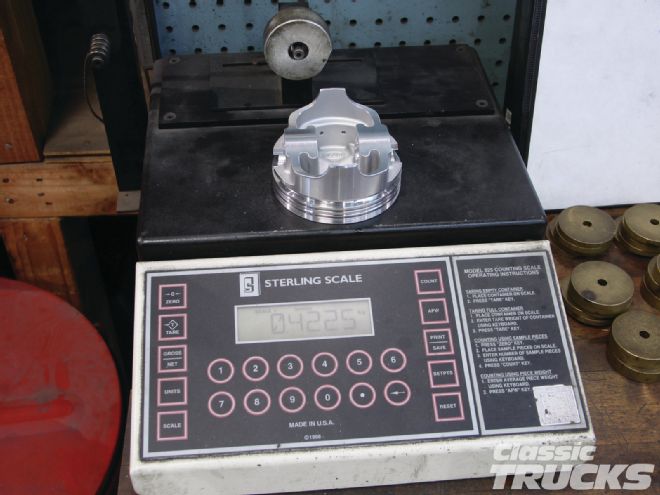 Pistons, wrist pins, and rods were all weighed at this point to make note for the build book and to check for slight variations in weight. All were right on the money.
Head Gaskets
Oh man, where do I start? Rather than getting into the complex makings and materials of head gaskets, let's just talk about thickness and bore. The Fel-Pro head gaskets have great descriptions of what they are and will oftentimes give you a compressed thickness and gasket bore size. The Fel-Pro 1044 head gasket has a 4.200 bore to clear most stock/bored SBC pistons and features a 0.051 compressed height. A thinner Fel-Pro head gasket 1094, similar to this one, has a 0.015 thickness with 4.100 bore and will increase compression because of the decreased space between the combustion chamber and piston (squish area).
Squish Area
Squish is referring to how much space the piston has before making contact with the top of the head and combustion chamber. It is named that because the head's combustion chamber is designed to compress the incoming combustion charge at the last moment and squish the charge toward the spark plug. This squish effect gives the charge turbulence and in effect gives a more complete combustion and burn. A target of 0.041 squish is the goal for our 383 build.
Quench Area
Like the squish area, the quench area is the distance in relation to the piston and the top of the flat part of the head. Quench is referred to as a way to reduce the compressed mixture temperature between the piston and the cylinder heads. Both are very similar and can often interchange depending on whom you are talking to. Ideal quench and squish on a small-block is .035 to .045 depending on the application. Believe it or not, increasing the piston to head squish/quench clearance too much can increase ping or detonation.
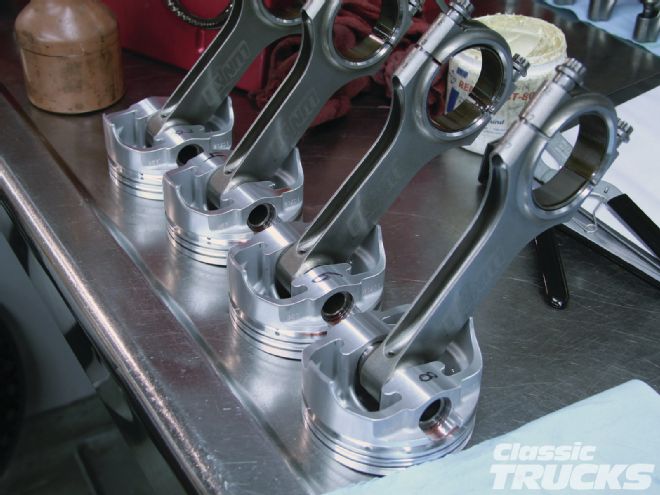 The Lunati pistons were installed on the rods. The rods and pistons were all pointing the same way so that when we installed them they would be indexed in the bore with the bearing chamfer pointing the correct way. We repeated this with the 1, 3, 5, 7 rods and pistons.
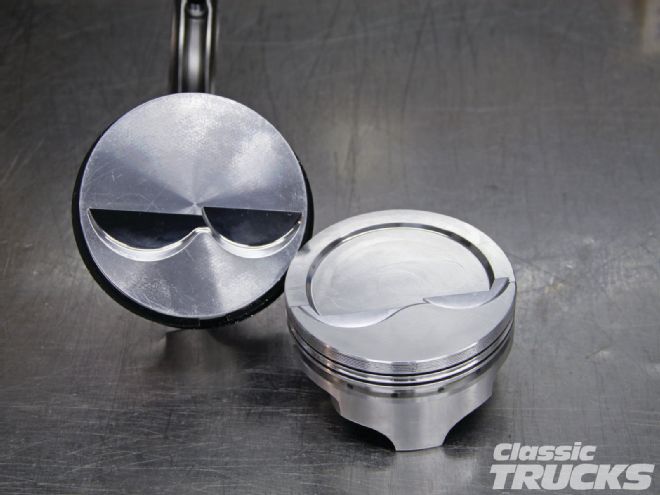 Piston choice depends on what heads you have or vice versa. Left is the Lunati -4.9cc pistons; right is the -18.6cc dish pistons.
 Ring gap on both top rings was too close to install the rings as is. These rings were filed to fit.
 The two compression rings were fit per cylinder and set to .024-ring gap.
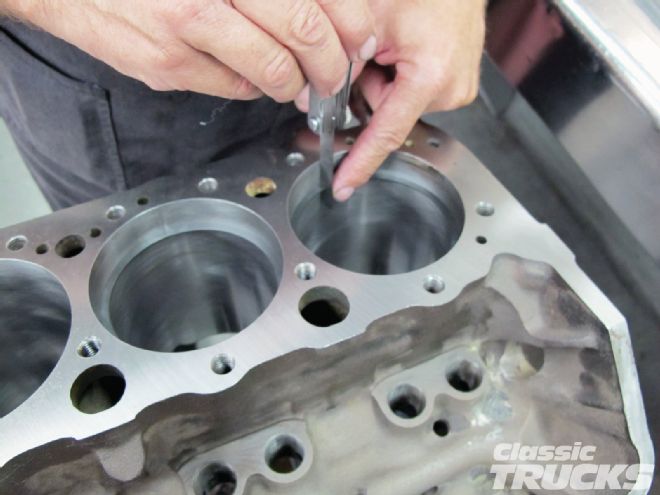 Talk to the engine builder about ring gap he recommends.
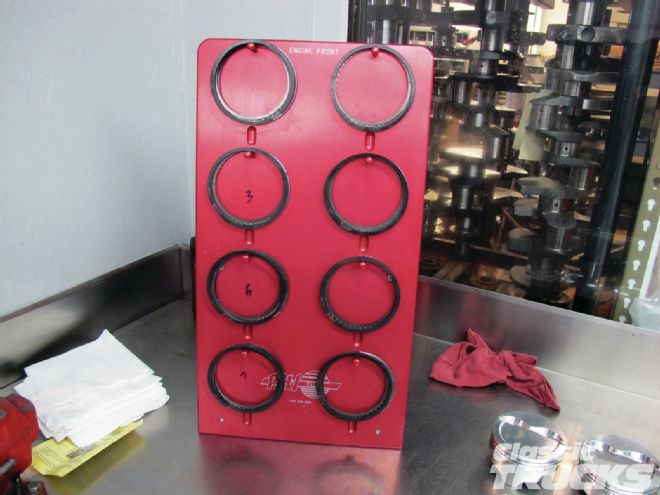 After the rings were gapped we hung them up on a ring board to help keep them separate from cylinder to cylinder.
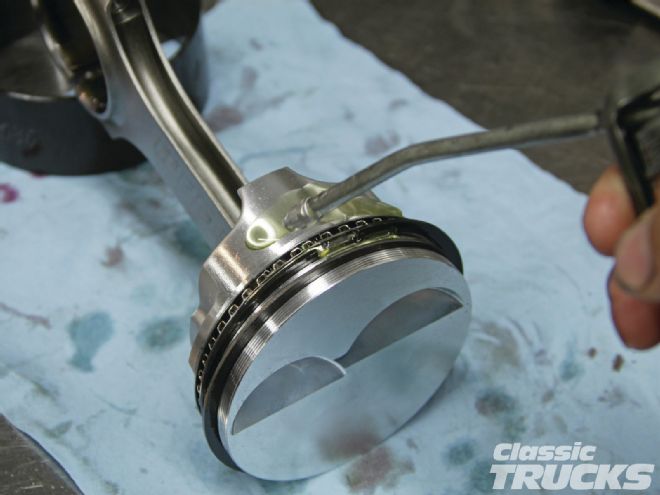
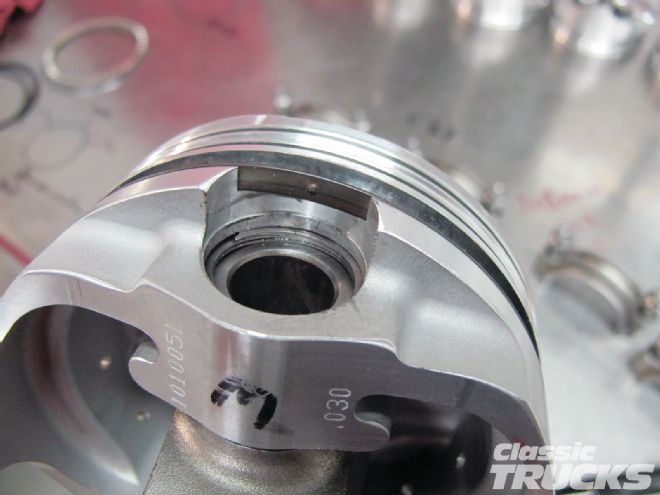 Since we are using the 6.0 rod with shorter piston skirt we have to install a special oil ring for the bottom of the piston. Note the dimple is facing down so that it stays in the wrist pin area. The oil rings are installed next.
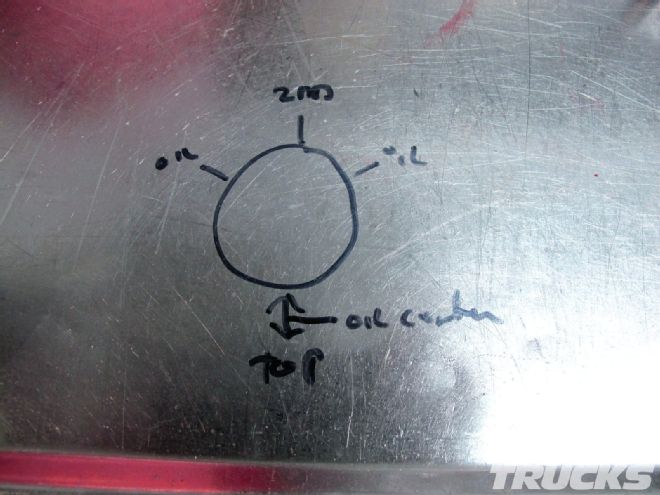 This is how Gordy had me place the rings on the pistons for 1, 3, 5, 7 and the opposite for 2, 4, 6, 8.
 A coat of Comp Cams 10W-30 oil is used to guide the pistons in the cylinders.
 This way the pistons and rings will not be damaged on installation and startup.
 The valve relief is placed toward the center of the engine and tapped in using a Summit Racing ring compressor.
 The index of the rod is also important in that the bearing's chamfered end needs to be facing the crank side. So when installing the rods make sure that both rod's bearing chamfers are not facing each other.
Compression
You want as much compression as you can get away with to increase horsepower. In California, 10.5:1 is about the limit on pump gas because our gas changes blends from summer to winter. In a nutshell the summer/winter mix changes the gasoline's power output, thus decreasing engine power and possibly introducing ping or detonation. So how do we figure out compression and stay within a reasonable range for a street driver and great performance? It all starts with the bottom end; that includes the piston, deck height in relation to how far the piston is "in" or "out" of the hole, stroke, bore, head gasket thickness, head gasket bore, and what size combustion chamber is on the heads.
A piston that is -18.6cc and is out of the hole 0.004 is measured in a minus number (-0.004) with the online compression calculator provided, the same negative or minus CC number with pistons that have valve reliefs or dished. Example, bore = 4.030 with our .030 over Lunati 383 pistons, stroke = 3.750. Head gasket bore depends on the gasket manufacturer; let's say we are using the 1094 Fel-Pro gasket. The head gasket measures 0.041 thick compressed and 4.100 bore and if we are theoretically using a 64cc heads, this brings us to compression ratio of 9.6:1, but that only leaves us with .037 piston to head clearance.
Since our target compression ratio was higher than 9.6:1 we started to look at other options. So Gordy of Pfaff Engines and I started to look at flat-top pistons with -4.9cc valve reliefs to raise the compression. Calculating the same bore and stroke with a Fel-Pro 1044 head gasket (.051 with 4.200 bore) was getting us closer to 11:1 compression with the 64cc heads I already had. If we replaced the heads with 69cc heads we could bring that number down to 10.4:1, a perfect street compression. This would also give us an ideal .041 squish because the new flat-top pistons were out of the hole .010. Go online to the many online compression calculators to figure this one out. Here is one of my favorites: www.csgnetwork.com/compcalc.html.
 A guide rod is also recommended so that you don't scratch up the cylinder bore when installing the pistons and rods.
 Each rod has ARP bolts and gets torqued to 65 lb-ft. Make sure to tighten down the rod caps evenly so that it does not bend the cap when torqueing it down.
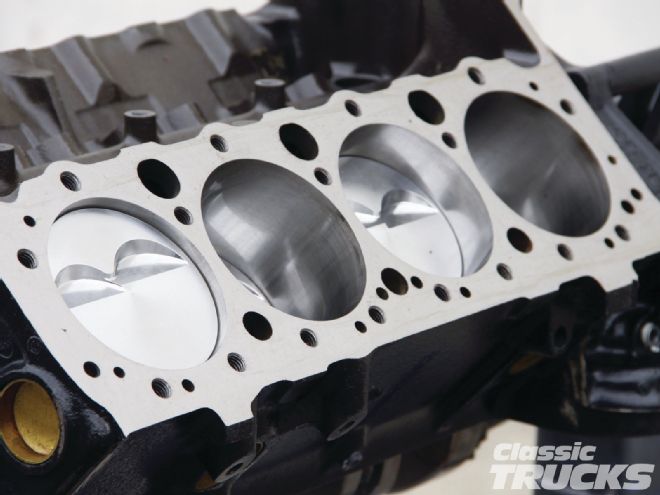
 The No. 1 and No. 2 pistons are measured to see where they are in the bore. Because we zero decked the block we ended up with a piston .010 out of the hole. Make sure to rock the piston back and forth on TDC and average out both numbers to get the piston height.
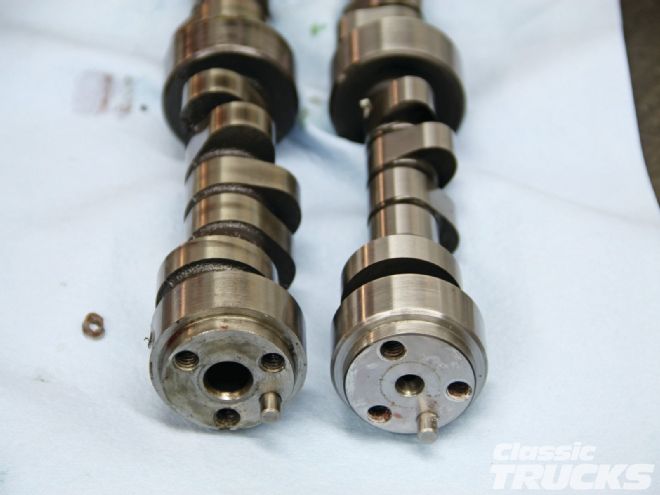 A small base circle cam is used to help clear the H-beam rods and stroke of the Lunati 383 kit. Left is Comp Cams regular base circle cam and on the right is the small base circle cam. We will be talking more about this cool new small base circle four-grind cam when we assemble the top end.
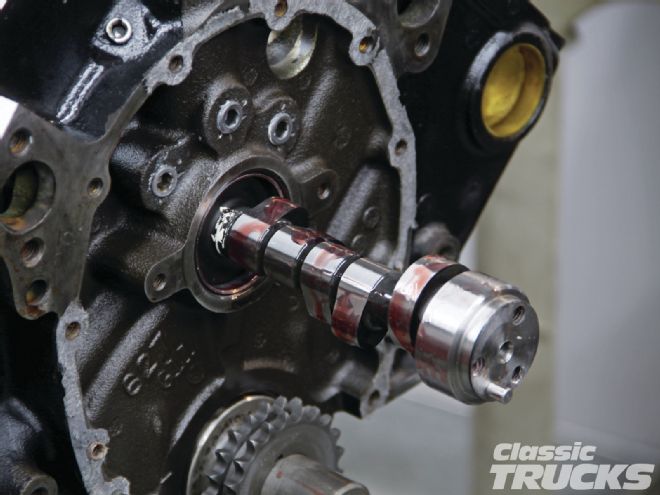 Comp Cams assembly lube is used to aid the cam in sliding past the cam bearings.
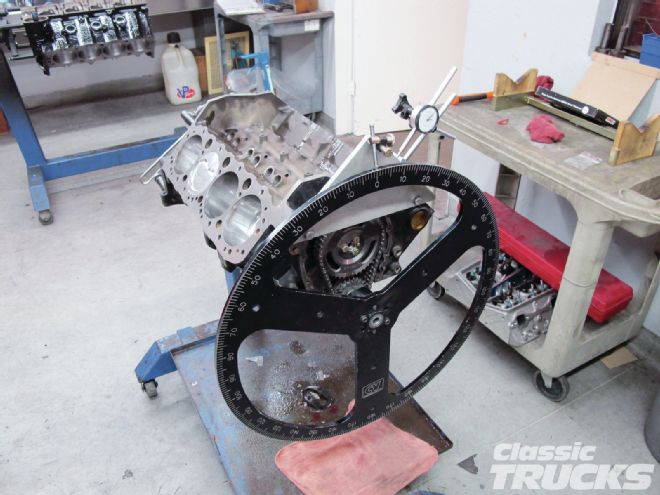 Degreeing a cam can be well worth the extra step. But for our cam we knew that it was already advanced 4 degrees from Comp, so Gordy set the cam and crank to (zero) lining up the timing marks.
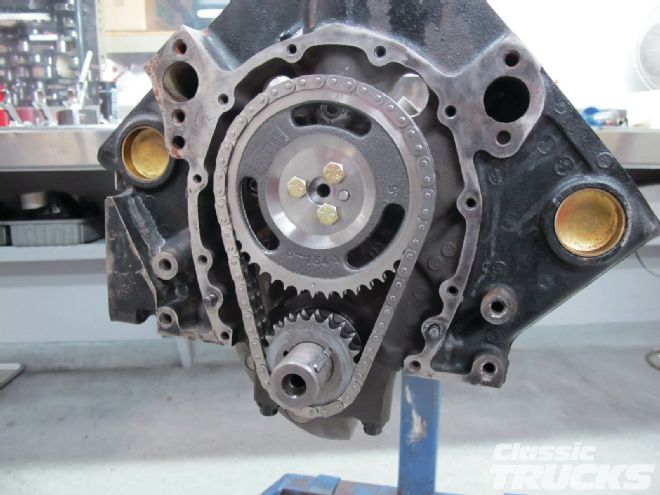 A small tip with an SBC is that when on zero, the crank key will be facing the No. 1 cylinder. The cam key also faces toward the edge of the block on the No. 1 cylinder. Also line up the (0) to the (0) on the gears.
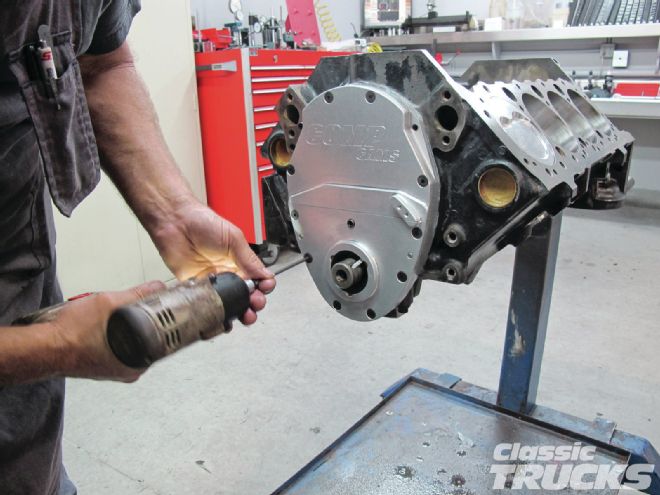 A Comp Cams two-piece timing cover was used to clear the double roller chain.
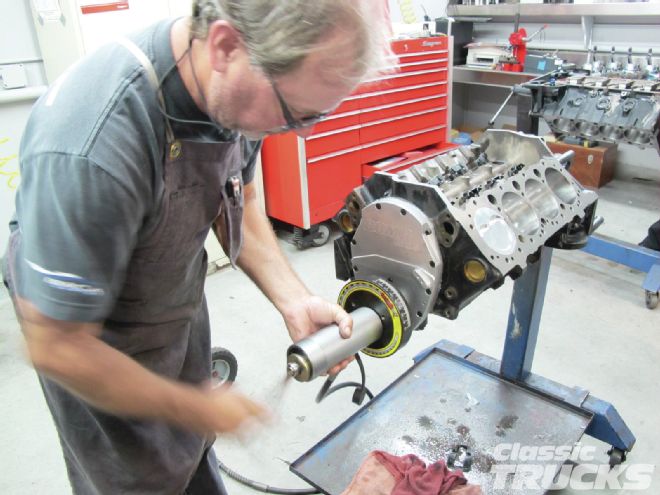 Final step of the short-block was to install the TCI Rattler balancer so that we can reduce engine harmonics. By installing the balancer now we could put the timing mark on the Comp Cams timing cover and make sure we were on TDC with the timing pointer.
 Crank the engine over by hand and make sure you don't have any clearance issues with the cam rod or rod block. Now you are ready for the top end, stay tuned.