When you are installing a new radio in your car, there is a good chance the old radio's electrical connector won't work with the new radio. The aftermarket model often comes with its own electrical connector. You will need to wire this connector to the wiring in the car to install the radio. You can choose one of two basic methods of connecting these wires. Crimping the wires can be done without power tools, but soldering the wires will connect them more securely and permanently.
Disconnect the negative battery cable. This usually involves loosening the cable clamp nut for the black cable with a wrench. Set the cable far enough away so it can't touch the battery terminal by accident.
Remove the radio from the vehicle. This will vary depending on the vehicle, but likely includes prying off one or more trim panels with a trim stick and removing the radio's fasteners with a wrench or screwdriver.
Unplug the antenna lead and electrical connector from the rear of the radio.
Cut the wires from the original electrical connector using wire cutters.
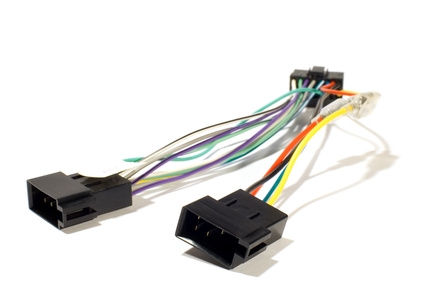
Connect the switched power, constant power and ground wires from the car wiring to the new radio's electrical connector, either by crimping (Section 2) or soldering (Section 3). Usually, the switch wire is red, the power wire is yellow and the ground is black.
Attach the wiring for each speaker using the same crimping or soldering method. Check the instructions again to confirm the correct wiring. Often, gray is right front, white is left front, purple is right rear and green is left rear. The solid wire is the positive one, and the one with the black stripe is negative.
Connect the new electrical connector and the antenna lead to the replacement radio.
Install the radio and its mounting bracket in the vehicle dashboard using its mounting fasteners. Reinstall the trim panels on the car and reconnect the battery cable.
Clip and strip away 1/2 an inch of insulation from the two wire leads using your cutting/crimping tool.
Line up the wires so the bare leads are side by side and pointing in the same direction. Twist the leads together by hand or with the crimping tool to connect them together.
Insert the twisted leads into a crimping cap and squeeze the cap tightly in place.
Clamp the crimping tool on the cap to tighten it and seal it on the twisted wire leads to secure them.
Clip and strip away 1/2 an inch of insulation from the two wire leads with your cutting/crimping tool.
Touch the wire leads together as they point toward one another and twist them together.
Heat the wire leads with a soldering iron and touch the solder from the spool to the wire. Make sure the solder does not touch the iron.
Wrap shrink tubing around the connected bare wires. Heat the tubing with a hair dryer or similar heat gun to contract the tubing so it fits around the wire.