Now things are getting exciting. We have a car that moves under its own power and we're nearing the final stages of completion. It's almost cruising time in our '51 for $15,000.
In the previous issue we fired up our used drivetrain and even drove the car around the parking lot sans the front sheetmetal while sitting on a milk crate. No awkward engine noises, leaks, or fire, which made this a successful initial startup in our book. While we were on a literal roll, we drove the car up on a trailer and headed to the alignment shop. The tech had done a lot of street rods and was confident in setting up the Chassis Engineering bolt-on front suspension components within spec, even without the sheetmetal (which also made his job a lot easier).
Back in the shop, we looked over the engine and suspension mounts and unstrapped our makeshift radiator mount. At the start of this project we had removed the entire radiator support with the grille, fenders, and inner fenders as one assembly, so we needed to call in some help to lift it back over the chassis. First though, we needed to clearance the inner fenderwells to clear the upper controls and the top of the shocks.
Our measurements got us close enough to lift the sheetmetal assembly into place and mark areas for more cutting. We must have put that front end on and off a dozen times before ensuring that everything was clear, with no rubbing or touching. It didn't take much in the way of cutting, but we wanted to remove as little original metalwork as possible. Satisfied, we dug into the bags of bolts and shims to secure the front end once and for all. We weren't sure which was better: seeing the stance and look of the body together, or gaining the shop space back from where the front end was sitting for so long.
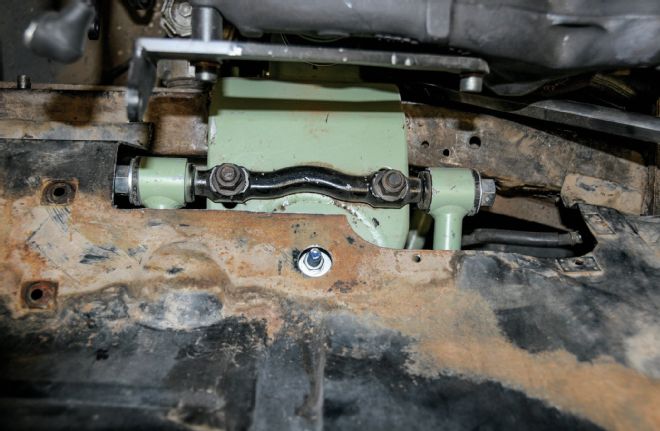
With the sheetmetal in place we went about wrapping up the wiring for the headlights and turn signals. All of the wiring was routed through the original air ducts that direct fresh air from the grille area to the passenger compartment. Both ducts required a little clearancing to mount over the protruding shock towers, but they were able to fit back in place nicely. In fact, looking in the engine bay, you really don't notice any of the steering or suspension modifications.
With the car looking almost complete again, we turned to the interior. Our best guess is that the interior received a once-over before it was taken off the road back in the mid '70s, leaving us with a fair headliner and door panels that worked for our purpose. The front seat was also acceptable and the rear seat received an $8 serape to cover some tears. One important upgrade was the addition of seatbelts. We moved our mouse over to Juliano's seatbeltstore.com to review their assortment of lengths, colors, and buckles. We opted for vintage chrome lift latch style in the front and a set of simple, push-button lap belts for the rear. The reason for the push-bottom design is twofold; they're easier for kids to use with less chance of pinching a finger and the fact that they fit better when used with a car seat (not to mention a few bucks cheaper). If you ever think you're going to use a car seat, go with the push-buttons. Thanks to the Boom Mat coated floor, new shifter, gauges, and cleaned-up seats, the interior was looking pretty good (enough).
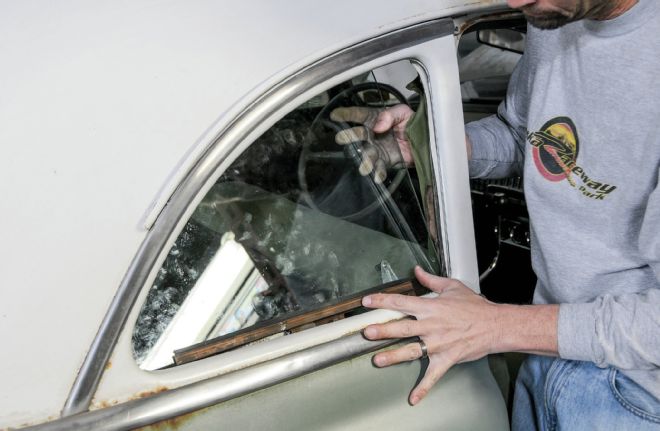
One area that makes a huge difference in the appearance of a car is the glass and we needed to replace every piece except the rear window. Chevs of the 40's had the right glass for our 1951 Chevrolet DeLuxe sedan in stock and we opted for the factory green tint. When ordering, be sure to add new setting rubber to secure the windows into the frame. We did each of the side windows and in the process vacuumed out years of sand and debris from each door. We called in a pro for the windshield and while watching that process we're glad we did.
One last area that had us weighing our budget options were the gauges. The '51 has a nicely designed instrument cluster with two 5-inch circles; one for the speedo and one that houses the fuel level, oil pressure, engine temp, and amperage. We planned to simply mount some aftermarket gauges to monitor the engine stats, leaving only the speedometer and fuel gauge to update.
A call was put in to Redline Gauge Works to weigh our options. Redline services factory gauge panels and will update them with modern movements and offers total custom builds as well. We explained that we wanted the mechanicals of the gauges rebuilt and updated, but to only clean the faces to continue with the non-restored aspect of the car. We also asked them the price difference between updating all of the gauges versus only the speedo and fuel gauge. The estimate for just the speedometer and the fuel gauge (with cleaning) operating was about $500, and to upgrade the rest of the gauges it would be approximately $700 more. At this point, we were in conserve mode and opted for doing just the speedo and fuel gauge. We bought a trio of 2-inch Autogage gauges to hang under the dash to monitor the engine and volts.
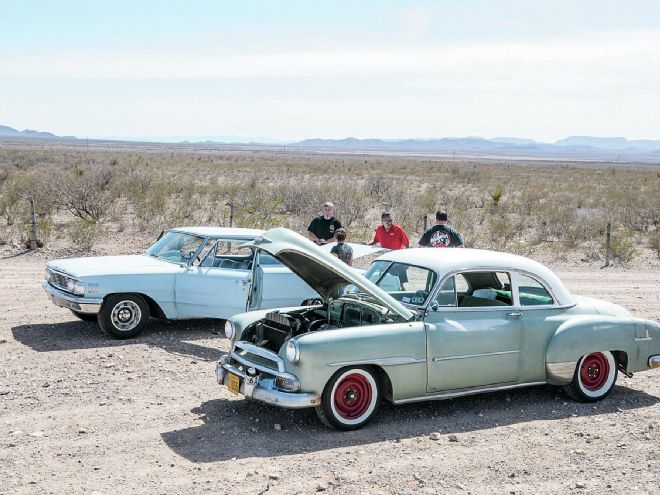
With the glass, gauges, and seatbelts installed, the interior was as complete as much as it was going to get for the time being. This led us to review and go over the car, test all of the wiring, lights, and brakes. Once everything was dialed in, it was on the road for an initial test drive and once-over. With 50 miles on our re-zero'd odometer, we set out on an 800-mile road trip to the Lonestar Round Up in Austin, Texas. The only issue we experienced was a fuel starvation problem about 100 miles into the trip. Luckily, it was easily identified by clogged fuel filters. A quick side of the road cleanup and we were back up and running.
Since that initial trip, the '51 has racked up an additional 3,000 miles on it with pretty much no updates or changes. It runs cool through the desert, it doesn't leak fluids, and it feels secure and solid on the road. Most all of the parts and tools we used were standard components and procedures that could be accomplished in nearly any home garage. It's been a fun family cruiser and we came in under our budget goal of $15,000. In fact, we came in just north of $12,000, which left us some room for upgrades in the near future. Remember, hot rods are never done ... we just keep making them better.
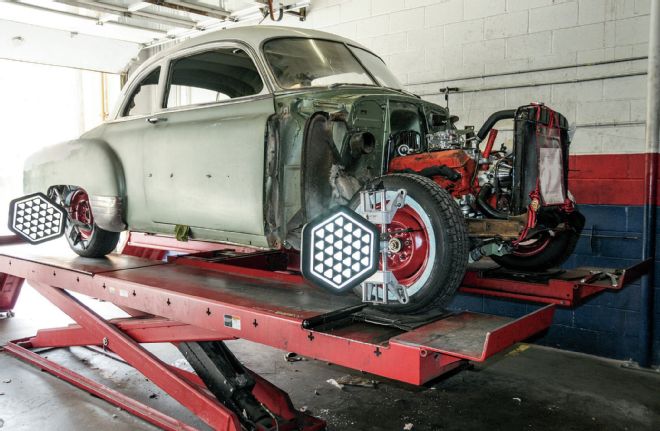
1. Once the car was moving under its own power, we talked to a local alignment shop about working on it without the frontend. Their reply was a quick, "bring it on over," so we loaded it up and dropped it off.
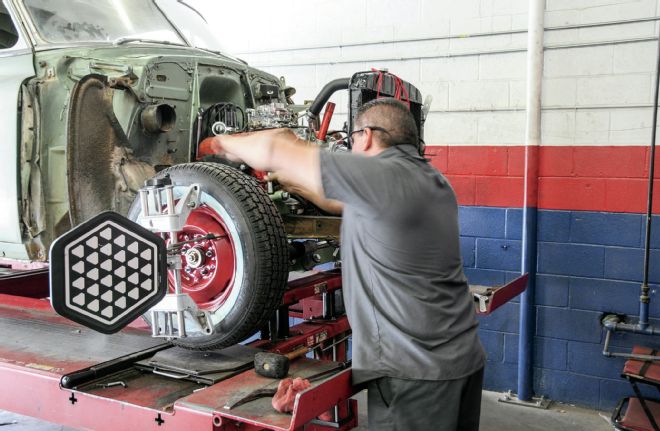
2. The alignment technician reviewed the specs for an early Mustang, just like Chassis Engineering recommended however he then modified the settings due to the increased weight and speed that the car was going to average on the highway. He also told us to bring us the back when it was all together and he'd check it out one more time.
3. Once aligned and back at our shop, it was time to wrap up the front end assembly. We removed the radiator, dusted off the front assembly, and located a bag of bolts and nuts that were earmarked for the front end.
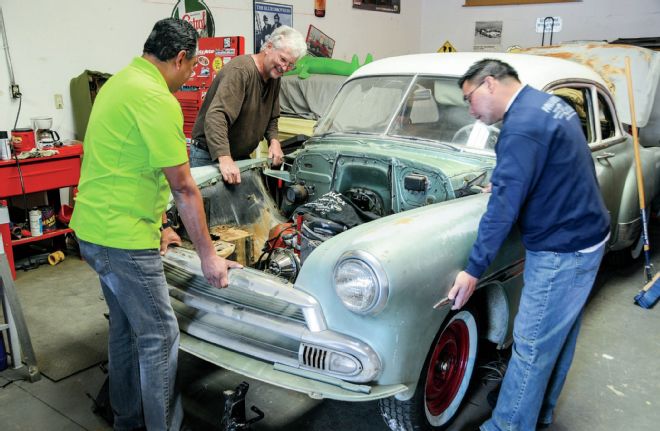
4. The first step was to position the assembly on the chassis to get an idea of how much modification would be required to the wheelwells and to make some initial trimming marks.
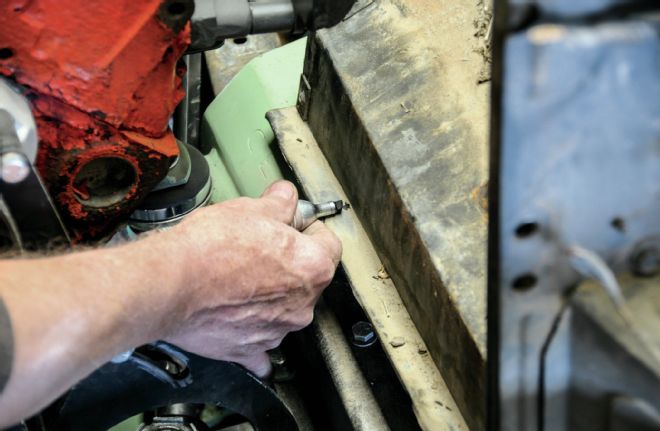
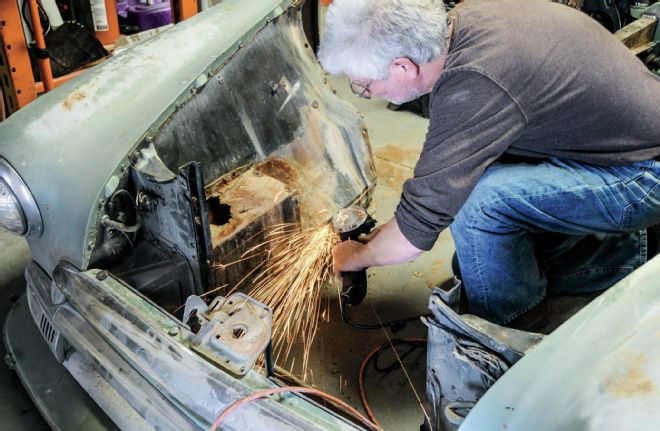
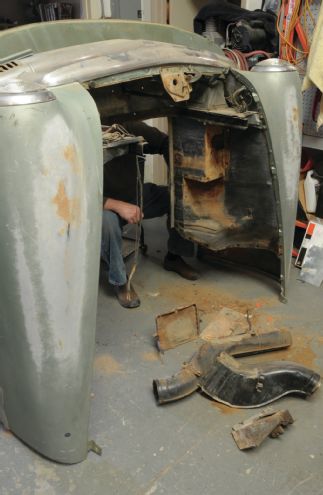
5-6. On the driver side, you can see the upper control arm mount of the Chassis Engineering crossmember and where we marked to trim the inner fender edge. With markings in place, the front end was lifted off and we started trimming with a cut-off wheel.
7. After multiple trial fits, we achieved a no-contact grinding or rubbing fit. The driver side took more trimming than the passenger side and we plan to hide this area from sight with the stock fresh air tubes.
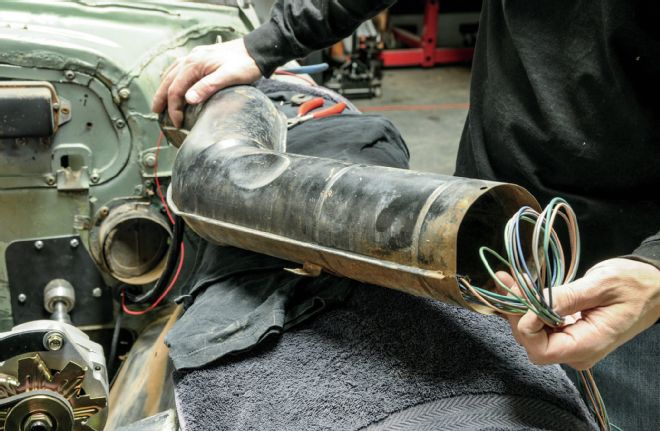
8. With the sheetmetal mounted, we turned our attention to the remainder of the wiring. We drilled an access hole into the factory fresh air tube and routed the headlight wiring through it. The factory air tubes both required a little work to clear the top of the shocks as well.

9. The headlight wiring exited in front of the radiator support and was routed up into the fenderwell and through the headlight mount. Painless provides the matching headlight connector and pigtail to connect.
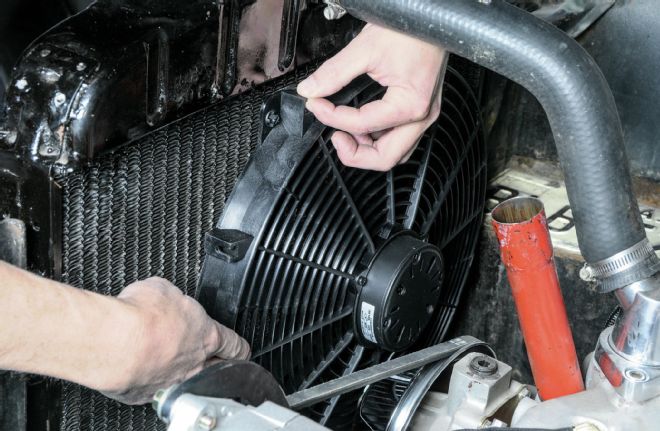
10. After fitting the radiator and hoses, we installed a Trimline 16-inch electric fan from Flex-a-lite to assist in the low speed cooling. A coolant sensor from Painless Performance Products will activate the fan at 195 degrees F and turn it off at 185 degrees F through the aid of a relay.
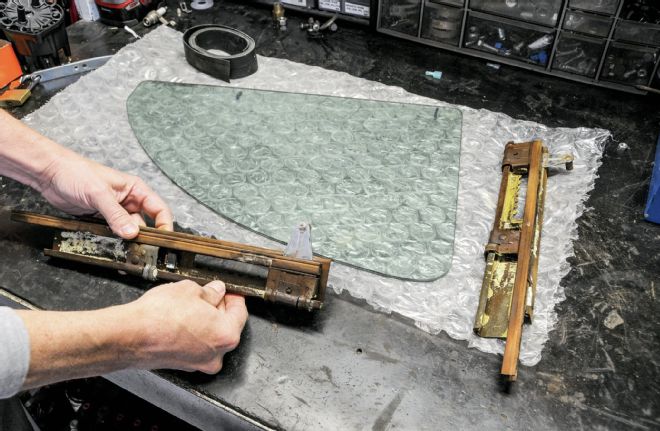
11. The '51 required a couple new pieces of side glass, and you can't just replace one. Chevs of the 40's had everything we needed in stock. We cleaned and lubed the sliding mechanism before installing the glass to the channels.
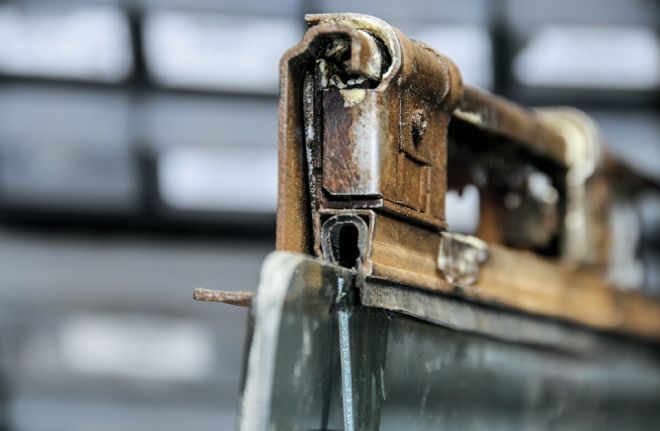
12. When ordering new glass, be sure to get new setting rubber as well. This is the material that secures the glass in the channel mount. Save yourself some time by measuring or marking the location of the old glass prior to removing it. We used a soapy water solution to help slide the glass in place. Be patient!
13. The rear windows in the '51 DeLuxe sedan don't roll down, they only slide back a few inches, which made installation a bit easier than the door glass. Also note that this is the ideal time to install new channels and felts.
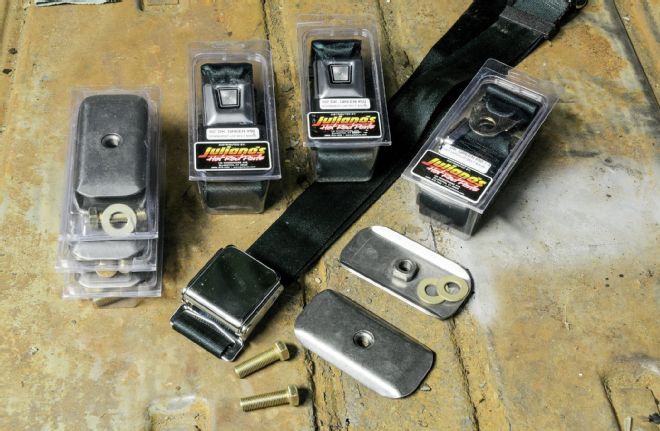
14. Turning our attention to the interior, one of the most important things to install was a complete set of seatbelts. Juliano's Seat Belt Store was the solution with different lengths, latches, and colors.
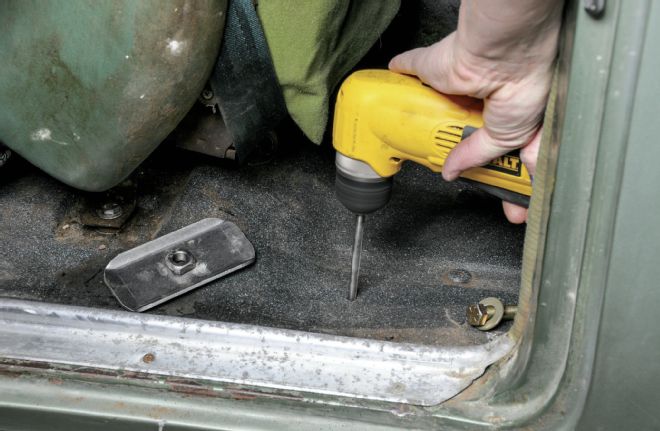
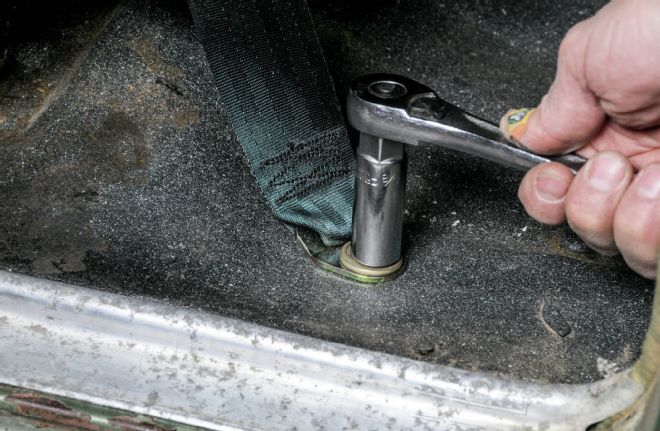
15-16. We carefully followed the mounting instructions provided with the new belts to determine a mounting point for the belts. We also used their hardware and anchor plate to secure the belts to the floor.
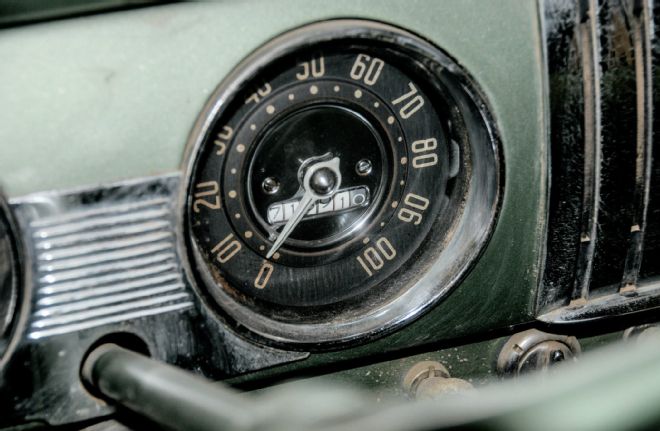
17. We weren't sure what to do about the gauges on the '51 until we came across Redline Gauge Works. They specialize in gauge restoration and updates to modern electronics. We decided to have them clean up and upgrade the speedometer/odometer and the fuel gauge.
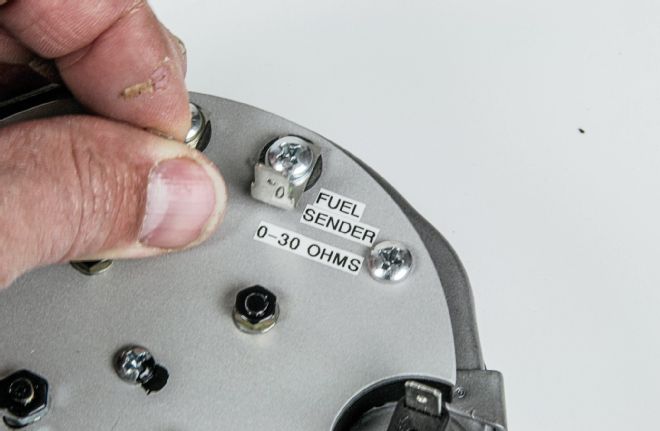
18. The factory cluster houses the temp, oil, charging, and fuel gauge all in one unit. Redline can upgrade all of these instruments with modern movements and sensors while maintaining stock appearance. For the fuel gauge, you'll need to know the resistance value of the sending unit. In our case, the new sensor from Tanks Inc. was 0-30 ohms.
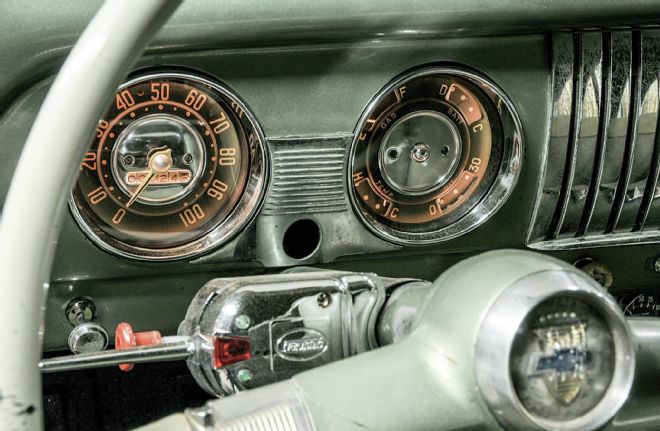
19. Every time we got behind the wheel, we were disappointed that we didn't have Redline upgrade all of the gauges. Who likes to see zero'd out values on the oil, temp, and voltage when they're cruising? This will be our first upgrade if we come in under budget.
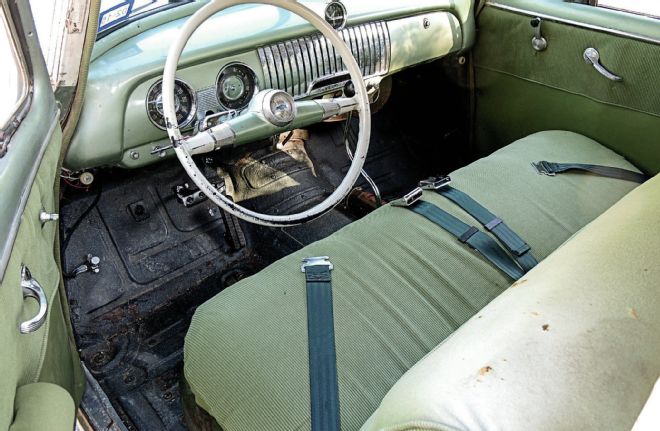
20. Who knows when the door panels, headliner, and seats were re-covered but for immediate purpose, they work. Down the road, we'd like to upgrade the entire cabin with carpet, rebuild the seats, and build some new door panels. For now the interior is more about function over appearance.

21. We're very pleased with the way the engine compartment turned out and a friend let us "permanently borrow" the oil bath air cleaner, which looks right at home. The fresh air ducts hide the front end updates and the small-block looks like it has been in there for years. The old license plate was on the car when we got it and is covering a few rust holes from the original battery location.
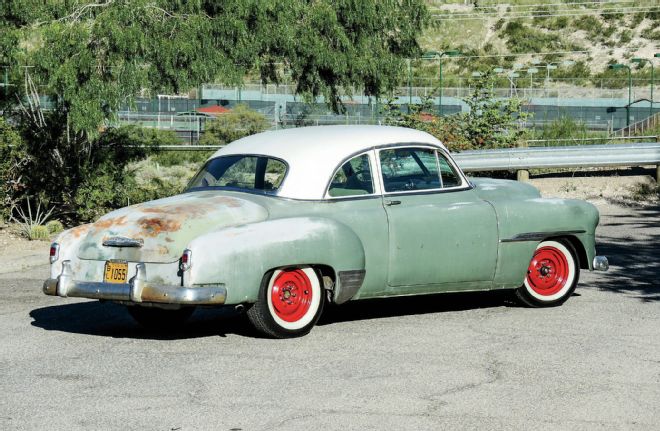
It's done! The '51 sits just right thanks to adjustable Chassis Engineering frontend kit and the Coker American Classic wide whites add a touch of class to the ol' DeLuxe.
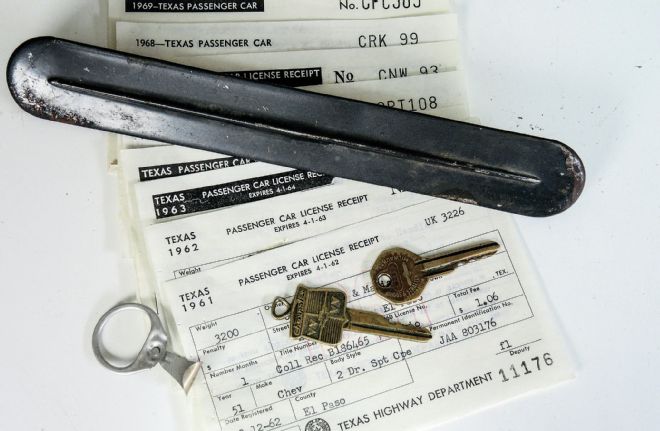
We found some cool history in the glovebox and ashtray. There were insurance papers from 1962, original keys, a radio delete plate, and an old tab-top from a beer can. Cool thing about the factory keys is that our "experienced" locksmith was able to make new ones and with a little lube, even the door cylinders worked.
Previous Spent Parts Supplier/Description Cost PartsSupplier/DescriptionCost '51 Chevy Business coupe $2,750.00 Front suspensionChassis Engineering$2,052.00 Rear suspensionChassis Engineering$602.00 Brake lines, valve, etc.Local store$137.00 Trans crossmemberWalton Fabrication$169.95 Master cylinder/bracketsEngineered Components$205.00 Engine and transTraded for Duster$250.00 Transmission mountEnergy Suspension$40.00 SB engine mountsChassis Engineering$86.00 Gaskets for engineOil pan, intake, timing$90.00 Trans seal and inspectLocal parts$125.00 Intake and valve coversSwap meet$60.00 Wiring harnessPainless Performance Products$335.95 Bulbs and socketsLocal parts$13.00 Tires/mount/balanceCoker$1,015.00 Paint/primer for wheelsRust Oleum$36.00 Steering and componentsBorgeson, CPP$367.60 ExhaustFlowTech/Local exhaust$200.00 Driveshaft, hardwareLocal shop$138.00 Battery/cablesO'Reilly, local welding supply$195.00 Alternator/bracketsPowermaster/swap meet$175.00 Radiator, coolantRecore/rebuild$78.00 Gas tankTanks Inc.$235.00 Ignition, light switchesPainless/Lens/Bulbs$90.00 Oil, filter, coolant, beltLocal parts$96.00 Boom Mat spray and paintDEI$45.00 ShifterLokar$290.00 AlignmentLocal alignment shop$75.00 Trans cooler/fluidLocal parts$98.00 Fuel line, filter, rebuilt kitEdelbrock/local parts$58.00 Coil and plug wiresStreet Fire by MSD$78.00 Previous Total$10,185.50 Part 9 addition$1,891.00 Grand Total$12,076.50 Project '51 for $15K Final Costs PartsSupplier/DescriptionCost Seatbelts/anchor platesJuliano's$180.00 GaugesRedline Gauge Works$500.00 Electric fan/sensorFlex-a-lite/Painless$138.00 Headlamps/bulbsLocal parts$38.00 Windshield/side glassChevs of the 40's$900.00 Glass installationLocal Guy$60.00 AlignmentLocal Firestone Shop$75.00 $1,891.00A Rearview Review
As we wrapped up the '51 project, we looked back over the pile of receipts, instruction sheets, and miscellaneous debris in the file and it reminded us about how much money and time building a hot rod actually requires. Other than the alignment and windshield installation, everything we spent was on parts. We had a budget that kept us in check when buying new parts and fortunately we got lucky on a few used parts. Since we've driven the car a few thousand miles now we've come up with a list of things we would have done differently or plan to do in the future. (Even if we did most of these updates, we'd still be very close to our goal.)