
Back when I originally had Currie rebuild the 12-bolt rear in our '68 project, I opted to go simple with a stock Ford drum brake setup. Why a Ford drum brake you might ask? If you look back at the original buildup (CCT Nov, 2012), you'll remember we took the C-clip axles out and replaced them with beefier Ford items. This required welding Ford-style axle flanges onto the Chevy housing, which dictates using Ford 9-inch style brakes, be it disc or drum. With the pending LS install, I thought it was only fitting to bring the rear brakes into the 21st century so that the truck could stop as well as it could accelerate.
A quick call up to Classic Performance Products (CPP) yielded a disc kit that matched the front, helping to round out the brake package. With the added stopping power, the C10 managed to improve upon its 60-0-mph brake test from 189 feet down to 148 feet, not bad for an afternoon's worth of work. With a nice set of sticky tires and with the shortbed conversion complete, we're hoping to get that number down even lower. Stay tuned!
1. To do the drum to disc swap, we ordered up everything needed from CPP including drilled and slotted rotors, calipers, brackets and shims, steel braided hose, line clamps, steel brake lines, and a disc/disc proportioning valve.
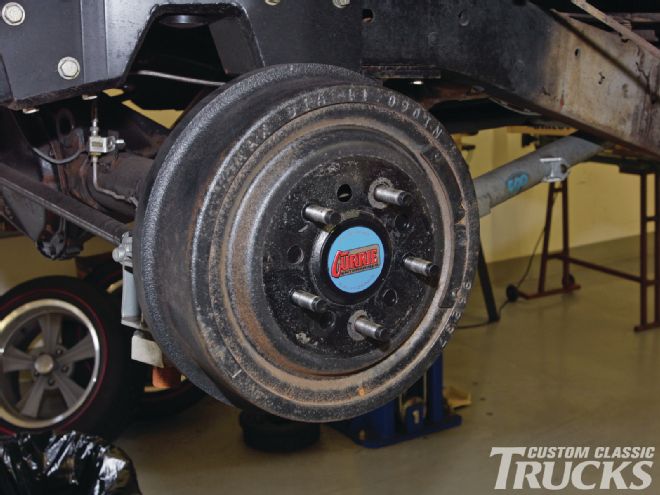
2. Here's the stock drum brake setup still installed on the axle. Like a cheap Elvis impersonator, they're not real impressive to look at with even less impressive performance.
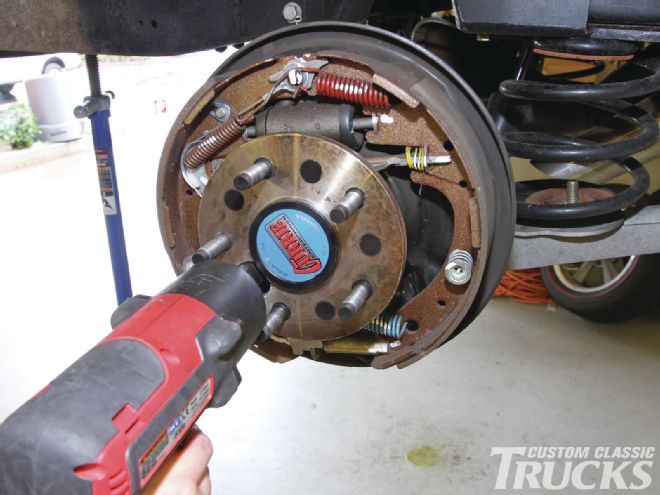
3. The four bolts that attach the backing plate to the axle housing are accessible through a hole in the axle flange. Remove these four bolts and the axle followed by the brake can be slid right off the housing.
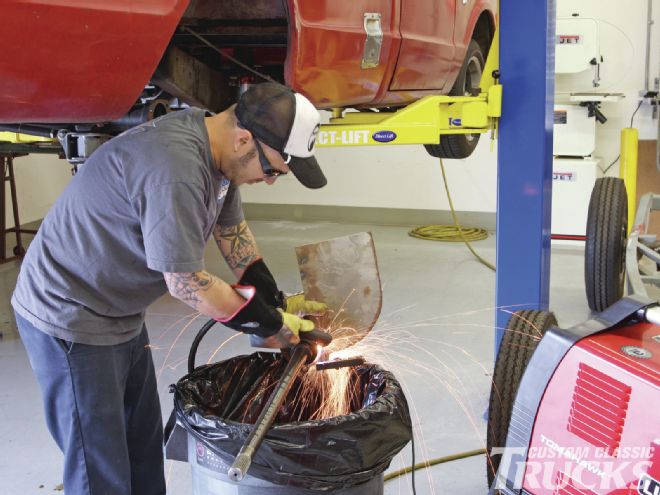
4. The flange plates that secure the axles in the housing are installed onto the axles before the bearings are pressed into service. If you don't want to press off the bearings to remove them, you'll have to cut the flange plates off.
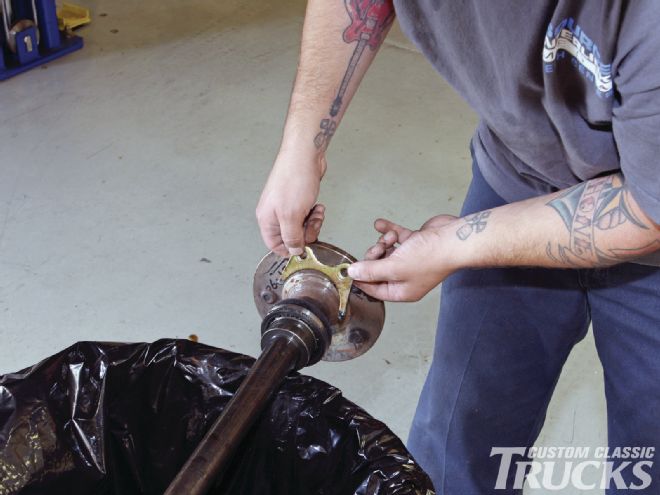
5. I did this using a Lincoln plasma cutter with a piece of scrap sheetmetal protecting the bearing.
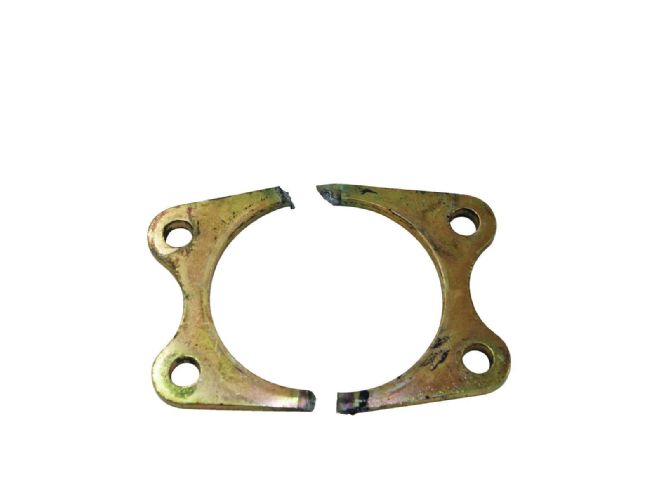
6. Here's one plate after removal.
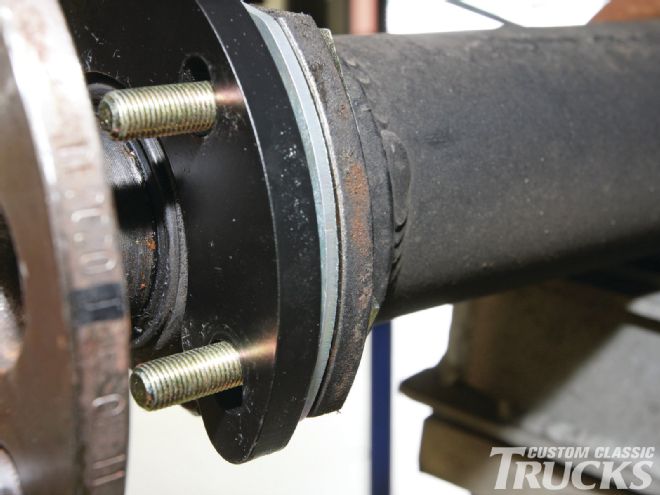
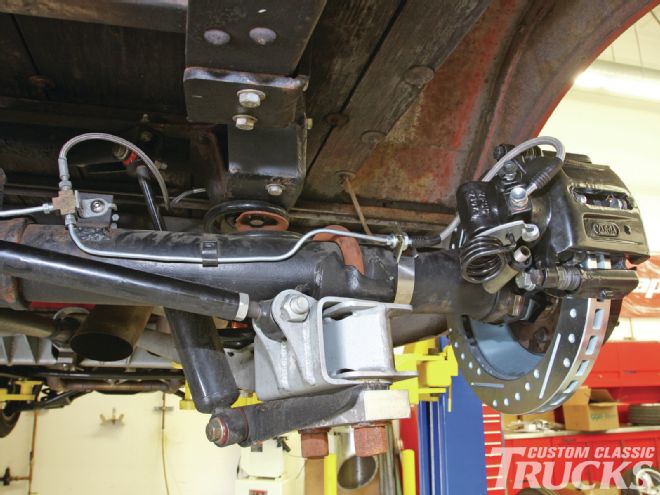
7. The axle can then be installed back in the housing before the caliper bracket is slid into place. Notice the relationship between the caliper bracket (black) and the special shim (silver). This is required to retain the proper bearing preload and to secure the axle.
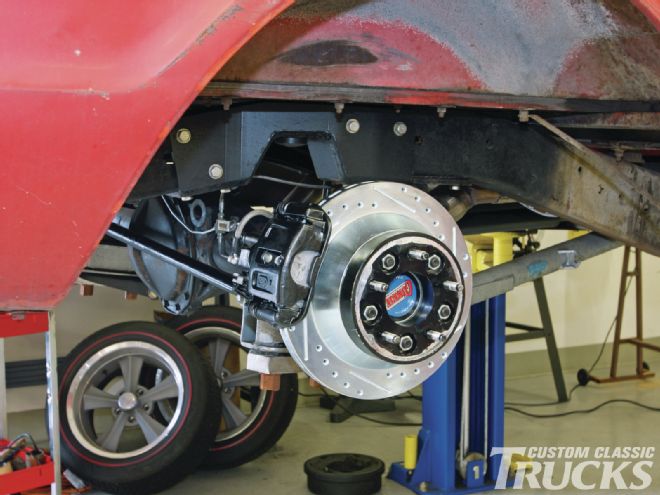
8. Next the four axle retaining bolts can be tightened and the rotor can be installed. I'm using Trans Dapt wheel spacers in the rear to get the track width in line with the front, which can be seen mounted to the rotor.

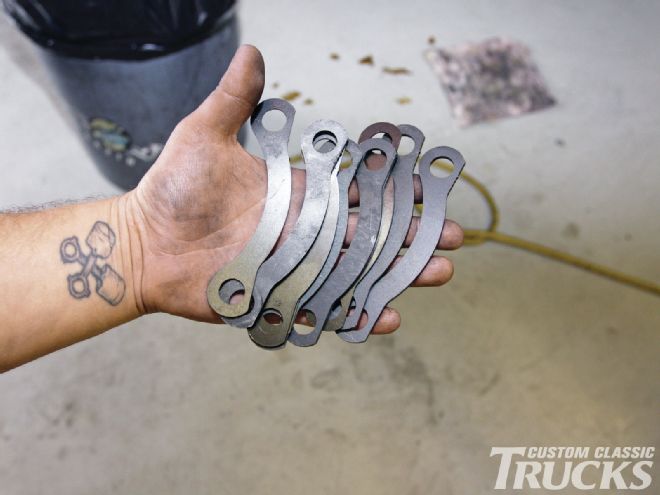
9. To align the rotor and the caliper, CPP provides a handful of spacers to ensure proper runout between the pads and rotor. After a few trial and error installs, the rotor runs nice and true between the two pads.
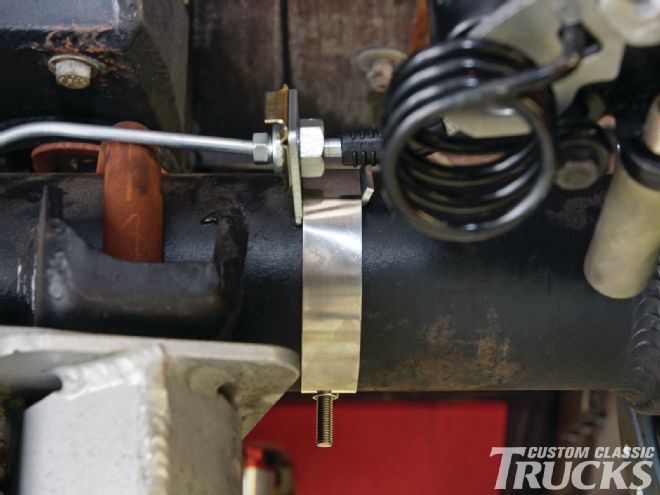
10. Since the hard lines on the rearend went from the junction block to the wheel cylinders, they either need to be shortened or replaced. I opted to use CPP's rear line kit that comes with the axle brackets as well as the line tabs.
11. A braided hose runs from each caliper to the line tab where it connects to the hard line. The line tabs are held in place by stainless steel band clamps, saving the need to weld on the rearend housing.
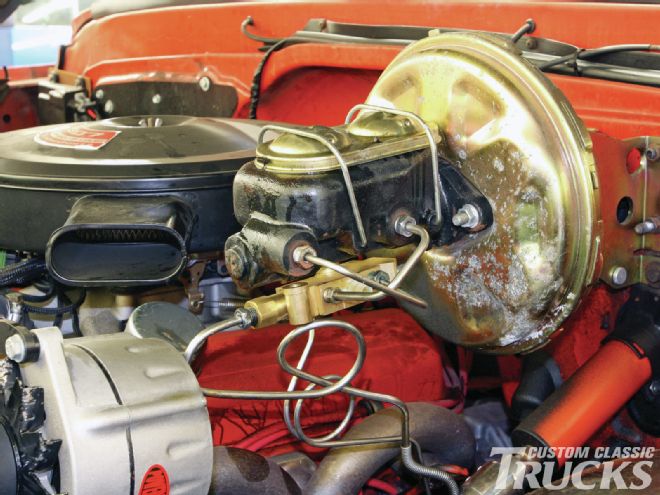
12. The last step of the install is to install the new disc/disc proportioning valve in place of the old. This ensures that both the front and rear brakes receive the proper pressure needed for a safe stop.
13. And there you have it, improved braking performance in an afternoon!
