Not everybody knows everything about building a truck, and you might certainly feel better about doing some things on your own, like welding, rather than chasing down electrical problems, painting an entire vehicle, or even tackling the upholstery.
Confidence is built up over time, often by trial and error. So if the "error" portion of that equation doesn't fit into the current build schedule on your truck, you might need to find some help with some of the unfamiliar aspects of your project.
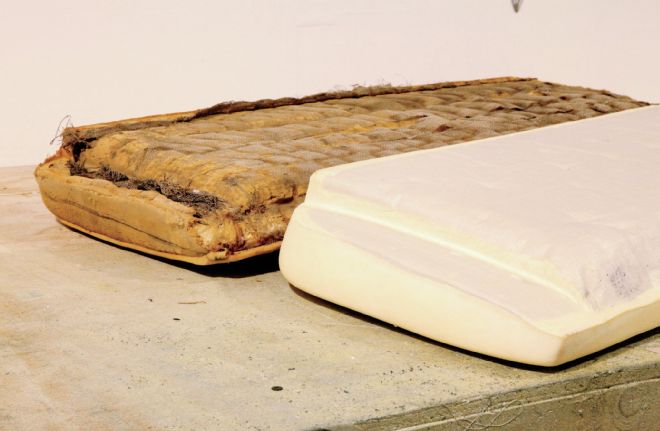
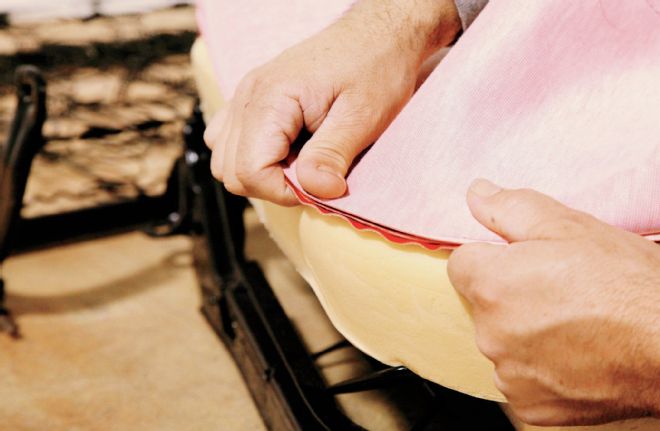
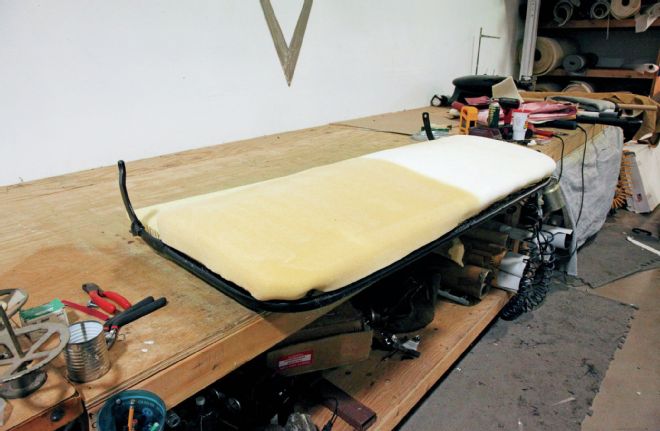
01 The seat base foam as it comes from the kit (foreground) is very similar in shape to the old factory seat base.
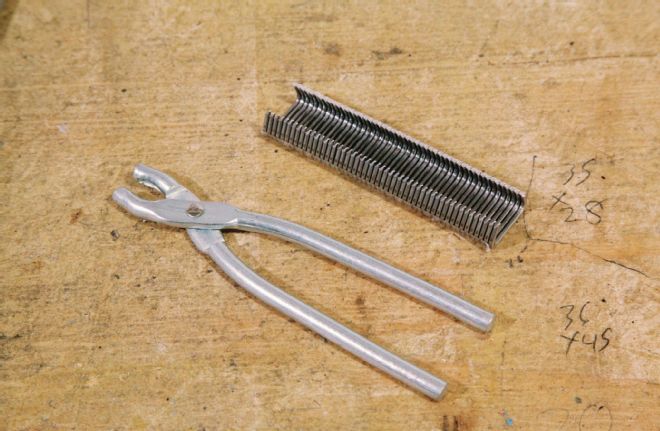
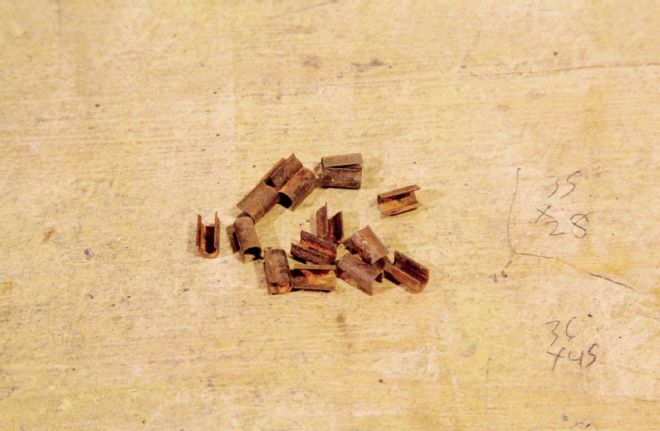
02-03 The kit offers hog ring pliers, hog rings, and some lengths of wire, foam, carpet backing, the vinyl covers, and we saved the old edge clips just in case we needed to use them.
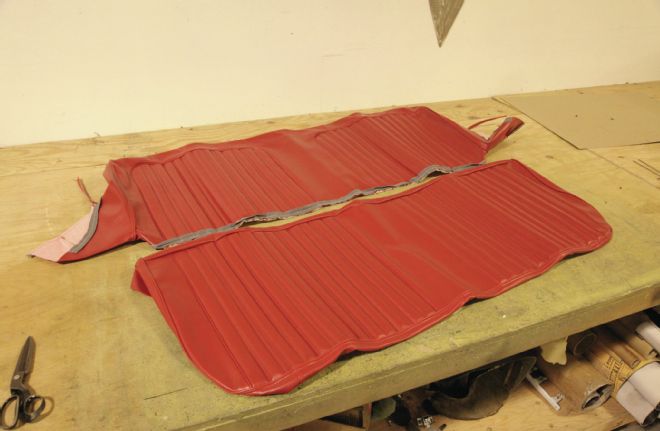
04 The vinyl upholstery kit has two pieces to it: the backpiece and seat cover.
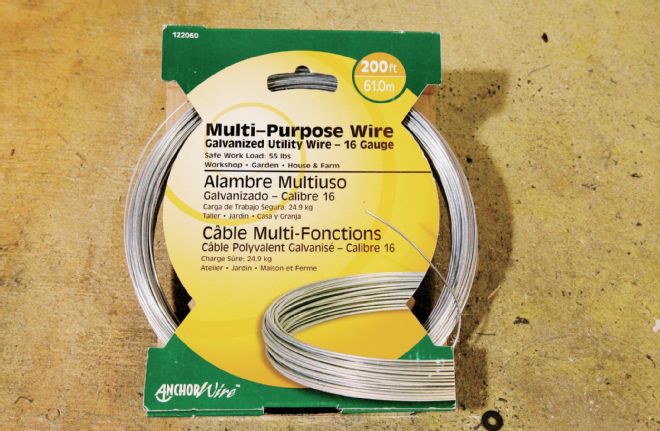
05 The kit comes with some small lengths of wire that are fed inside a fold of the vinyl, but Lopez wants to use it in more places than what was provided, so he uses 16-gauge galvanized utility wire for the job.
06 Starting with the seat base, the kit's foam is put in place and the vinyl cover is sized up for fitment. Lopez sees the kit will work, but he will add a little more foam to make it fit tighter.
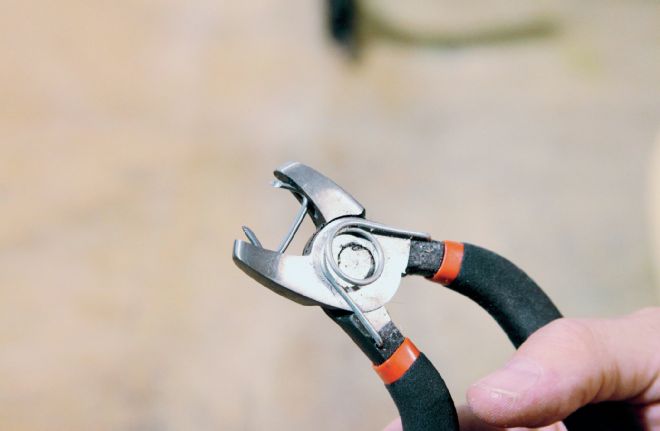
07 Using his preferred personal set of hog ring pliers, Mark illustrates the proper technique of hog ring compression.
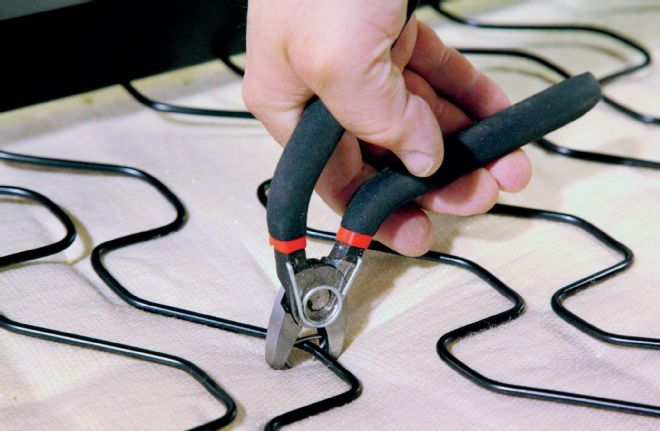
08-09 With the seat flipped over and looking at the seat from the bottom up, Lopez begins by securing the seat foam to the base using the hog rings.
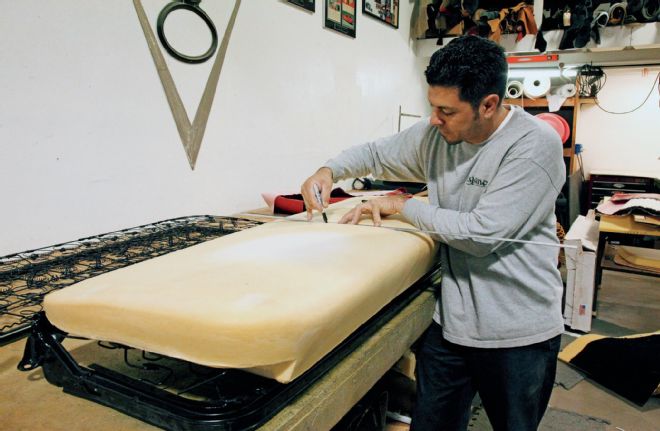
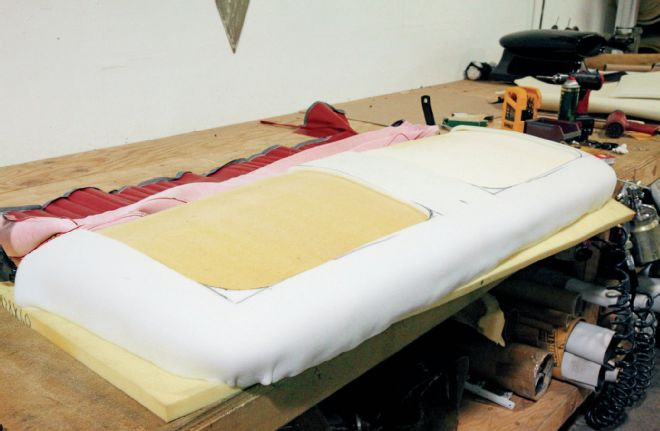
10 Lopez wants the vinyl base cover to have some depth to it, so he'll build up certain areas (the non-pleated sections) with foam. Once the base is secure, Lopez flips it right side up and marks the centerline of the seat base with a Sharpie pen.
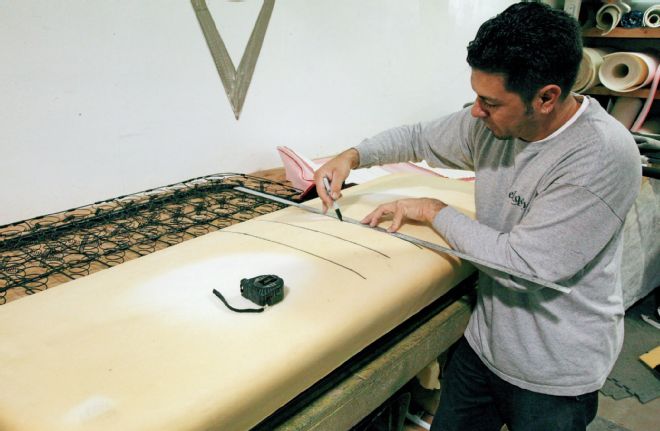
11 Lopez measures off the area he wants slightly raised by transferring the measurement from the vinyl cover.
12 Marks are also made at both ends of the seat base, then checked for accuracy.
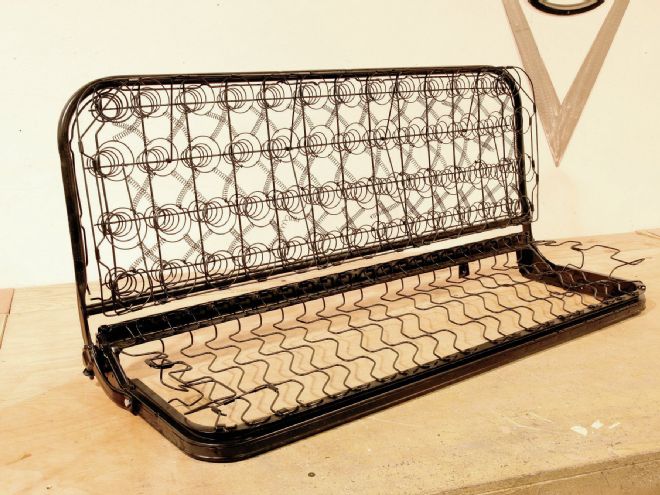
Recently, our build met one of those aspects when it came time to recover the bench seat in our C10 project. Last month we restored the seat frame and soon thereafter ordered a custom dark red vinyl seat cover from Brothers Trucks. After looking over the job of recovering the bench seat, we decided the project would be better off if we sought out the experience of a professional. Enter Mark Lopez of Elegance Auto Interiors in Upland, California, who turned out to be the perfect guy for the job. In business for more than 20 years, Mark's stitch jobs have graced many award-winning hot rods and trucks.

13 Using 1⁄2-inch foam cut to size, Lopez adheres the piece to the seat base foam using a general purpose adhesive (one that doesn't have any chlorinated solvents in it so it doesn't eat the foam).
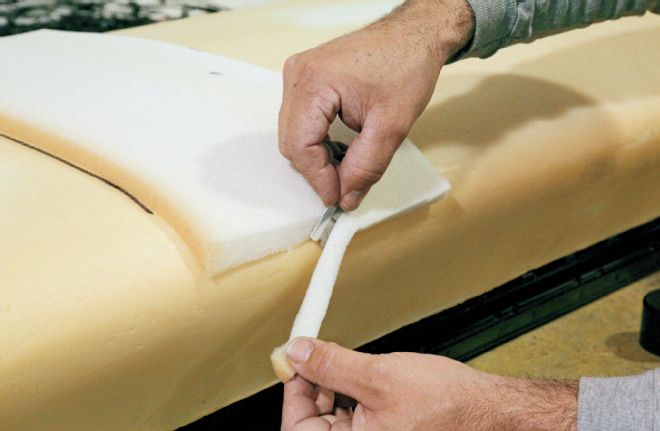
14 With a razor blade Lopez trims the edge of the foam for a smooth transition between the pieces.
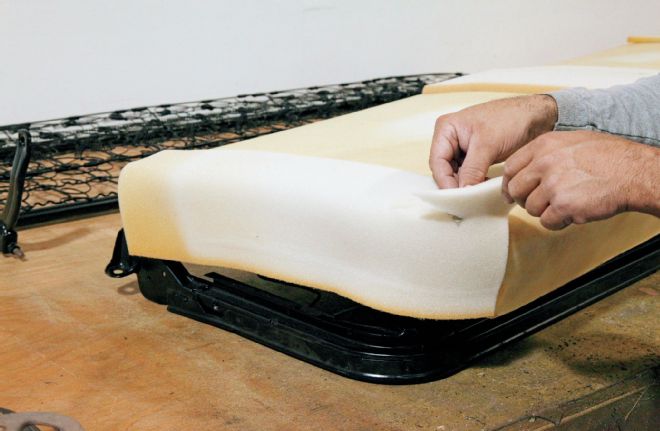
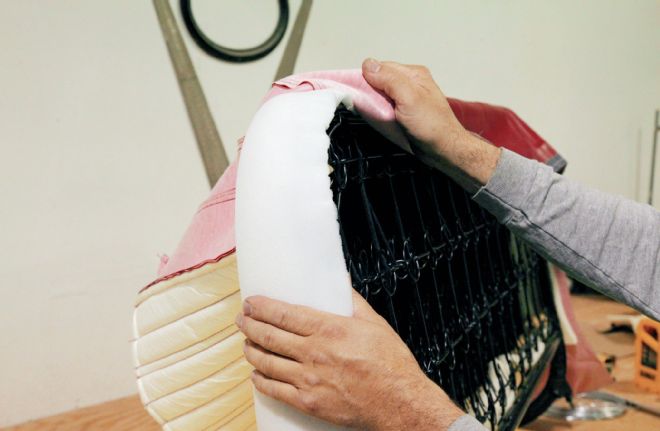
15 The end pieces are folded over the side, then trimmed in the corners so everything fits correctly.
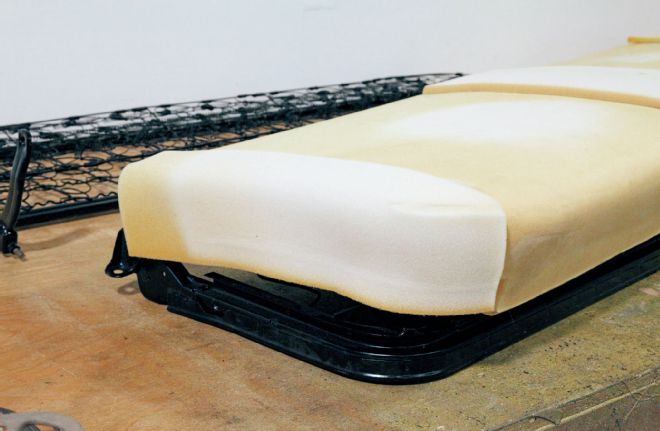
16 Note the separate sections of foam secured across the seat base to fill the raised areas.
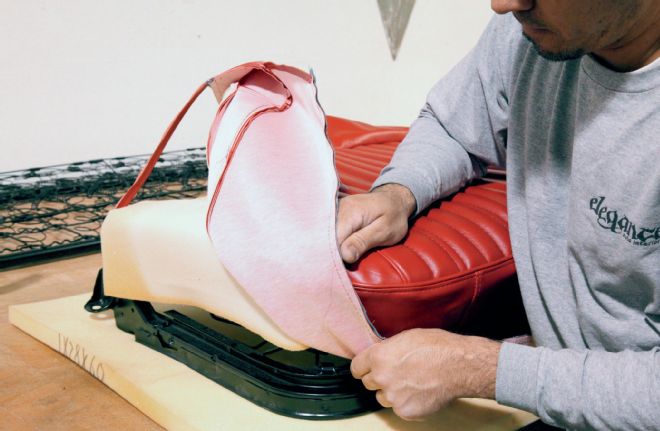
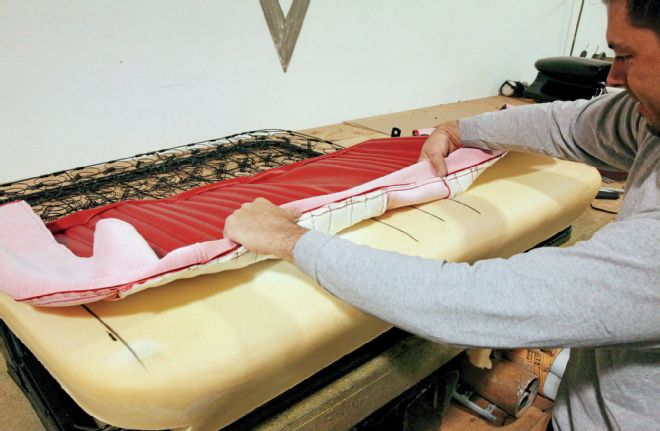
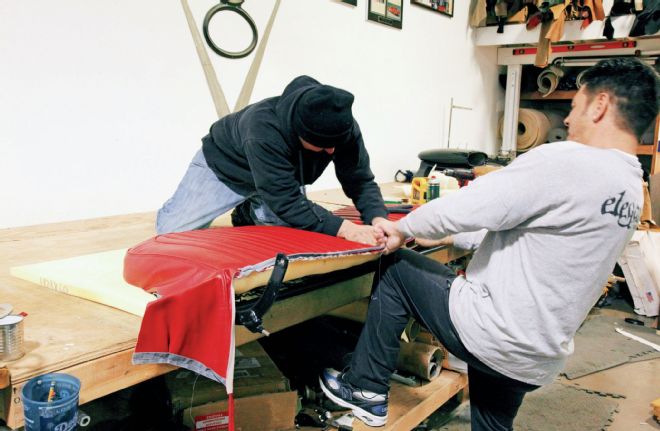
17 Now the seat cover is stretched over the base.
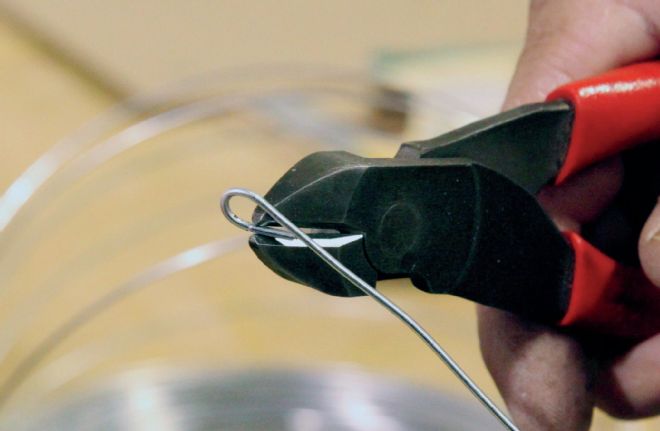
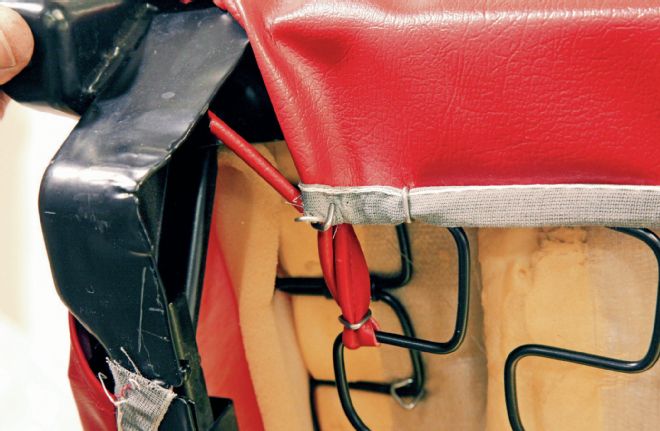
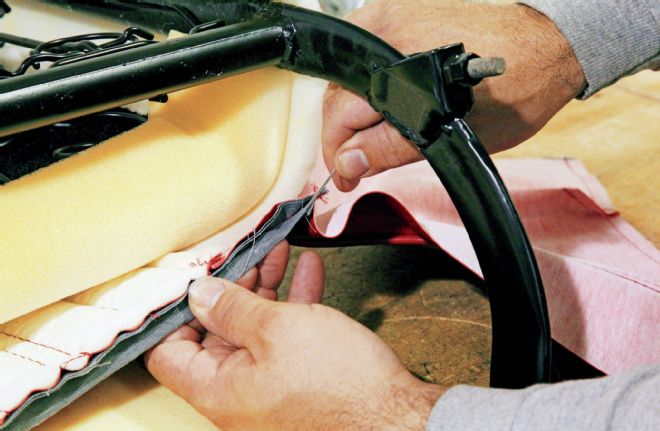
18 The kit has a couple of small wire pieces for the next job, but Lopez used longer lengths for more gripping area. First he folds the wire's end over so it won't poke the vinyl when being fed through its sleeve.

19 Lopez then feeds the wire all the way through the seat cover's sleeve. Both the base and back covers have a sleeve.
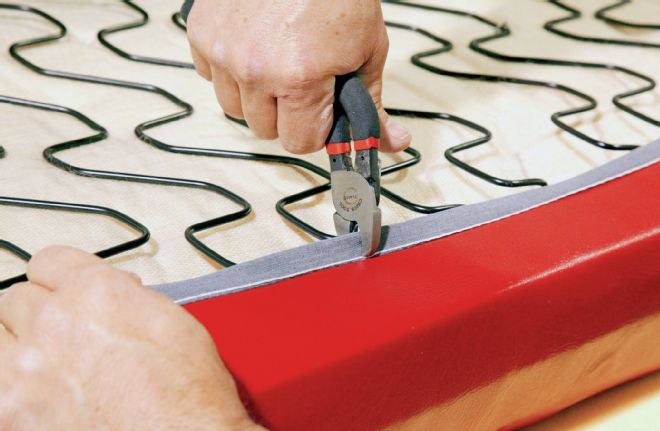
20 Stretching the cover as far as it will go, Lopez uses a hog ring to attach the sleeve (with the wire inside) to one of the base's springs.
21 For comparison, this is what the factory clips would look like if they were installed.
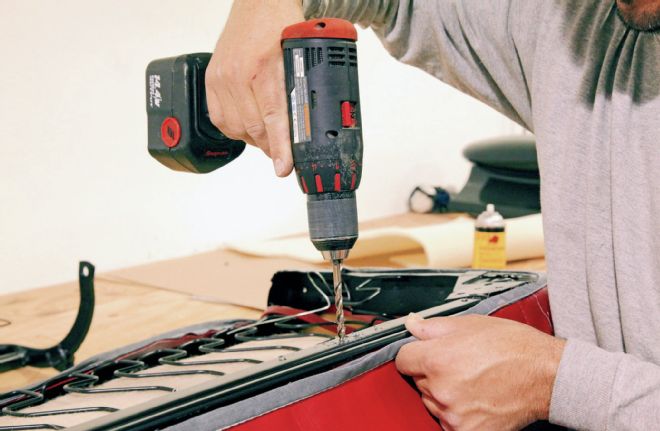
22 Lopez drills holes in the seat base frame to provide a place for the hog rings to attach.
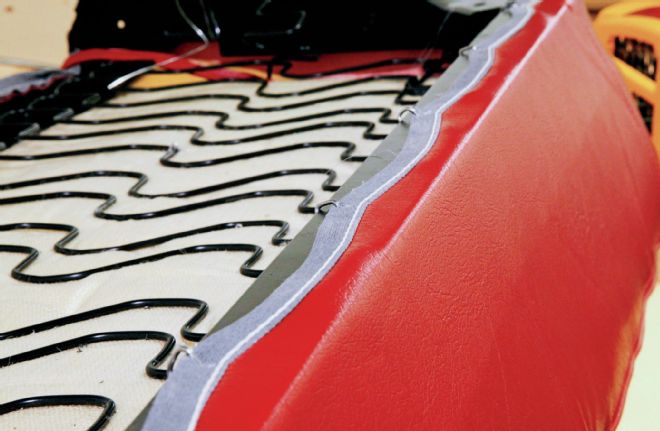
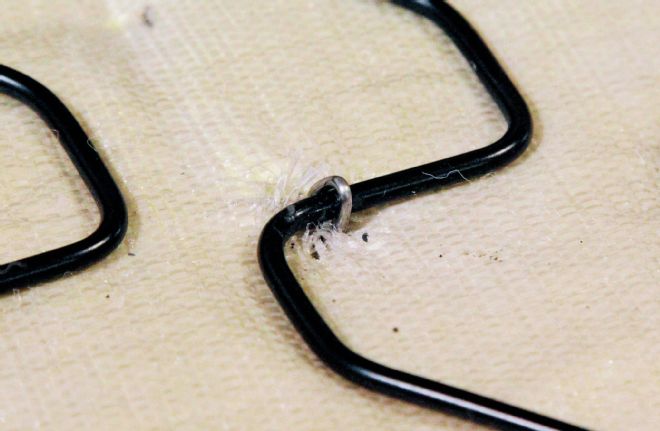
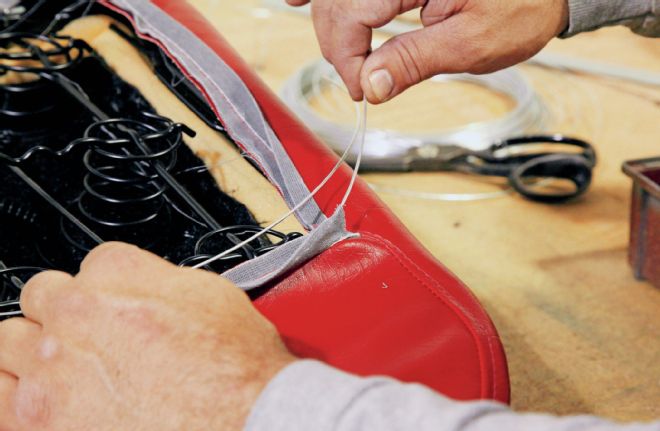
23 You can see how the hog rings grab the wire-fed sleeve and pulls the vinyl tight.
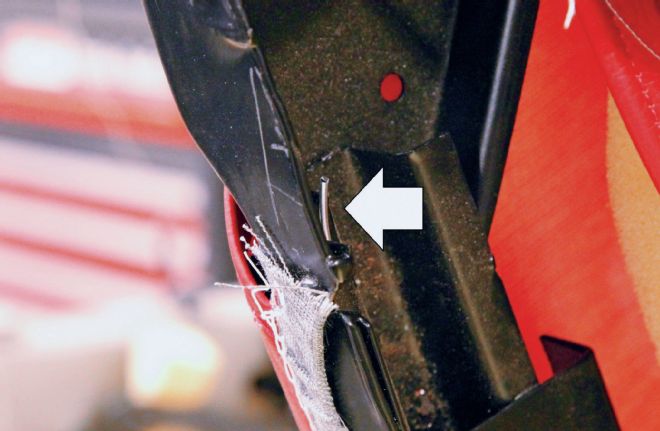
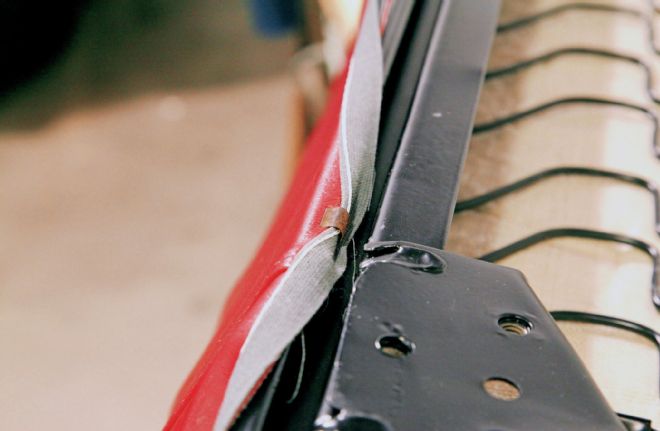
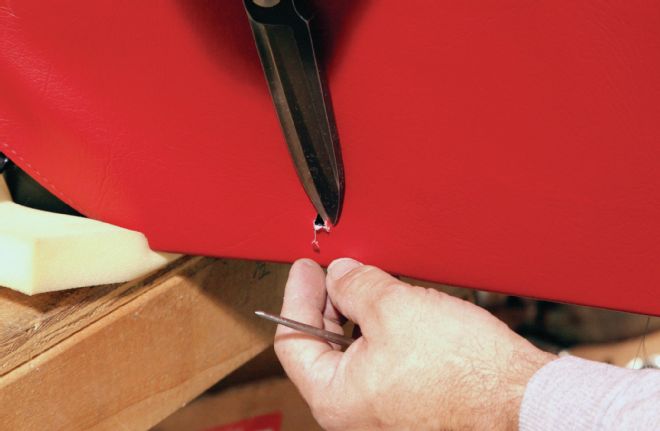
24 To secure the wire in the sleeve from not moving around, it's run through a small hole (arrow), then folded back.
For this project, Lopez agreed to augment the job with his own talent and supplies, getting the most out of the seat covers and foam kit that Brothers provided. And though the kit came with wire to help stretch the vinyl over the framework and hog rings to secure it, Lopez used more than what was supplied of both to do the job. Another addition was using extra foam. Though the amount of supplied foam will work for an average job, Lopez wanted to build up certain sections so the seat covers fit tightly, and also create a bucket seat feel to the bench, so he used some of the ½-inch foam from his shop to improve upon the design.
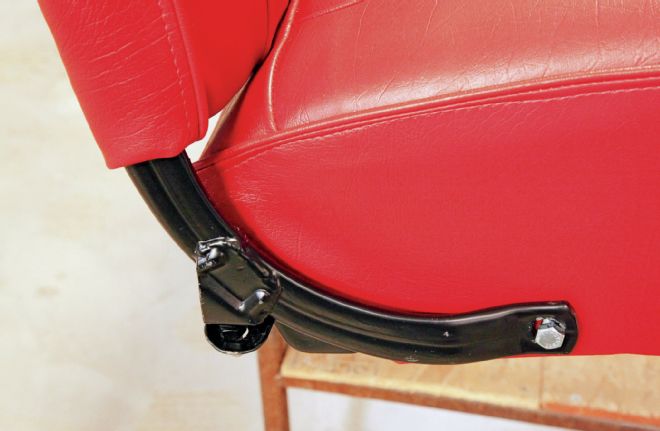
25 Multiple hog rings are used when attaching the corners of the seat base to ensure it doesn't shift.
26 A small hole is cut on both sides of the base to access the mounting hole for the seatback.
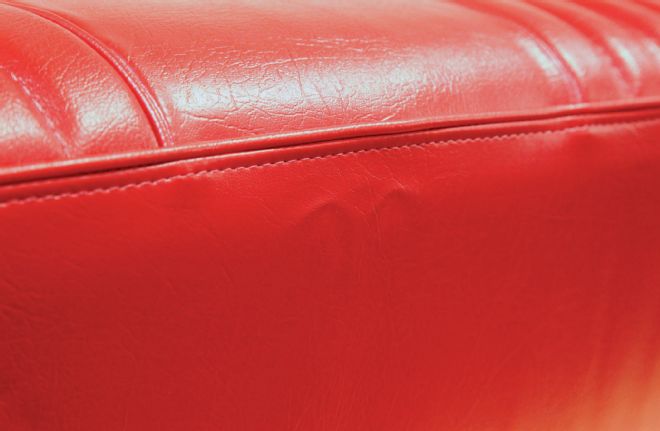
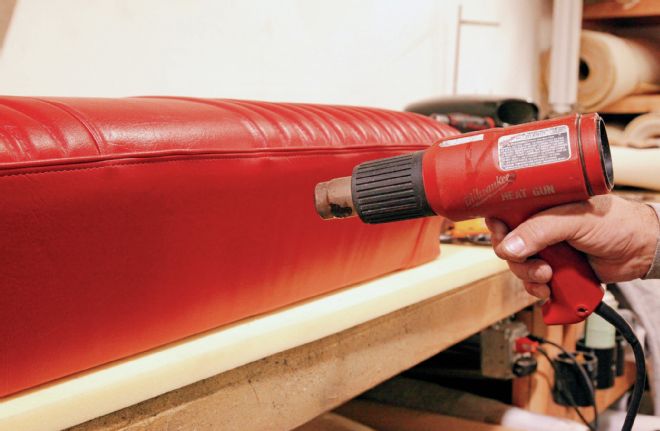
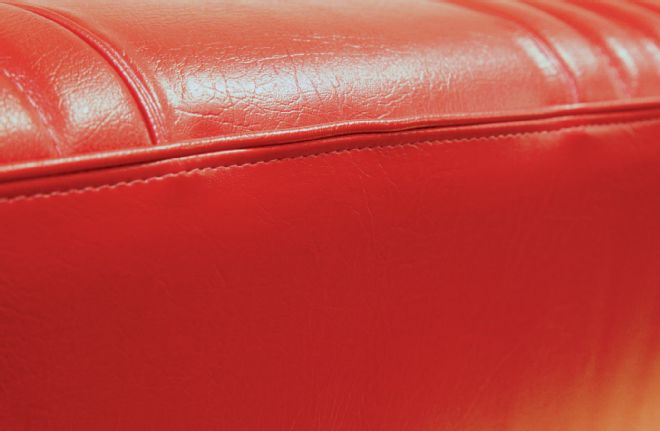
27-29 Because the vinyl had been folded up in its shipping box, it developed wrinkles, which Lopez was able to get rid of with some gentle application of a heat gun.
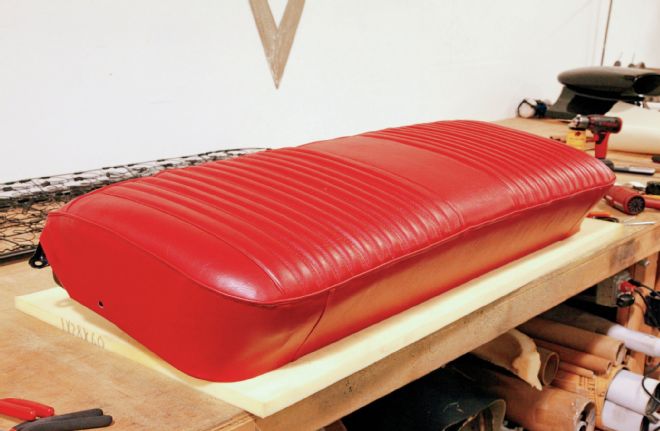
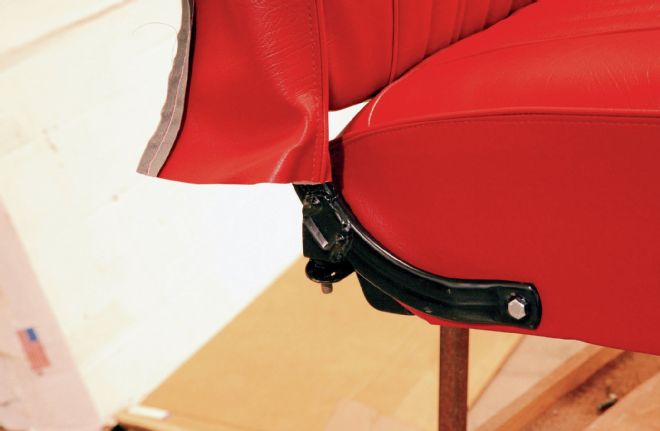
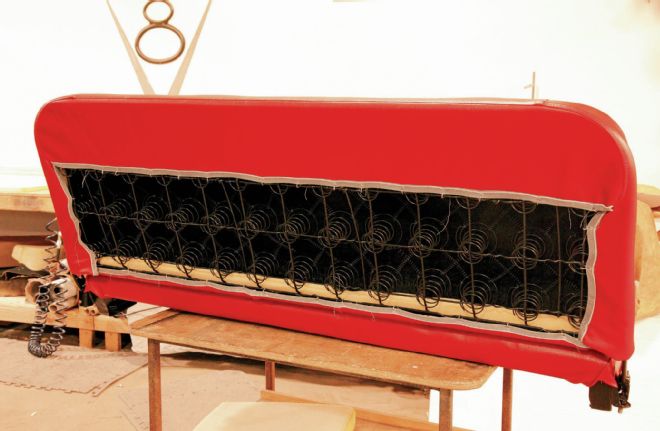
30 The seat base is finished!
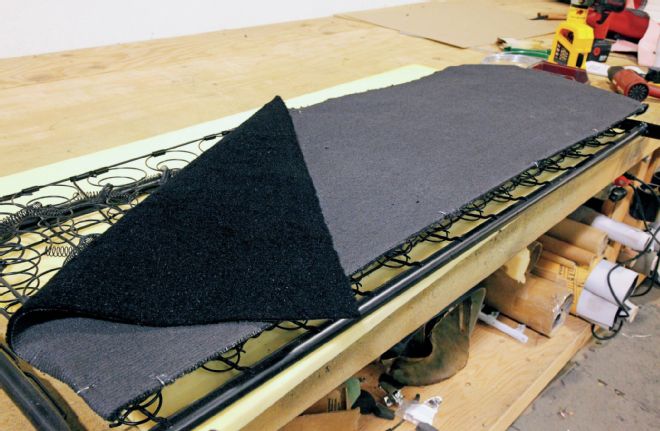
31 The carpet piece that is supplied with the kit is added to the seatback with the fuzzy side facing toward the back of the cab (because not all of the seatback's backside will be covered). About 22 hog rings were used securing this piece alone.
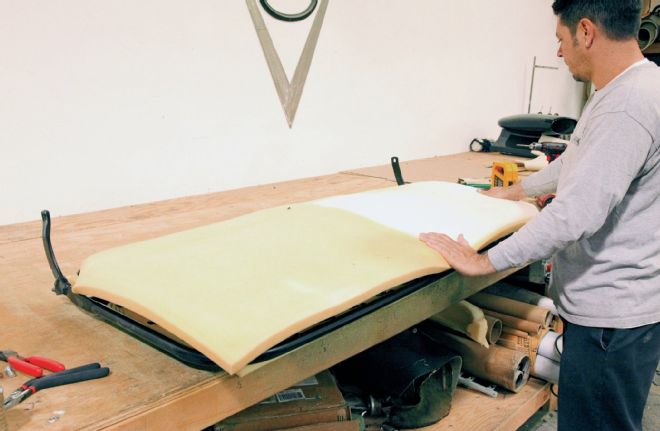
32 The kit's foam is laid out on the seatback and sized up.
33 Flipped over, Lopez adds some spray adhesive and begins to fold the edge of the foam over the framework.
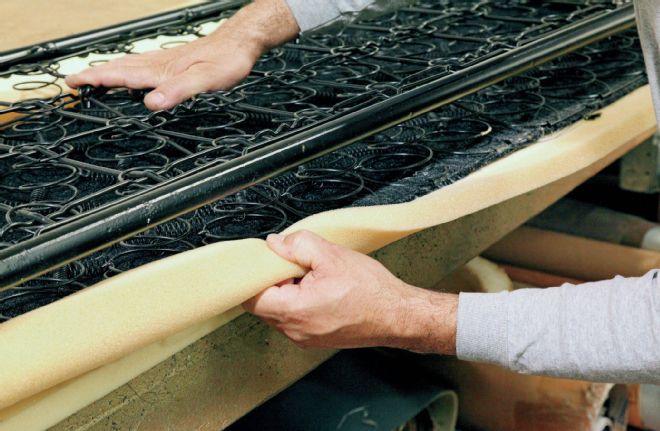
34 This is where you'd stop if you were using just the kit's foam, but we'll add some more.

35 A second piece of 1⁄2-inch foam is attached to the first piece with some more spray adhesive.
Once the vinyl was attached, Lopez saw some wrinkles that were from the vinyl being folded up in the shipping box for a long period of time. Deftly using a heat gun, he worked them out, but he says a clothing steamer would have worked, too. If you were to have Elegance create a new vinyl cover for your bench seat from scratch, it would cost you just under $1,000, so this kit saves you both time and money, especially if you're savvy with those hog ring pliers!
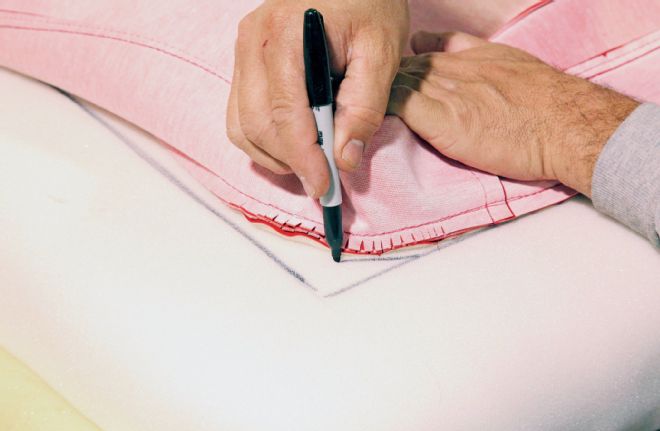
36 The seatback will have raised sections as well, so Lopez marks where those areas are using the vinyl cover as a template.
37 Using a razor blade Lopez removes the section of foam that would be under the pleated sections of the cover.
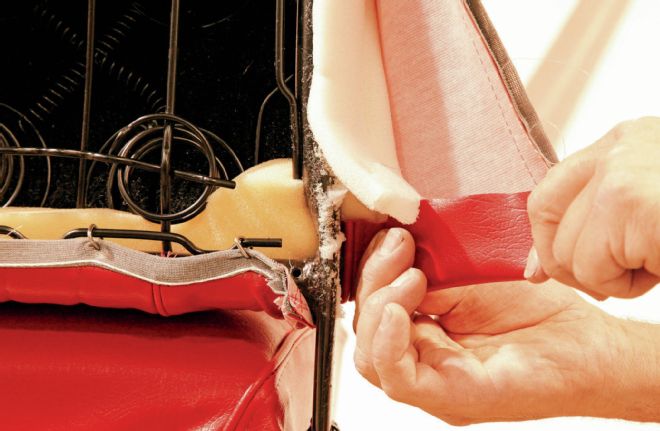
38 The seatback cover went on tight, so Lopez used a little bit of silicone spray to help pull the vinyl over the corners of the framework.
39 More stainless wire was used in the seatback's sleeve.
40 Sometimes you need a little extra help in order to get the edges of the seat cover to line up with the framework!
41 Wire was then used again once the top section of the seatback cover had been fitted to the frame.
42 Depending if you have a folding seatback or not, this extra material will be needed to cover the frame. Our seat folds, so several inches were cut off.
43 The bottom edge of the vinyl was turned inside for a nice finished edge.
44 Once finished off, there's enough room for the seatback to flip forward without binding on any of the vinyl.
45 Here's the backside of the seat, with the fuzzy side of the carpet showing through. In all, 33 hog rings were used just to secure the vinyl to the seatback.
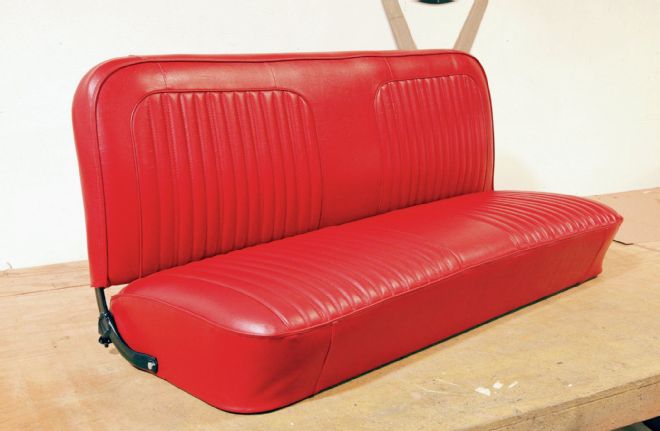
46 With the help and expertise of Mark Lopez and Elegance Auto Interiors, our kit-fitted seat looks much better than if we'd done it ourselves!