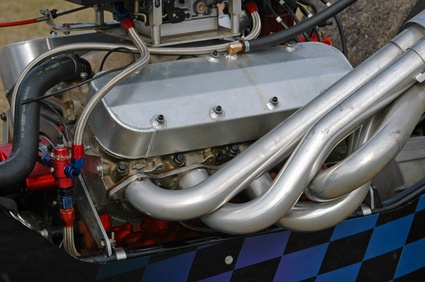
White exhaust smoke, rough running and backfiring are all common symptoms of a blown head gasket. Most car owners are shocked when they receive an estimate for hundreds of dollars to have a mechanic replace a gasket that typically costs less than $20. The expense comes from the sometimes labor-intensive problem of removing seized header bolts. With patience, anyone can remove the bolts and then install header gaskets easily. Once done, the next time the gasket wears out, the real issue with a "blown" gasket, replacing it at home will be a non-issue.
Remove the bolts mounting the headers to the engine block. Follow the link in the Resources for tips on how to loosen seized bolts if necessary.
Clean the surface of the metal of the header and where the header mates with the engine block. Peel off any remnants of the old gasket by hand. Spray carburetor cleaner on any carbon deposits and wipe the surface clean.
Lay the gasket on the end of the header and insert the bolts through the header mount holes to hold it in place. There is only one way the gasket can be placed on the gasket and have all of the openings align with the pipe openings and bolt holes.
Place the header against the engine block and screw the bolts into their sockets until hand tight.
Move in a back-and-forth pattern between the upper and lower bolts up and down the length of the header, tightening each bolt only slightly with a torque wrench. Repeat the pattern, tightening just a little bit further each time, until all the bolts are completely set to the specified torque for the vehicle engine and header mount.