 Fred Williams
Brand Manager, Petersen’s 4Wheel & Off Road
Fred Williams
Brand Manager, Petersen’s 4Wheel & Off Road

Last month we showed you the basic steps to repack front wheel bearings in all their greasy glory, but not every 4x4 has rebuildable front bearings. The nonserviceable front hubs are commonly referred to as unit bearings or, more technically, the axle bearing and hub assembly. These are a factory-built piece with two bearings and race assemblies already installed and packed with grease. We like unit bearings for their ease of assembly (at least in theory, as you'll see in the photos) and the fact that there is no greasy mess required. The unit bearings are machine assembled to extremely high tolerances and engineered with better seals and bearing life in mind compared to the older serviceable bearing hub design. However these same traits mean that if the unit bearings should start to, or completely, fail you must replace the entire unit, whereas a properly serviced older-style hub bearing like we showed you last month can last at least as long (if not longer) with proper maintenance. These unit bearings can cost well over $200 each, while servicing your rebuildable hubs takes only the cost of parts cleaner, grease, and a new hub seal if the bearings are still good. If the bearings are not good, you'll still spend less than $100 per wheel end.
Another issue we have with most unit bearings (Dodge, GM, and Jeep) is that most of them do not allow for a selectable front locking hub (late-model Ford Super Dutys do have selectable or vacuum-controlled hubs), and this means that as you drive down the street you are spinning all your internal axleshafts and front differential, which in turn saps your mileage and fuel economy. There are kits available from Dynatrac and Solid Axle that replace common unit bearings with a rebuildable hub and selectable hubs, but these require a fair bit of mileage to recoup the costs depending on the price of fuel.
 Rebuildable Hub
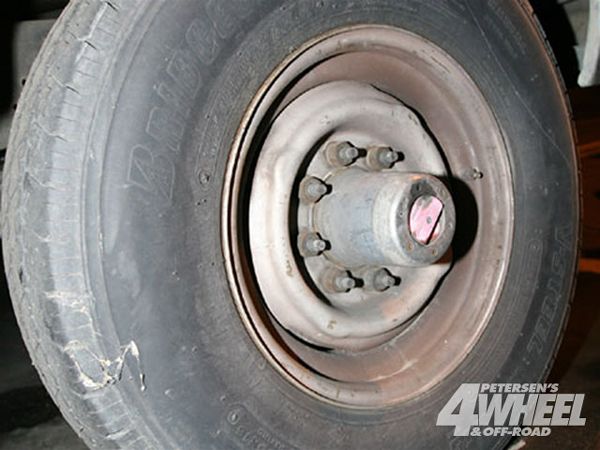
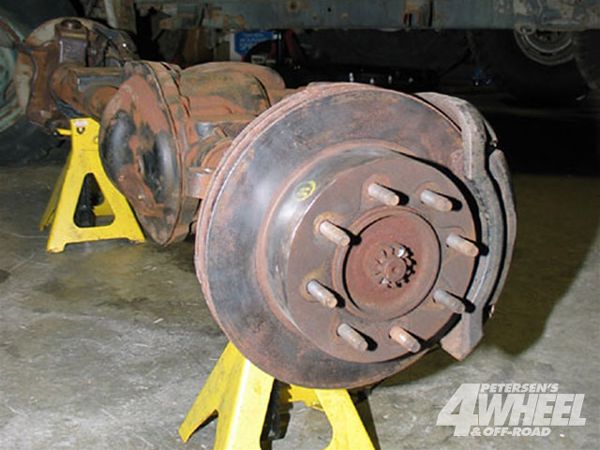 Unit Bearing Hub
Sometimes it's just easier to simply replace worn unit bearings with replacement parts. That is our plan for this month's back-to-basics story. This repair/replacement should have been an easy job, which of course means it took us more than a week! Time was spent tracking down the parts (easy), beating the rusty old parts to oblivion in the removal stage (hard), and carefully putting it all back together again (easy).
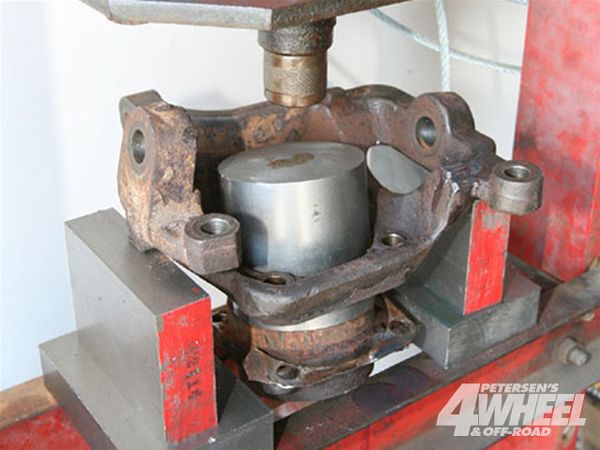
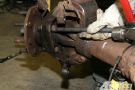
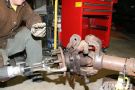
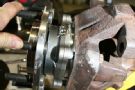
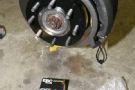
8. The unit bearing came apart but left its mounting side still in the steering knuckle. We removed the knuckle from the axlehousing. This is not possible when the unit bearing is in one piece, but with the splined outer section removed, we were able to remove the two ball-joint nuts and drop the knuckle off the axle. We put the knuckle in the press and applied enough pressure to finally press the rusted old unit bearing out. This can have dire consequences, as the knuckles can bend if the unit bearing doesn't come out. After we removed the unit bearing, we checked the knuckle for flatness with a straightedge on the unit-bearing mounting surface.