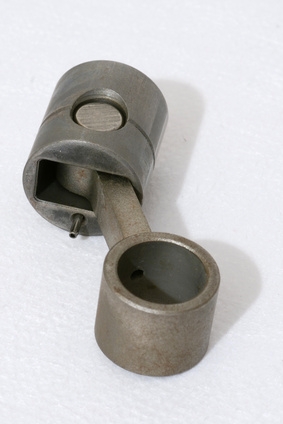
Temperature and load stress cause significant wear and tear on connecting rods and pistons over the years. Over time, they will need to be inspected for damages. Removing rods and pistons from the engine's cylinders for inspection requires attention to detail and will take a little time. However, it is a task that requires minimal tools and can be completed by DIY mechanics who are willing to put in the work.
Number the connecting rods and rod caps. The rods and caps are matched sets and will need to be kept together. They will also need to be reinstalled into their original cylinders upon reassembly.
Loosen the two bolts holding down the connecting-rod cover. Remove the cover. Slide rubber tubing pieces over the connecting rod studs to protect the equipment.
Push the connecting rod and piston from the bottom of the engine block, using a wooden hammer handle. Slide the connecting rod and pistons out of the cylinder.
Pinch with pliers the circlip holding the gudgeon pin in place. Remove the circlip from the assembly.
Immerse the piston assembly in boiling water to make the piston expand. Push the gudgeon pin out. Separate the piston from the connecting rod. Repeat for all piston assemblies.